12 Days of Christmas Gift Bags Tree

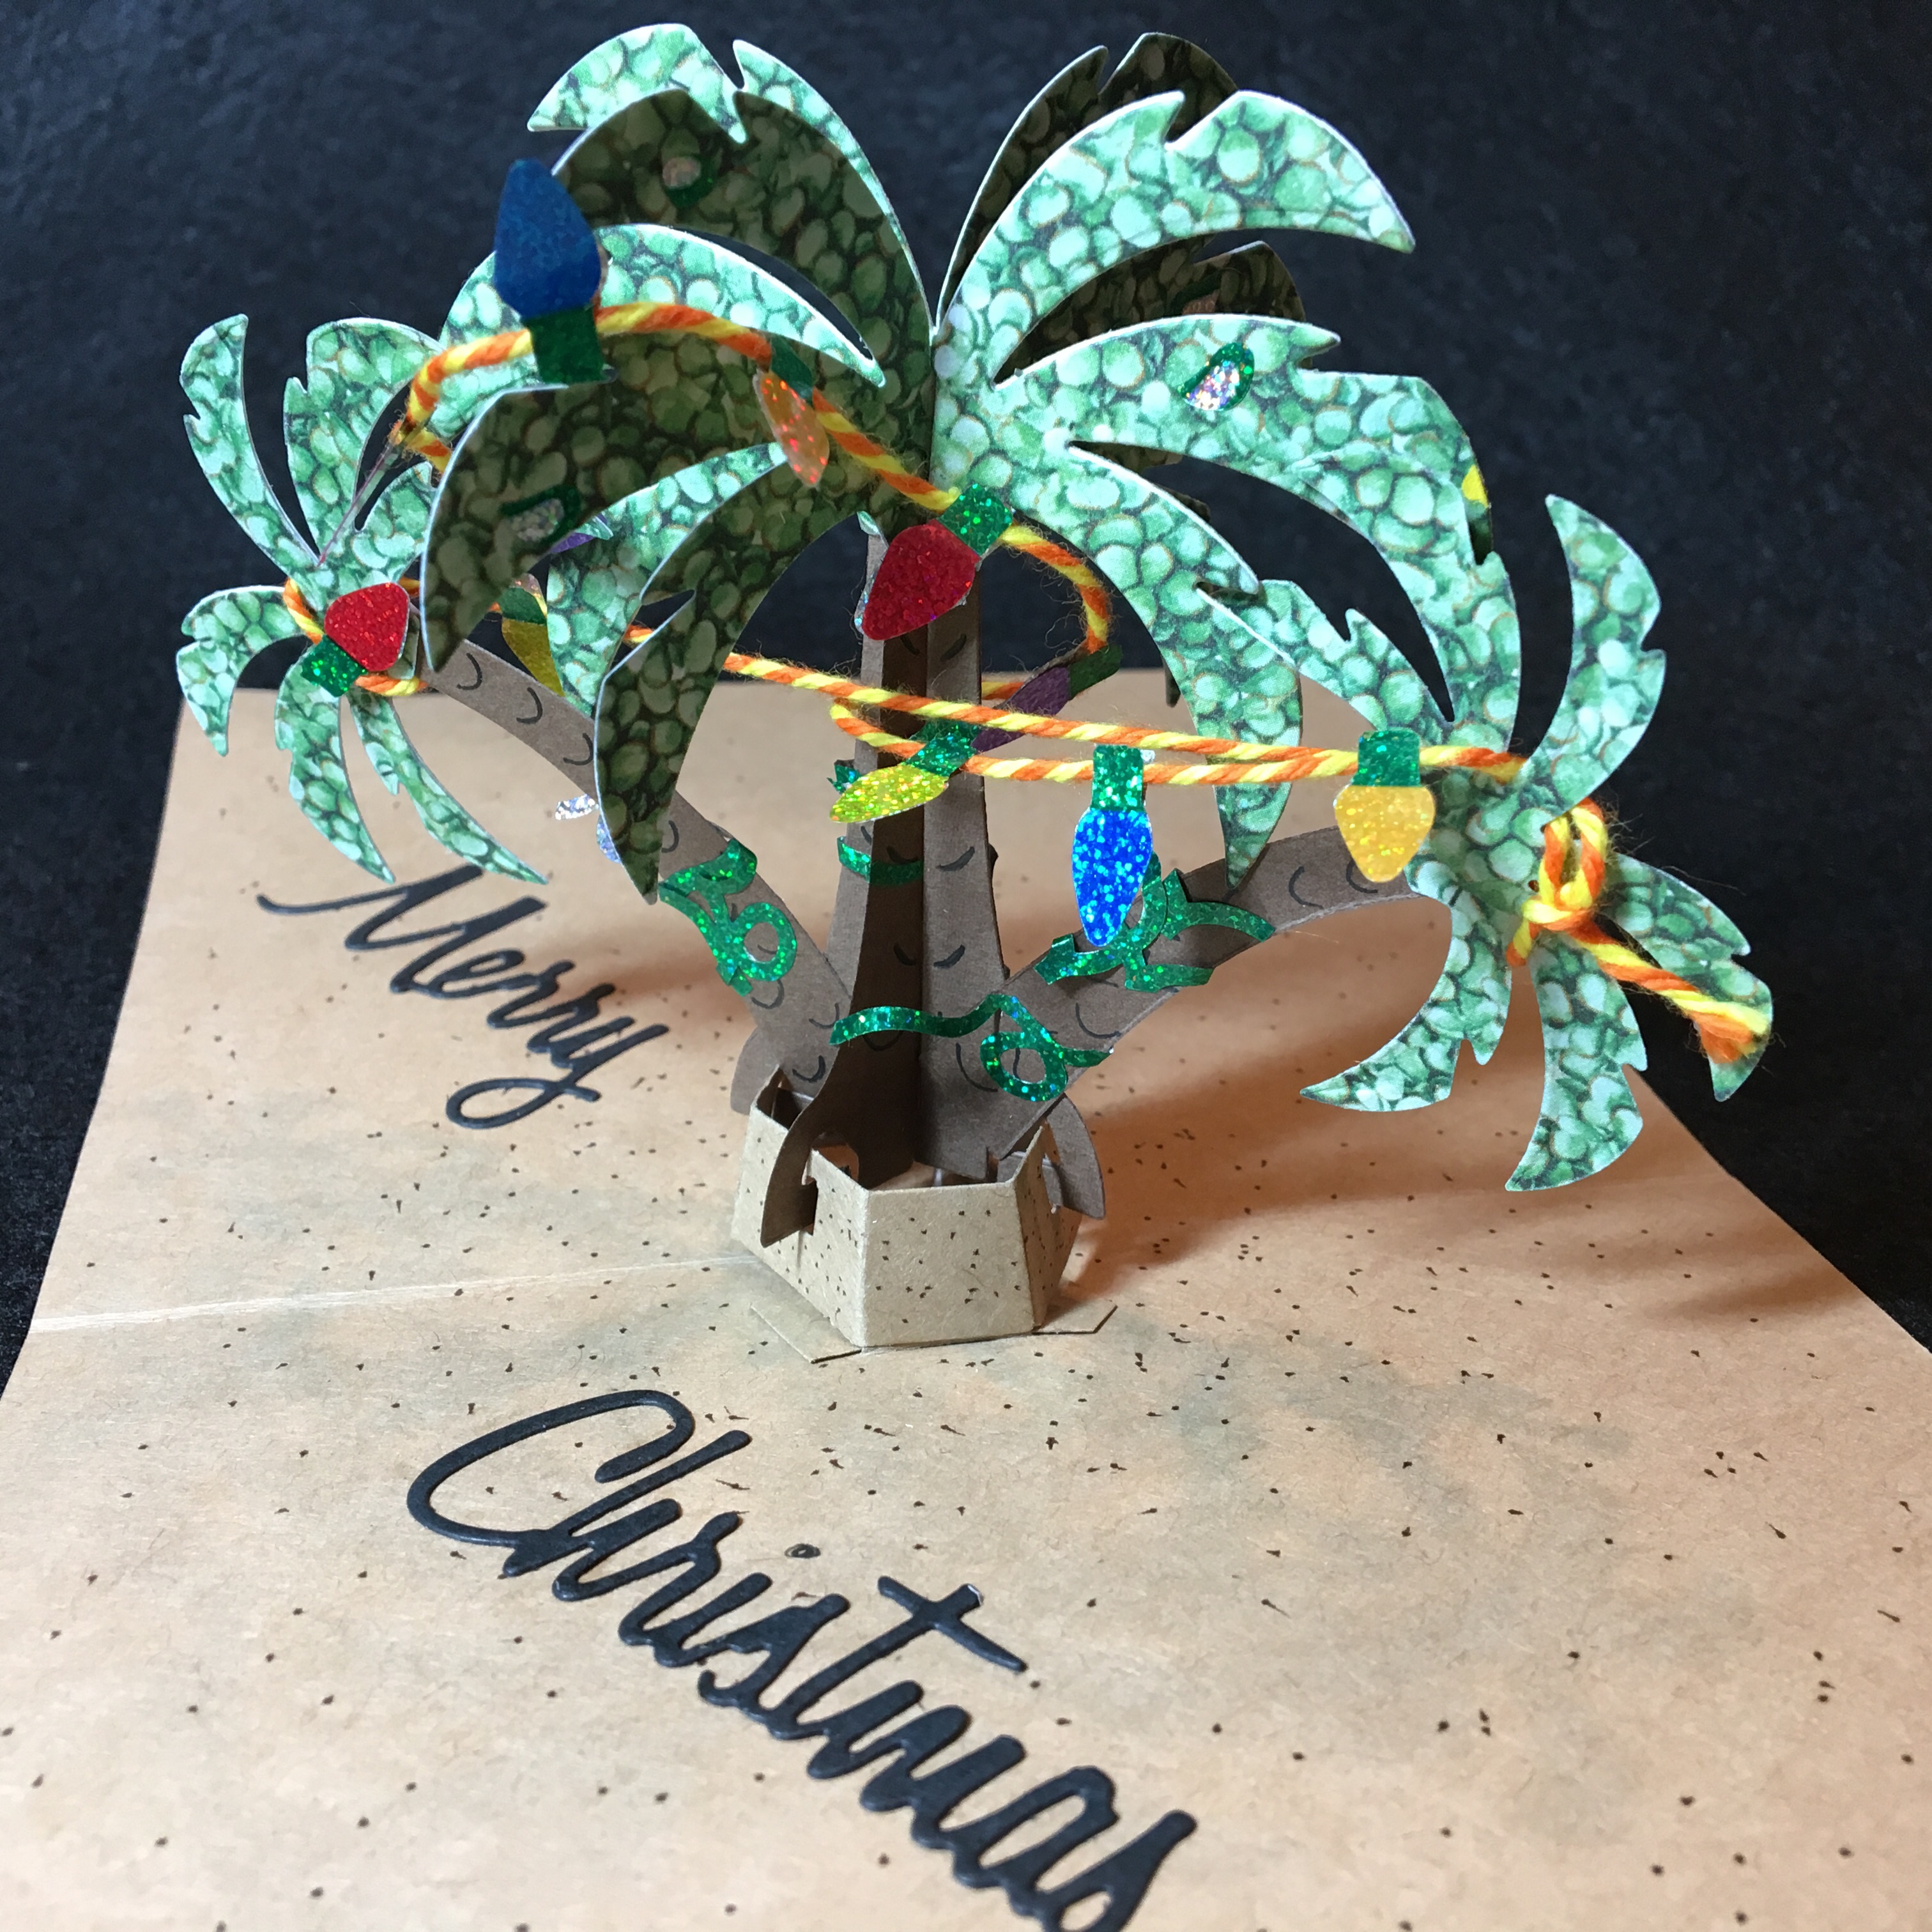
Need a fun way to give gift cards? Make a gift bag tree.

I used the new Mini Gift Bag die set by Karen Burniston to make 12 bags using patterned papers from a 12 Days of Christmas collection. You could use a jewelry tree or any other style of tree that would hold a number of bags. I made my own tree from foam core board and clear glitter. I plan to add gift cards, candy, crafting supplies and jewelry to my mini gift bags.

Bags: Cut out the bag pieces using the two bag dies for each bag. (If you use pattern paper with a design that has a top and bottom make sure the flat top of the die with the holes is at the top of your paper’s design top too.) Train the folds of the pieces. (I start with the tabs and fold that goes across near the bottom of the bag and then do the diagonal folds on the side that make the bag bottom fold up.) Fold the large back piece as directed on packaging and then add glue to the long side tabs. Glue front onto tabs. Fold in the tabs on bag bottom and glue shut. (You could use narrow double-sided tape instead of glue.) Let glue dry before adding ribbon or cording for handles. (I threaded the cording through the holes and tied knots to hold the cording inside the bag.) Using the Mini Alphabet and Numbers set, I glued gold numbers onto the front and backs of the bags.

Tree: Trace two of the trees from the downloadable pattern below onto foam core. (Pattern was cut from an 8.5×11-inch sheet of paper.) On one tree I made the slit go from the middle up and the other tree the slit go from the middle down. Using a craft knife cut out the trees. Fit the two trees together and adjust the fit by trimming off bits of the slits as needed. Use white paint (I used gesso) to cover any pen or pencil marks. Place the tree on a large sheet of paper to catch extra glitter. Cover a section of the tree with glue and sprinkle clear glitter over the tree to cover. Use the large sheet of paper to put extra glitter back into its container. Repeat gluing and glittering a new section until tree is covered with glitter.

Thank you for reading this blog post. I hope this inspires you and makes you smile. Please like and leave comments 😊

Materials Used:

Dies

Papers

  • Crafter’s Companion – 6×6 Double-Sided Paper Pad – 12 Days of Christmas
  • Matte Gold Cardstock
  • White Foam Core Board

Ink

  • Stampin’ Up – Classic Stampin’ Pad – Early Espresso
  • Memento – Fade-Resistant Dye ink – Tuxedo Black
  • Ranger – Tim Holtz – Distress Ink- Walnut Stain
  • Dark Green Fine Tipped Marker
  • Farber-Castell – Pitt Artist Pen- Bullet Nib – White-101 Marker – Snow
  • Sharpie – Permanent Marker – Ultra Fine Tip – Black
  • Pigma – Mircon 01 Fine Tip Pen – Black
  • Recollections Opaque Marker – Snow
  • Sakura – Gelly Roll Pen – Medium – White
  • Nuvo – Aqua Shimmer – Glitter Gloss

Adhesives

Tools

Miscellaneous

  • Cording – Thin Gold and Thick Gold/Green/Red
  • Ranger – Tim Holtz Distress – Rock Candy Clear Glitter

12 Days of Christmas Trees – Bonus Day

img_7189

I could not forget those who celebrate Christmas in the warmer climates. (Yes, Karen Burniston has a die for this one too!)

img_7187

Using the Palm Tree Pop-up die set, heavy kraft paper, baker’s twine and vintage Mrs. Grossman’s Christmas light stickers, this card comes together. The sand is a brown fine tip marker. The vintage postcards are free from copyright.

img_7195

See all the of the 12 Days of Christmas Trees by clicking on one below.

Day 1 – Give Joy -Plaid

Day 2 – Home for the Holidays-Village

Day 3 – Holly Joy

Day 4 – Snowy Day

Day 5 – Give Joy – Holly

Day 6 – Gingerbread Joy

Day 7 – Home for the Holidays-Joy to the World

Day 8 – Nutcracker Greetings

Day 9 – Plaid Joy

Day 10 – Home for the Holidays-Let It Snow

Day 11 – White Christmas

Day 12 – Home for the Holidays-Peace and Joy

Bonus Day – Topical Christmas

SUPPLIES USED:

Dies

Stamps & Ink (on envelope)

Paper/Stickers

Miscellaneous

  • Tombow Multi Mono Liquid Glue
  • ½ inch white double-sided tear tape
  • Baker’s Twine orange/yellow

12 Days of Christmas Trees – Day 12

Each day for 12 days, I have been showing card variations made with Karen Burniston’s Christmas Tree Pop-up die.  I recommend watching her assembly video before attempting to cut and assemble the pop-up tree.

For all of these cards I started with an A7 size card base (10 x 6 ½ inches), but because my die cutting machine can only accommodate 6-inch-wide pieces of paper, I had to trim the cards down to 10 x 6 inches.

Day 12 – Home for the Holidays-Peace and Joy

HFH-Peace-Inside

Using a paper collection kit makes inspiration and color matching easy and gives you the finished, color-coordinated cards that you might find in a high-end boutique shop.

I used the Echo Park Home for the Holidays Collection Kit by Alisha Gordon for this card. You can cut a 12 x 12 inch sheet into two 10 x 6 inch card bases (Ornaments #HFH73006). From a second sheet of 12 x 12 paper (Holiday Swirl #HFH73003) you will cut four sets of the tall center tree pieces and four of the smaller side trees. (I cut the paper into three strips – two strips wide enough for the center trees – folding these strips over to be able to double cut the large center trees.) by double cutting you have perfectly matched front and back for the center two sections. Glue them together.  This adds strength and ensures the tree is green from all angles of viewing. The star atop the tree is the only paper not contained in the kit. It is a holographic paper, cut twice for each piece, so the star can be seen as gold sparkles from all angles.

HFH-Peace-Front

I used one of the smaller topper with the ornament and decorated it with scraps from the inside tree cuttings and a white gel pen to write “PEACE” on the banner. The tree stand mechanism hole is piece patched. (See if you can find it?)

HFH-Peace-Inside-CU

Inside, stickers are used for decoration along with the tree itself.

See all the of the 12 Days of Christmas Trees by clicking on one below. Don’t miss tomorrow’s Bonus Day post!

Day 1 – Give Joy -Plaid

Day 2 – Home for the Holidays-Village

Day 3 – Holly Joy

Day 4 – Snowy Day

Day 5 – Give Joy – Holly

Day 6 – Gingerbread Joy

Day 7 – Home for the Holidays-Joy to the World

Day 8 – Nutcracker Greetings

Day 9 – Plaid Joy

Day 10 – Home for the Holidays-Let It Snow

Day 11 – White Christmas

Day 12 – Home for the Holidays-Peace and Joy

Bonus Day – Tropical Christmas

Click Here for video of all 12 trees

SUPPLIES USED:

Dies

Stamps & Ink (on envelope)

Paper

Miscellaneous

12 Days of Christmas Trees – Day 11

Each day for 12 days, I have been showing card variations made with Karen Burniston’s Christmas Tree Pop-up die.  I recommend watching her assembly video before attempting to cut and assemble the pop-up tree.

For all of these cards I started with an A7 size card base (10 x 6 ½ inches), but because my die cutting machine can only accommodate 6-inch-wide pieces of paper, I had to trim the cards down to 10 x 6 inches.

Day 11 – White Christmas

White Christmas front

This card was inspired by my memories of the movie “White Christmas” with Bing Crosby and Rosemary Clooney and Danny Kaye (Yes, I had to look that one up and sure it wasn’t Bob Hope.) Every time I watch it, I keep wishing it would snow during certain scenes, but (SPOILER ALERT) it doesn’t really snow until the end of the last scene.

So this card is bit like the old inn with it’s wooden rustic floors, cold New England nights, and a bit sentimental. The tree may have the allusion of blurred tiny lights, but it is really a Bo Bunny paper of succulent plants.

White Christmas inside

For the embossed tree skirt, used an older Karen Burniston die set from her Elizabeth Craft Designs time called Cup Pop Stand. I embossed the card base and then cut the circle in the wood grained paper (from the same Bo Bunny Garden Party Collection as the succulent paper). The die cut “Merry Christmas” and tree squiggles on the front of the card are also cut from the succulent paper. The mittens sticker and the front sentiment topper came from the Echo Park Home for the Holidays Collection.

White Christmas inside cu

Read the past posts of the 12 Days of Christmas Trees by clicking below on the list. Don’t miss the 12th post tomorrow.

Day 1 – Give Joy -Plaid

Day 2 – Home for the Holidays-Village

Day 3 – Holly Joy

Day 4 – Snowy Day

Day 5 – Give Joy – Holly

Day 6 – Gingerbread Joy

Day 7 – Home for the Holidays-Joy to the World

Day 8 – Nutcracker Greetings

Day 9 – Plaid Joy

Day 10 – Home for the Holidays-Let It Snow

Day 11 – White Christmas

Day 12 – Home for the Holidays-Peace and Joy

Bonus Day – Tropical Christmas

Click Here for video of all 12 trees

SUPPLIES USED:

Dies

Stamps & Ink (on envelope)

Paper

Miscellaneous

12 Days of Christmas Trees – Day 10

Each day for 12 days, I will be showing card variations made with Karen Burniston’s Christmas Tree Pop-up die.  I recommend watching her assembly video before attempting to cut and assemble the pop-up tree.

For all of these cards I started with an A7 size card base (10 x 6 ½ inches), but because my die cutting machine can only accommodate 6-inch-wide pieces of paper, I had to trim the cards down to 10 x 6 inches.

Day 10 – Home for the Holidays-Let It Snow

HFH-Snow-Inside

Echo Park Home for the Holidays Collection Kit by Alisha Gordon made this card quick and easy as well as professional looking. The double-side cardstock papers in the kit make it quick to create a card base. I used the Snowflake paper (HFH73013) for the tree and Festive Chevron (HFH73002) for the card base. A large card sentiment topper for the front and stickers for additional decoration inside and out made it a super-fast card to create.

HFH-Snow-Front

This a top fold card because of the orientation of the sentiment topper.  For the tree inside I cut two layers cut for the two taller center tree pieces so that all sides of the tree would show the green side of the paper while smaller side trees are single layer because the white side of the paper is not visible. Two snowflake stickers form the star atop the tree. The tree base was cut from a scrap piece of black cardstock The holes created by the tree mechanism cutting into the card base were pieced from the inside of the card to match the outside pattern. A sticker covers the front hole.

HFH-Snow-CU-Inside

Follow the rest of the 12 Days of Christmas Trees with a new post tomorrow.

Day 1 – Give Joy -Plaid

Day 2 – Home for the Holidays-Village

Day 3 – Holly Joy

Day 4 – Snowy Day

Day 5 – Give Joy – Holly

Day 6 – Gingerbread Joy

Day 7 – Home for the Holidays-Joy to the World

Day 8 – Nutcracker Greetings

Day 9 – Plaid Joy

Day 10 – Home for the Holidays-Let It Snow

SUPPLIES USED:

Dies

Stamps & Ink (on envelope)

Paper

Miscellaneous

12 Days of Christmas Trees – Day 9

Each day for 12 days, I will be showing card variations made with Karen Burniston’s Christmas Tree Pop-up die.  I recommend watching her assembly video before attempting to cut and assemble the pop-up tree.

For all of these cards I started with an A7 size card base (10 x 6 ½ inches), but because my die cutting machine can only accommodate 6-inch-wide pieces of paper, I had to trim the cards down to 10 x 6 inches.

Day 9 – Plaid Joy

Plaid Joy-Inside

My inspiration for this card was my working on a platform challenge card as well as needing a masculine card.  I had just picked up Ms. Sparkle Camping paper pad and saw the two plaids used in the card. The green, white and blue plaid reminded me of how the snow often is in the weeks leading up to Christmas – kind of spotty with some grass picking through it.

Plaid Joy-Front

The cover for the card is made up from extra pieces from the trees, the cardinal from the tree set, plastic confetti stars and a die-cut “Joy” from the Impression Obsession die “Joy to the World.”

Plaid Joy-CU Inside

The platform is something I had seen Karen Burniston do for a Halloween card and thought it would create a hill for the tree to stand on which the matched plaid paper helps camouflage in the photos. I cut two of the platforms from KB’s House & Fence Pop-up set and adhered the sides with the center pop-up together to make one large platform. Next, I placed the plaid paper where I wanted it to be on the base of the card and then played with placing the platform to make sure there was enough room for the tree to fold down inside the card when closed. Turning the platform upside-down onto the back of the plaid paper, I tracked the outline of the platform. Then I cut out the platform plaid paper and adhered it to the platform. Next, I flattened the platform to cut the tree-stand flaps into the center of the platform. I adhered the tree-stand to the platform before I attached the platform to the card base. (Before adhering the platform, I installed the plaid paper to the card base matching the plaids.)

The Merry Christmas and snow swirls come from an older Karen Burniston die set called Merry Christmas Pop-up. The holographic star and cardinal on the tree are in the Christmas tree set.

Follow the rest of the 12 Days of Christmas Trees with a new post tomorrow.

Day 1 – Give Joy -Plaid

Day 2 – Home for the Holidays-Village

Day 3 – Holly Joy

Day 4 – Snowy Day

Day 5 – Give Joy – Holly

Day 6 – Gingerbread Joy

Day 7 – Home for the Holidays-Joy to the World

Day 8 – Nutcracker Greetings

Day 9 – Plaid Joy

Day 10 – Home for the Holidays-Let It Snow

Day 11 – White Christmas

Day 12 – Home for the Holidays-Peace and Joy

Bonus Day – Tropical Christmas

Click Here for video of all 12 trees

SUPPLIES USED:

Dies

Stamps & Ink (on envelope)

Paper

Miscellaneous

12 Days of Christmas Trees – Day 8

Each day for 12 days, I will be showing card variations made with Karen Burniston’s Christmas Tree Pop-up die.  I recommend watching her assembly video before attempting to cut and assemble the pop-up tree.

For all of these cards I started with an A7 size card base (10 x 6 ½ inches), but because my die cutting machine can only accommodate 6-inch-wide pieces of paper, I had to trim the cards down to 10 x 6 inches.

Day 8 – Nutcracker Greetings

Nutcracker-inside

After using lots of Christmas and winter themed papers, I decided to look at other paper collections in my stash though I would challenge myself to use the Bo Bunny Garden party Collection which includes many cacti and succulent plants as well as white roses.

Nutcracker- front

For the card base I used two layers of a mosaic design in green. Because the cardstock is coated on the front, it makes it harder to get a sharp fold. I should have folded the outside and cut the inside into two pieces. To make for a flatter card when opened. The tree is cut from a striped paper in the collection and like other trees in this 12 posts blog, because the paper is print only on one side, I had to cut two of each of the center tall tree pieces and glue together. The smaller side tree pieces are a single thickness since the inside isn’t visible. The red cardinal and gold holographic star are cut from the Christmas tree die set.

White Christmas inside cu

Stickers from Echo Park’s Home For the Holidays collection finish out the decorations and sentiments for this card.

See all the of the 12 Days of Christmas Trees by clicking on one below.

Day 1 – Give Joy -Plaid

Day 2 – Home for the Holidays-Village

Day 3 – Holly Joy

Day 4 – Snowy Day

Day 5 – Give Joy – Holly

Day 6 – Gingerbread Joy

Day 7 – Home for the Holidays-Joy to the World

Day 8 – Nutcracker Greetings

Day 9 – Plaid Joy

Day 10 – Home for the Holidays-Let It Snow

Day 11 – White Christmas

Day 12 – Home for the Holidays-Peace and Joy

Bonus Day – Tropical Christmas

Click Here for video of all 12 trees

SUPPLIES USED:

Dies

Stamps & Ink (on envelope)

Paper

Miscellaneous

12 Days of Christmas Trees – Day 7

Each day for 12 days, I will be showing card variations made with Karen Burniston’s Christmas Tree Pop-up die.  I recommend watching her assembly video before attempting to cut and assemble the pop-up tree.

For all of these cards I started with an A7 size card base (10 x 6 ½ inches), but because my die cutting machine can only accommodate 6-inch-wide pieces of paper, I had to trim the cards down to 10 x 6 inches.

Day 7 – Home for the Holidays-Joy to the World

HFH-Joy-Inside

Using a paper collection kit makes inspiration and color matching easy and gives you the finished color coordinated cards that you might find in a high-end boutique shop.

I used the Echo Park Home for the Holidays Collection Kit by Alisha Gordon for this card. You can cut a 12 x 12 inch sheet into two 10 x 6 inch card bases (Ornaments #HFH73006). From a second sheet of 12 x 12 paper (Holiday Swirl #HFH73003) you will cut four sets of the tall center tree pieces and four of the smaller side trees. (I cut the paper into three strips – two strips wide enough for the center trees – folding these strips over to be able to double cut the large center trees.) by double cutting you have perfectly matched front and back for the center two sections. Glue them together.  This adds strength and ensures the tree is green from all angles of viewing. The star atop the tree is the only paper not contained in the kit. It is a holographic paper, cut twice for each piece so the star can be seen as gold sparkles from all angles.

HFH-Joy-Front

I used one of the smaller toppers and added the “Joy to the World sticker as well as scrap stripes from the cutting out of the trees for the inside. I positioned it off-center to camouflage the tree stand mechanism hole.

HFH-Joy-Inside -CU

While I inadvertently made the outside front a side fold card, inside I made it a top fold card to make the most of the message card.

Follow the rest of the 12 Days of Christmas Trees with a new post tomorrow.

Day 1 – Give Joy -Plaid

Day 2 – Home for the Holidays-Village

Day 3 – Holly Joy

Day 4 – Snowy Day

Day 5 – Give Joy – Holly

Day 6 – Gingerbread Joy

Day 7 – Home for the Holidays-Joy to the World

Day 8 – Nutcracker Greetings

Day 9 – Plaid Joy

Day 10 – Home for the Holidays-Let It Snow

Day 11 – White Christmas

Day 12 – Home for the Holidays-Peace and Joy

Bonus Day – Tropical Christmas

Click Here for video of all 12 trees

SUPPLIES USED:

Dies

Stamps & Ink (on envelope)

Paper

Miscellaneous

12 Days of Christmas Trees – Day 6

Each day for 12 days, I will be showing card variations made with Karen Burniston’s Christmas Tree Pop-up die.  I recommend watching her assembly video before attempting to cut and assemble the pop-up tree.

For all of these cards I started with an A7 size card base (10 x 6 ½ inches), but because my die cutting machine can only accommodate 6-inch-wide pieces of paper, I had to trim the cards down to 10 x 6 inches.

Day 6 – Gingerbread Joy

Gingerbread Joy -CU Inside

This card was inspired by my grandmother who always made her grandchildren gingerbread men for the holidays.  Sara Davis’s Winter Wonderland-Frosty Christmas dies have the proportionally correct size ornament, candy cane and gingerbread man for the pop-up tree.

Gingerbread Joy -Front

Gingham checked paper became the cover base paper while scrap pieces from the inside decorations (green strips from the inside tree pieces and the circle tree skirt) came into play with decorating the cover. The Gingerbread man hints at what is to come when opening the card.

Gingerbread Joy - Inside

The tree ornaments were decorated using gel and metallic pens following the embossed features from the dies. Merry Christmas is die-cut as well. The “with love” tag is hand lettered.

Gingerbread Joy -CU with love

Follow the rest of the 12 Days of Christmas Trees with a new post tomorrow.

Day 1 – Give Joy -Plaid

Day 2 – Home for the Holidays-Village

Day 3 – Holly Joy

Day 4 – Snowy Day

Day 5 – Give Joy – Holly

Day 6 – Gingerbread Joy

Day 7 – Home for the Holidays-Joy to the World

Day 8 – Nutcracker Greetings

Day 9 – Plaid Joy

Day 10 – Home for the Holidays-Let It Snow

Day 11 – White Christmas

Day 12 – Home for the Holidays-Peace and Joy

Bonus Day – Tropical Christmas

Click Here for video of all 12 trees

SUPPLIES USED:

Dies

Stamps & Ink (on envelope)

Paper

Miscellaneous