Needing multiples of the same card layout, I made 16 cards for a dog lover’s card swap using one Echo Park Paper Company’s collection kit I Love My Dog and Karen Burniston’s Flip Frame Pop-Up and Hello die sets.

Watch the video for instructions on the construction of the cards.
Read more below on specifics of this card layout.
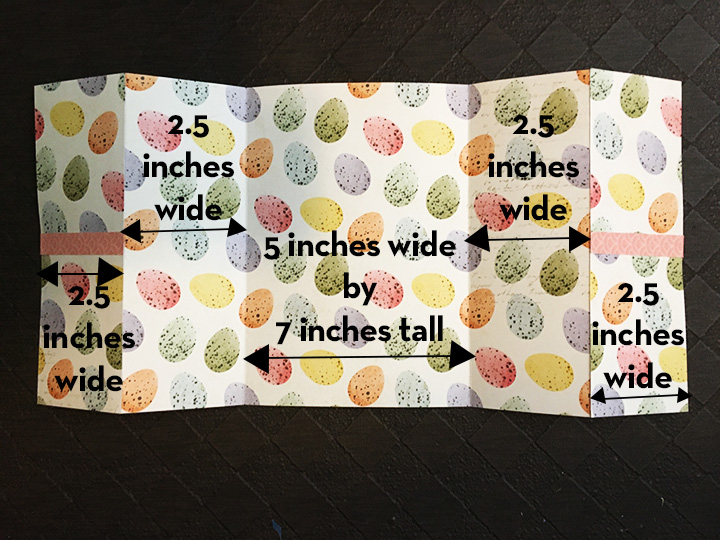
Cardbase: From each sheet of 12×12-inch cardstock, cut two 5.5×8.5-inch panels. Fold each panel in half to form a 4.5×5.5 cardbase.
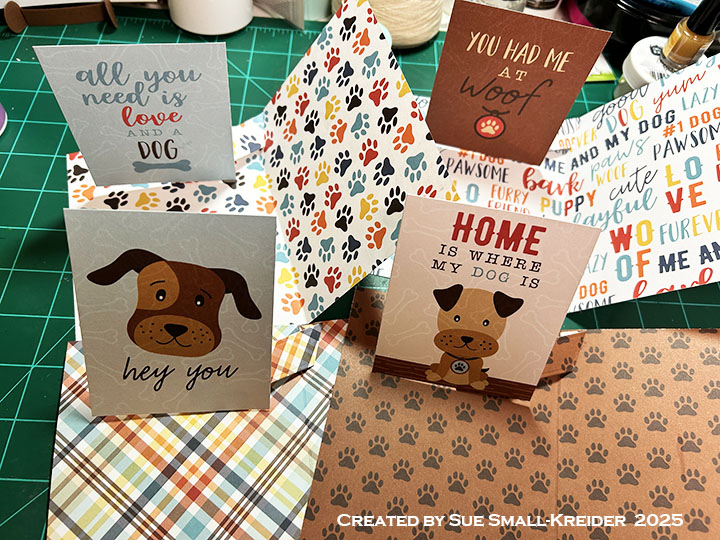
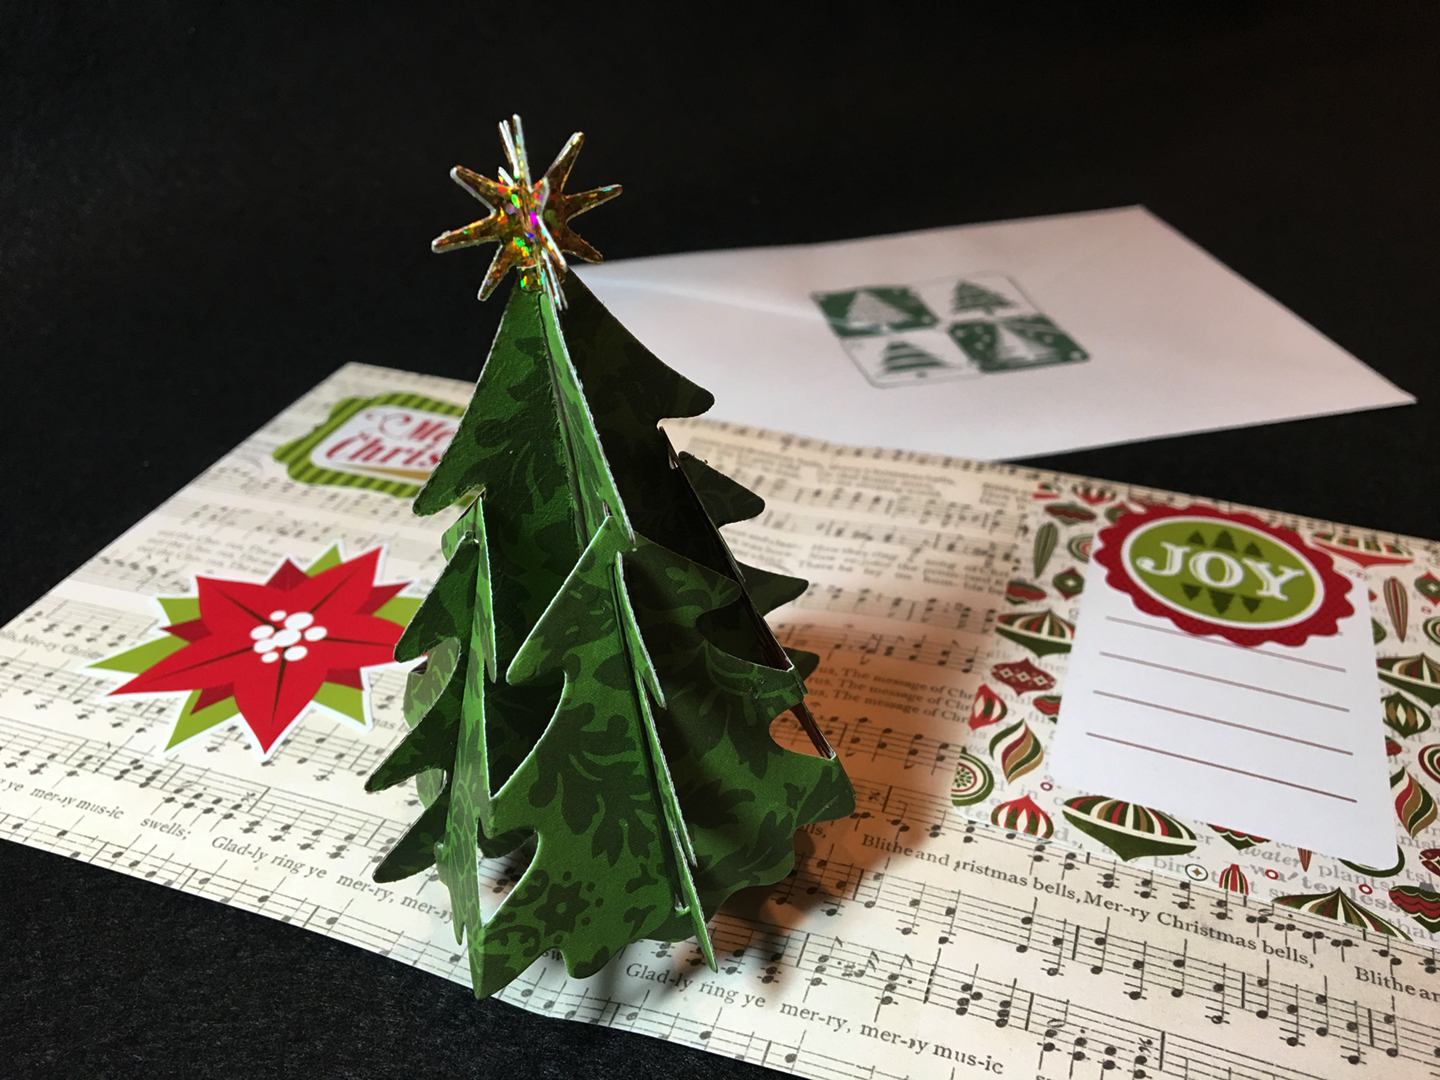
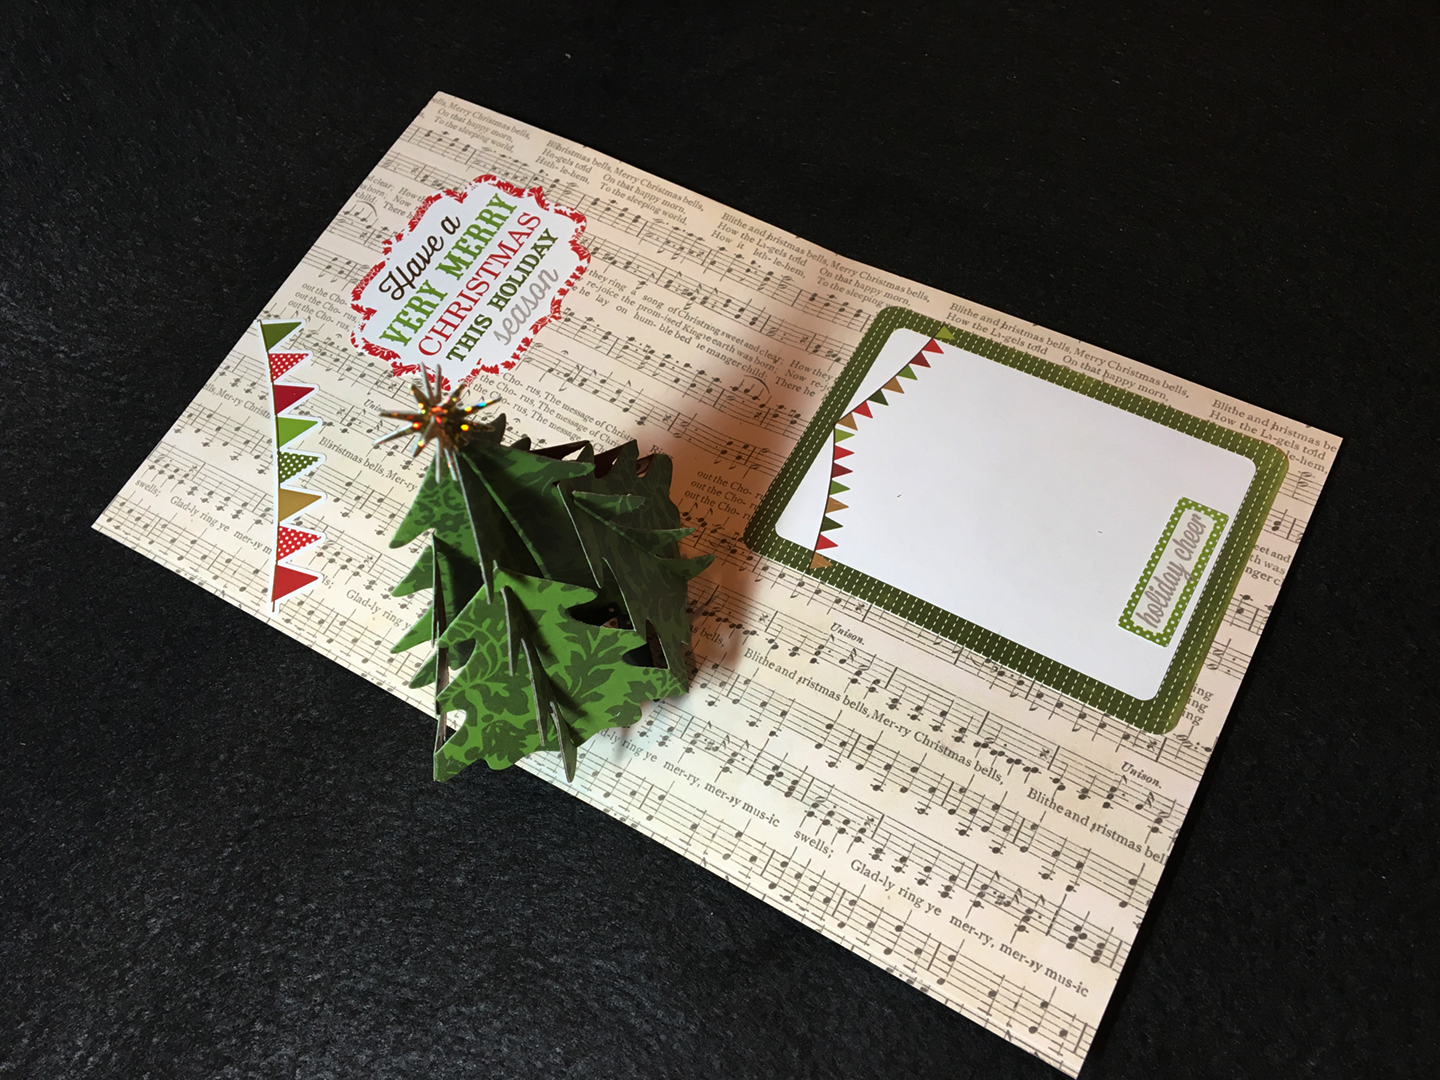
Flip Frame Pop-Up: Watch the assembly video for the Flip Frame Pop-Up located at the bottom of the linked page. Cut one mechanism from matching cardstock to the card inside. Cut the journaling card down to 3 .75-inches tall x 3 inches wide. Glue mechanism and journaling card into card base as shown in video above.

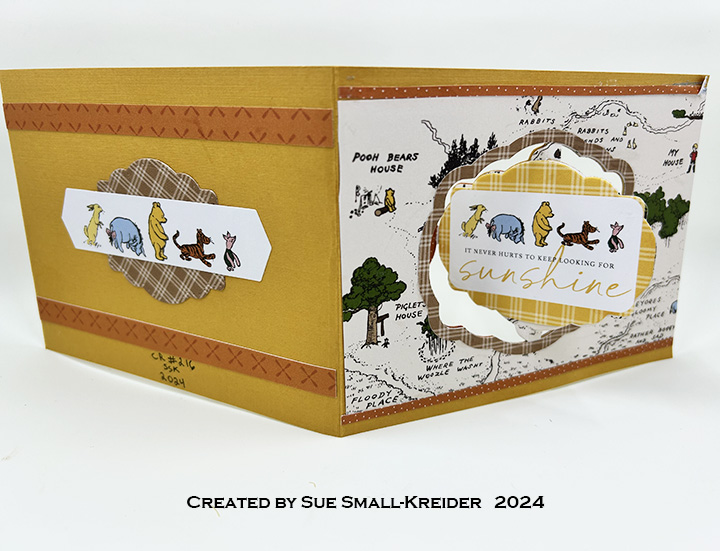
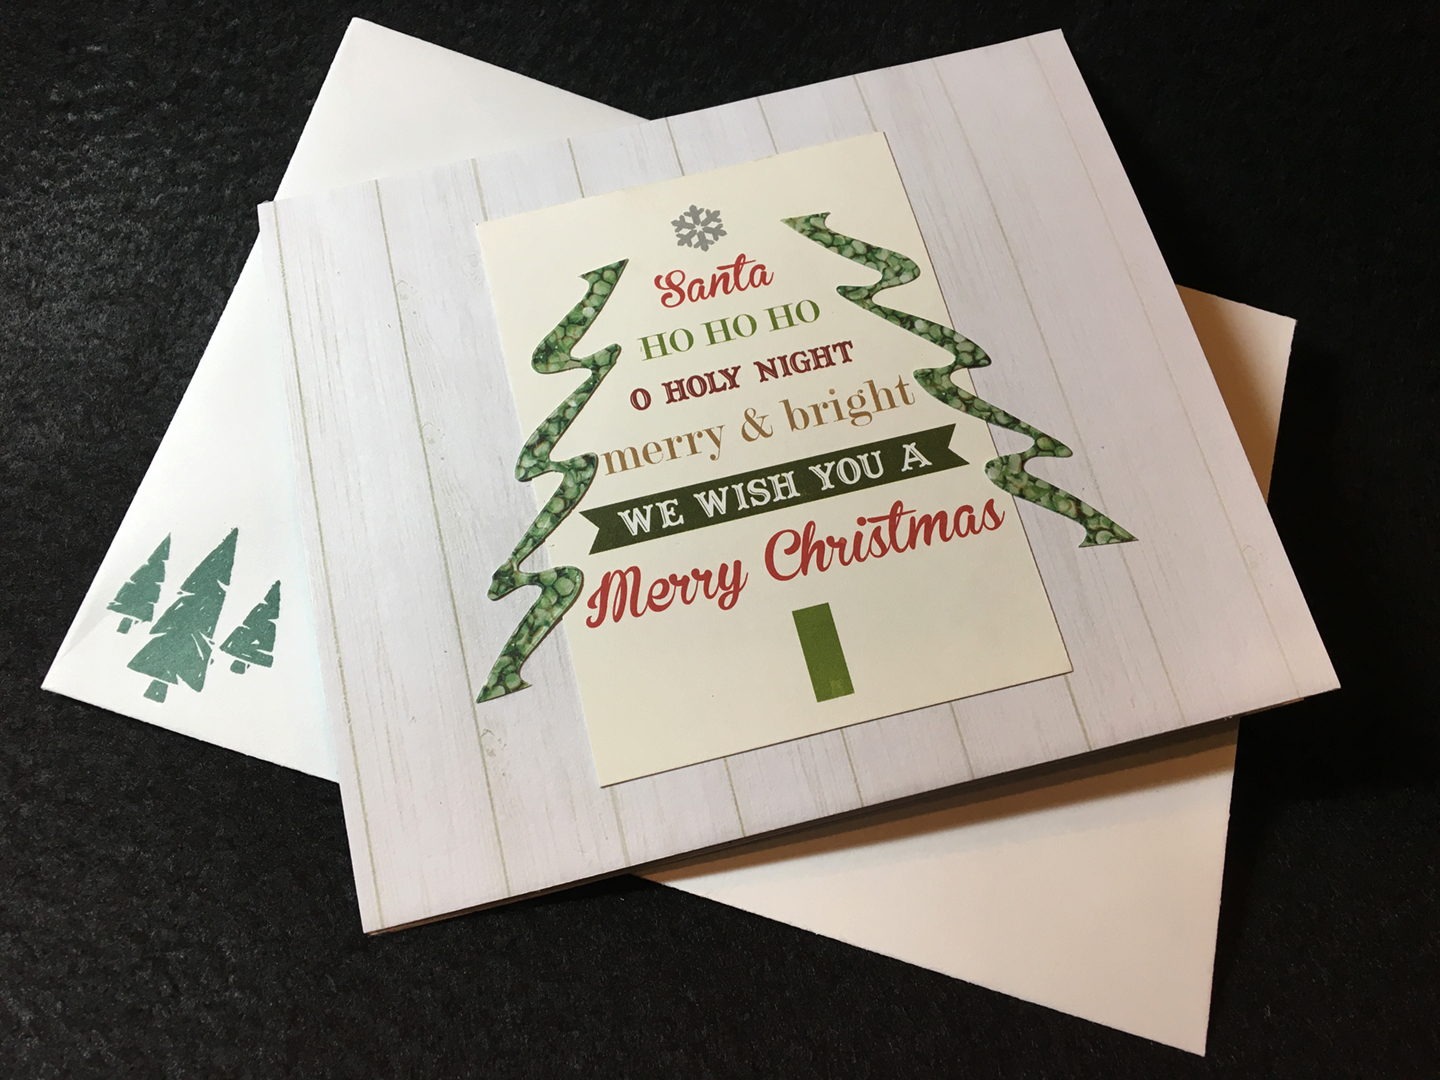
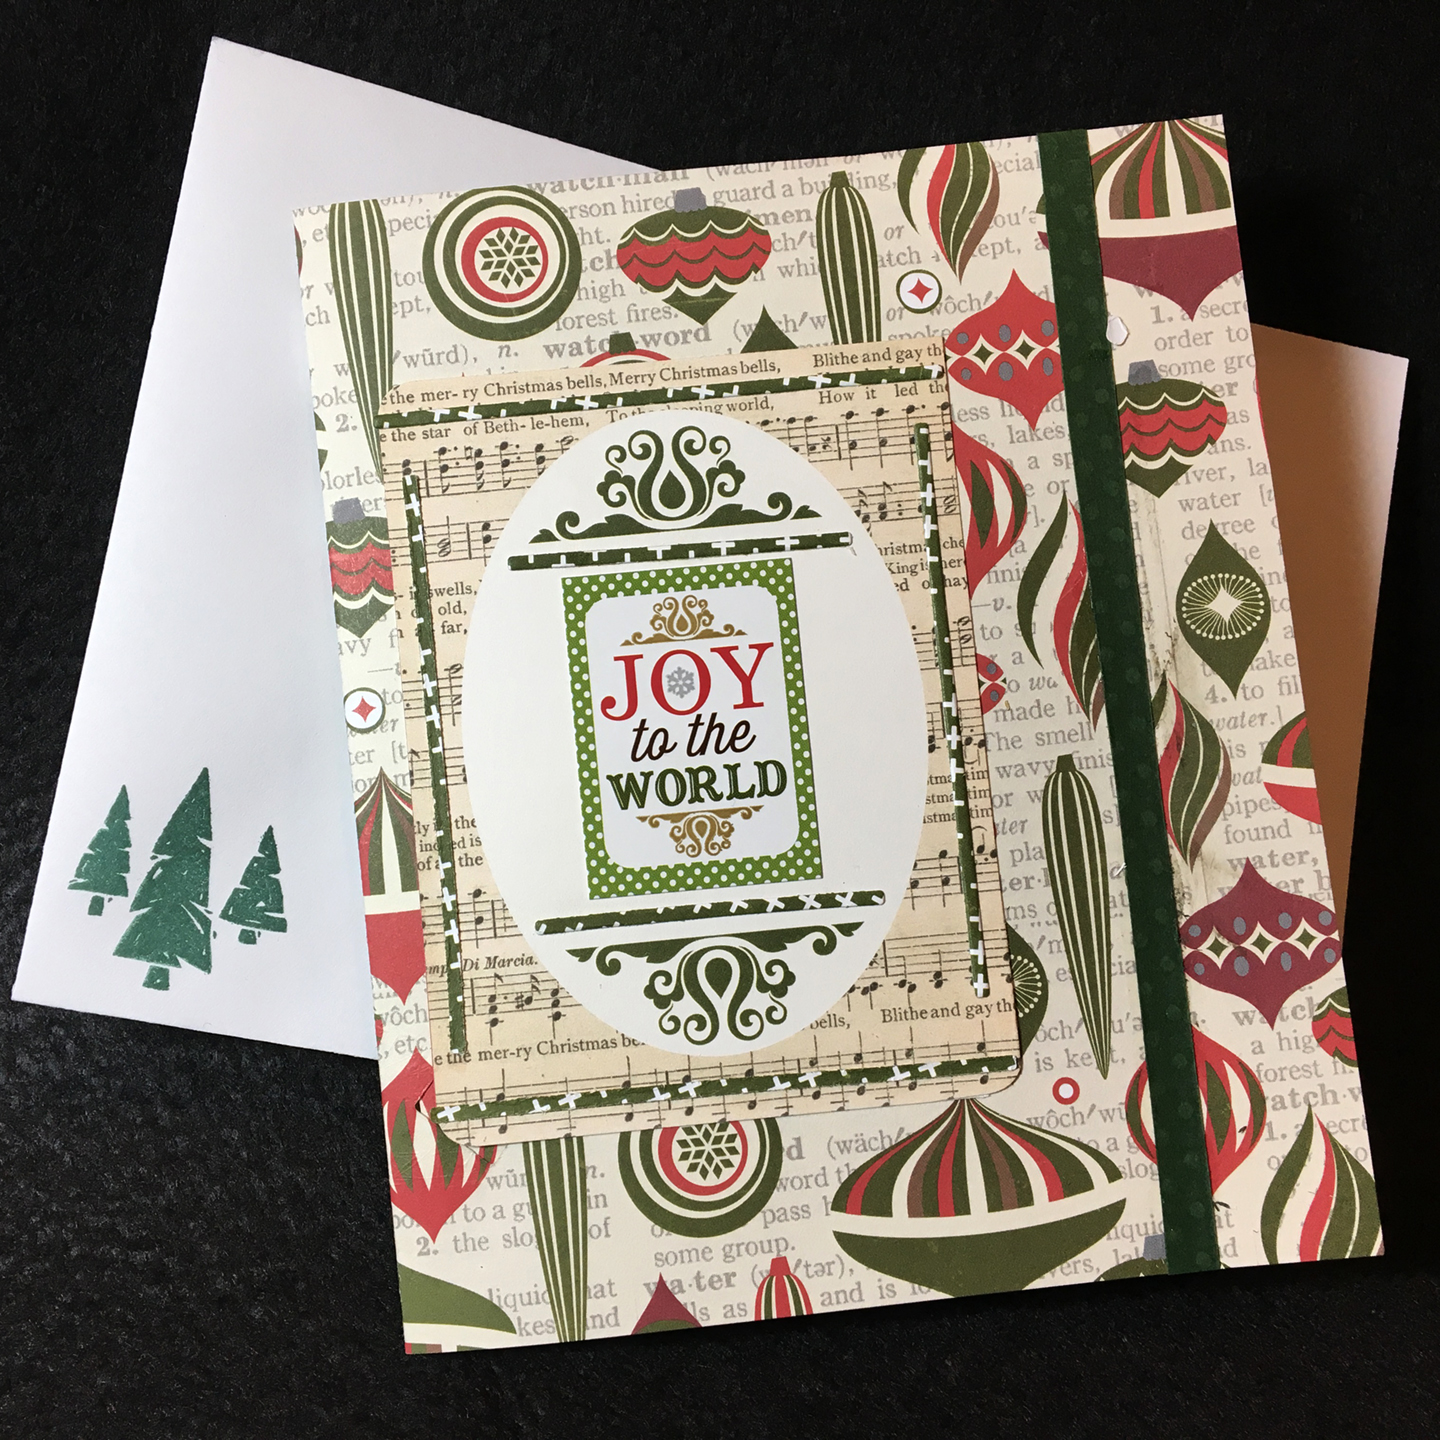
Sentiments: The die cut shadow and word “Hello” on the card front are by Karen Burniston. All the flip panels with sentiments are journaling cards from the paper collection. A personalized inside sentiment panel will be added to the inside right panel.
Envelope: These cards fit into an A2 (4.25×5.5-inch) envelope. The envelope flaps have been decorated with stickers from the kit.
___________________________________
Thank you for experiencing this blog post. I hope this inspires you and makes you smile. Please like and leave comments 😊
___________________________________
Disclaimer: Karen Burniston products are provided free of charge by the manufacturer for review and use. All other items were personally purchased. Compensated affiliate links used where or when possible, meaning I will receive a small percentage commission from these manufacturers at no cost to you. This will allow me to add more content to my YouTube channel and help out a lot. Thank you.
Materials Used:
Dies
- Karen Burniston in cahoots with Riley and Company – Hello – 1166
- Karen Burniston in cahoots with Riley and Company – Flip Frame Pop-Up – 1134
Papers
- Echo Park – 12×12-inch Double-Sided Cardstock – I Love My Dog
Ink
- Pigma – Mircon 08 Fine Tip Pen – Black
- Stampin’ Up – Stampin’ Write Double Tip Marker -Chocolate Chip
Adhesives
Tools
- Die Cutting Machine
- Paper Trimmer
- Bone Folder
- Scissors
- Paper Masking Tape