Father’s Day Cards In Review

Here is a look at Fatherโ€™s Day cards Iโ€™ve made over the years. (Click on the title to see the blog.)

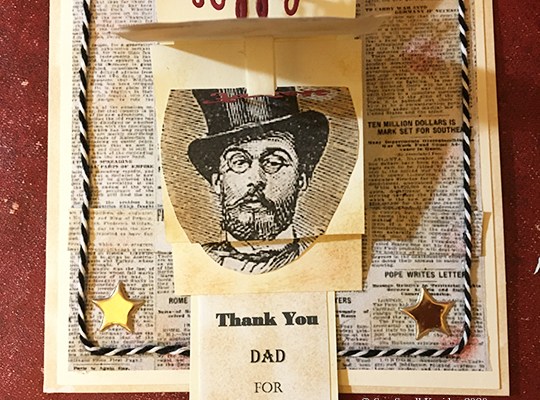
Fatherโ€™s Day Waterfall Pop-up

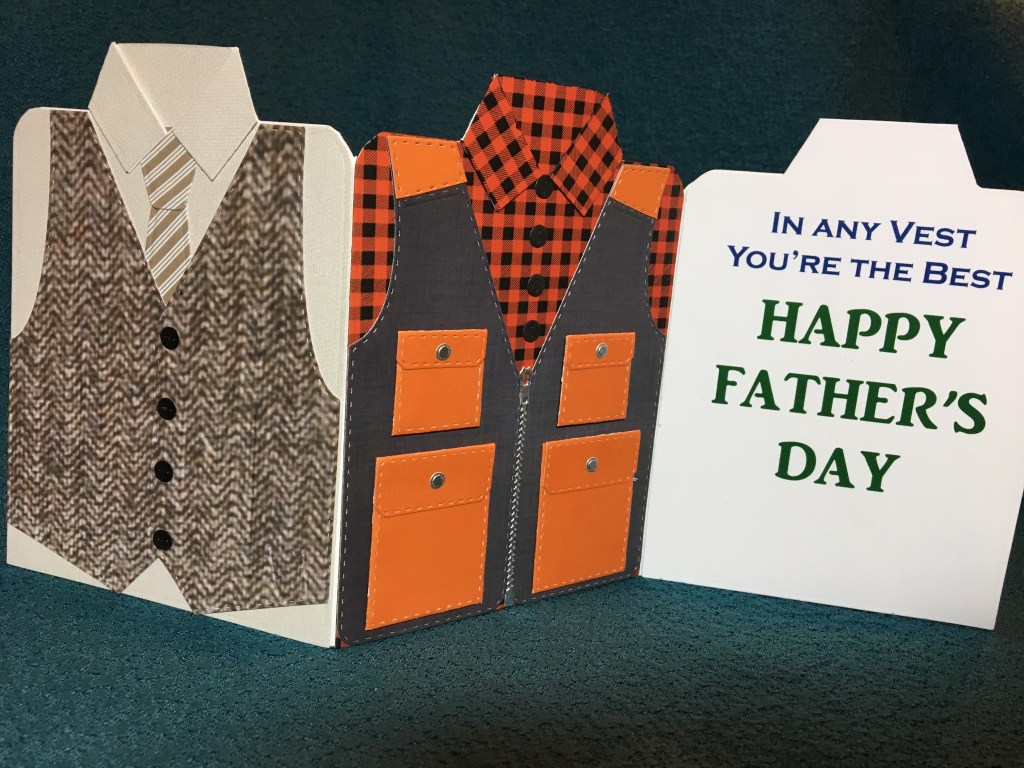
In-VEST

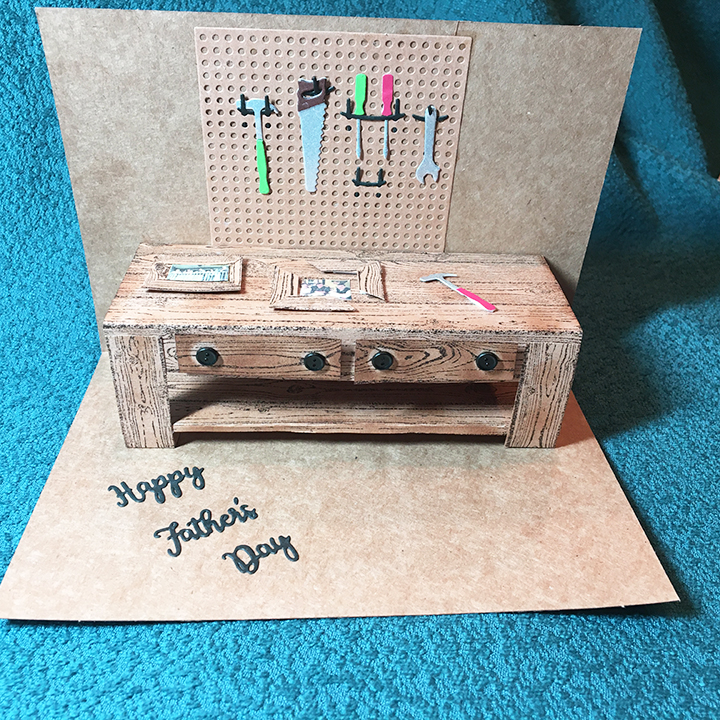
Work Bench

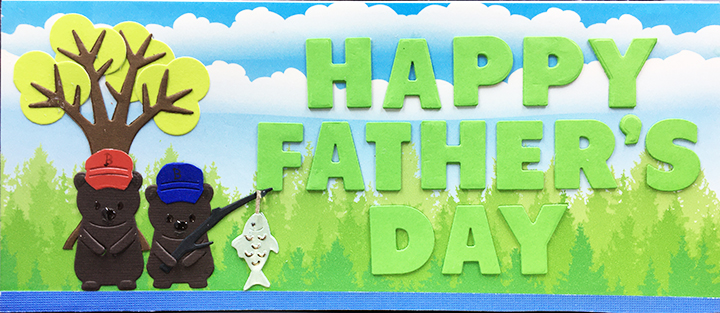
A Fishing Fatherโ€™s Day

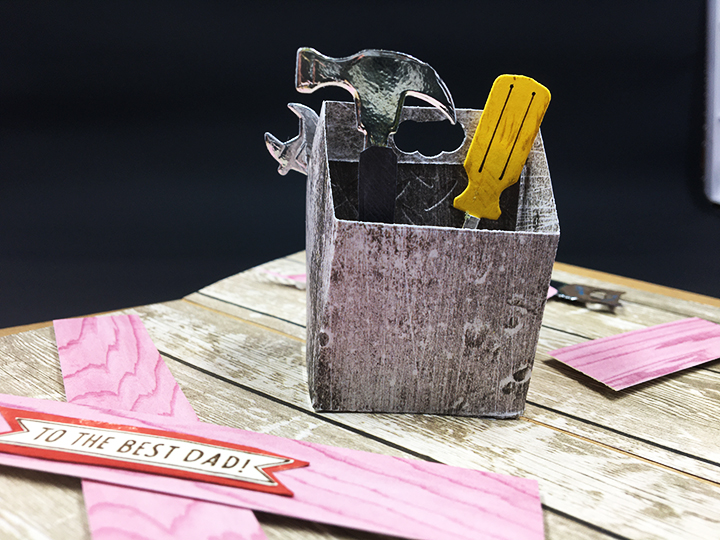
A Toolbox Fatherโ€™s Day

A Train Loverโ€™s Fatherโ€™s Day

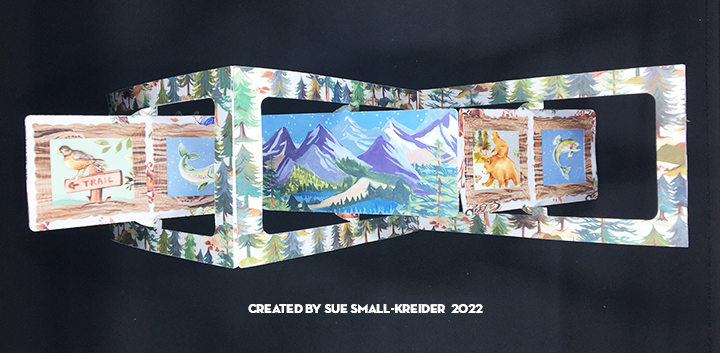
A Cabin Fathers Day Card

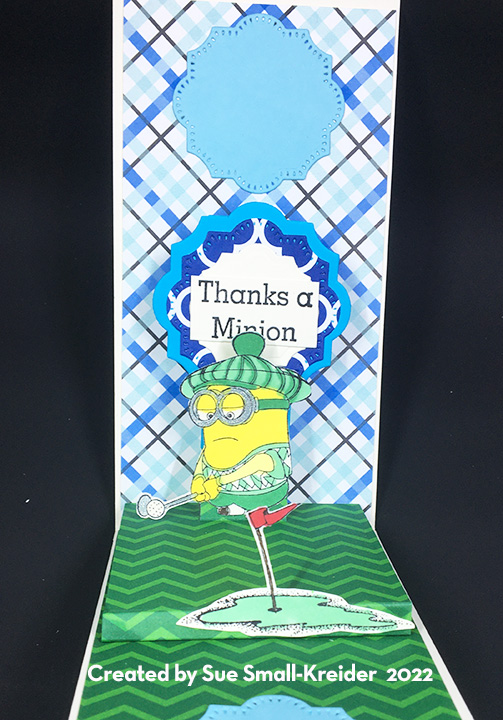
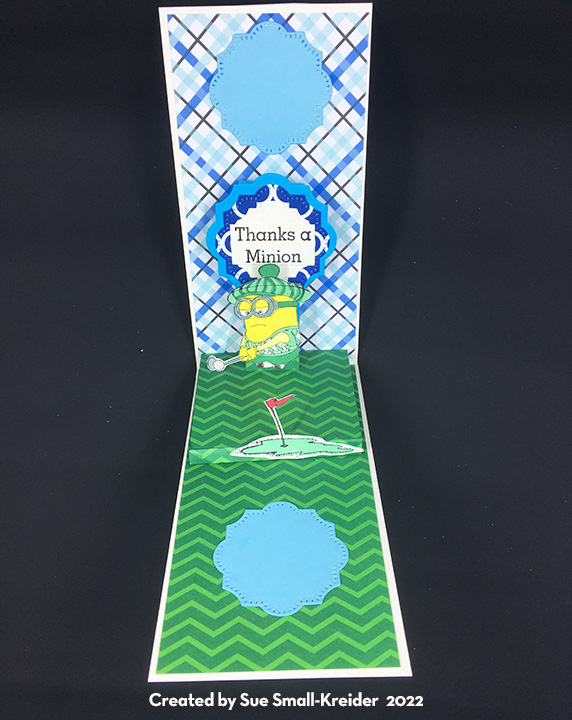
A Golfing Minion Fatherโ€™s Day Card

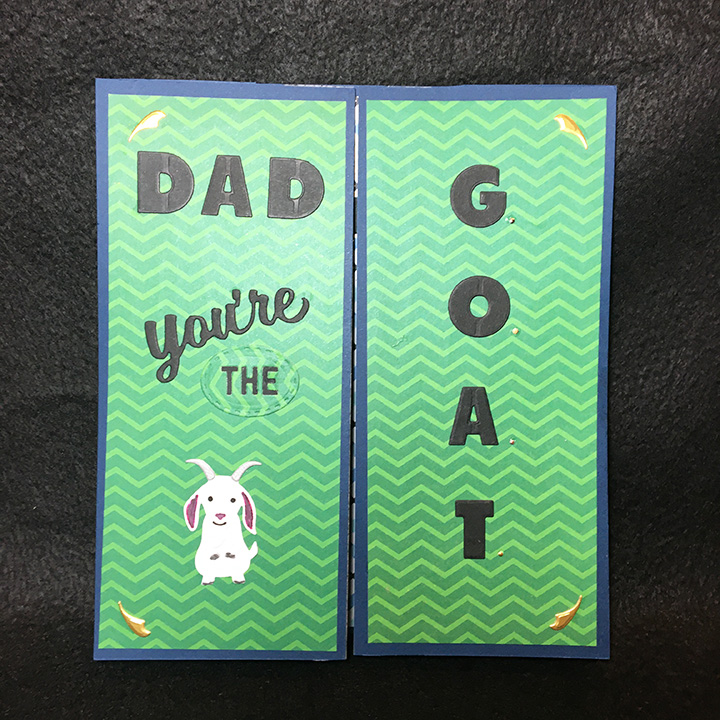
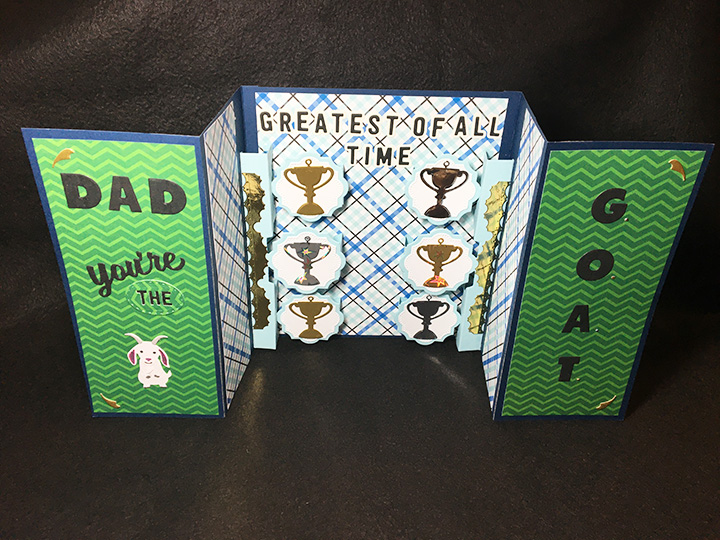
YOUโ€™RE THE G.O.A.T.

Go Bears Fatherโ€™s Dayย Card

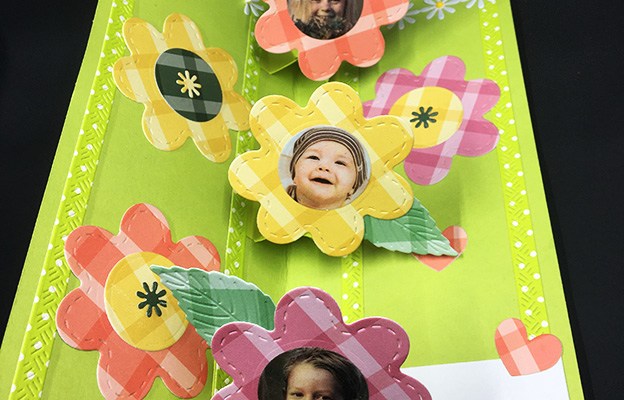
Waterfall Fatherโ€™s Day Card โ€“ This card has photos of this manโ€™s children that can be flipped through when the waterfall pull tab is pulled.

Thank you for reading this blog post. I hope this inspires you and makes you smile. Please like and leave comments ๐Ÿ˜Š

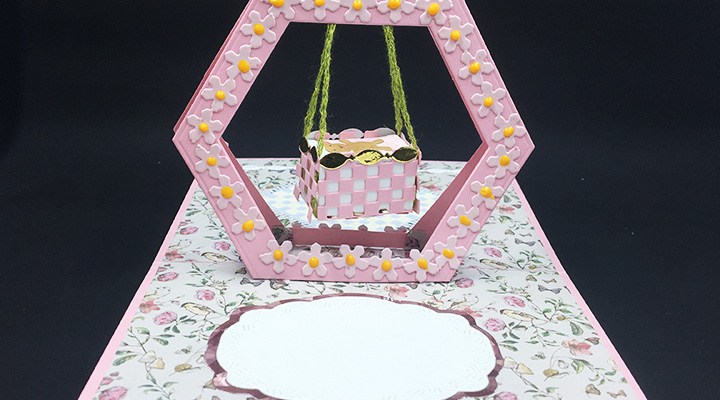
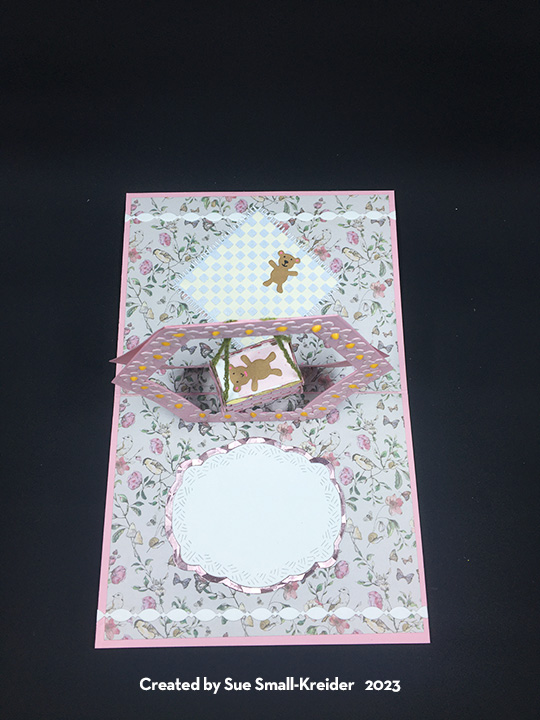
Rock-A-Bye Baby

Itโ€™s time for the Karen Burniston Design Team Challenge for June. We were asked to use the theme of wedding or baby. I have chosen to welcome a new baby.

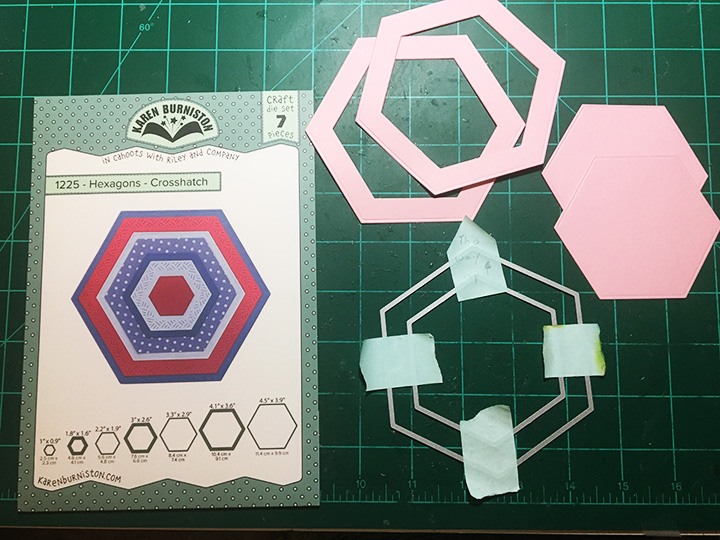
To create this pop-up cradle swing, the following Karen Burniston’s dies were used: Bam Box Pop-Up, Crosshatch Hexagons, Picnic Elements, Christmas Trees Pop-Stand, a rubber band and some embroidery floss.

Cardbase and Pop-Stands: Cut an 11×4.25-inch piece of pink cardstock and fold to form a 5.5×4.25-inch top fold cardbase. (Watch Christmas tree pop-stand assembly video at the bottom of the die’s page.) Cut two pieces of decorative paper as 5.25×4-inches and use clear tape on the back side for placement in card. Use the hexagon for the cradle stand to determine placement of the pop-stand die-cuts. Using decorative paper scraps, cover the four holes that pop-stands leave on back side of paper.

Cradle Stand: taping the largest two plain hexagons from the crosshatch hexagon set, die cut two from heavy pink cardstock. Trim bottom edge .25-inch so that it will measure 4.25-inches or less to fit into cardbase.

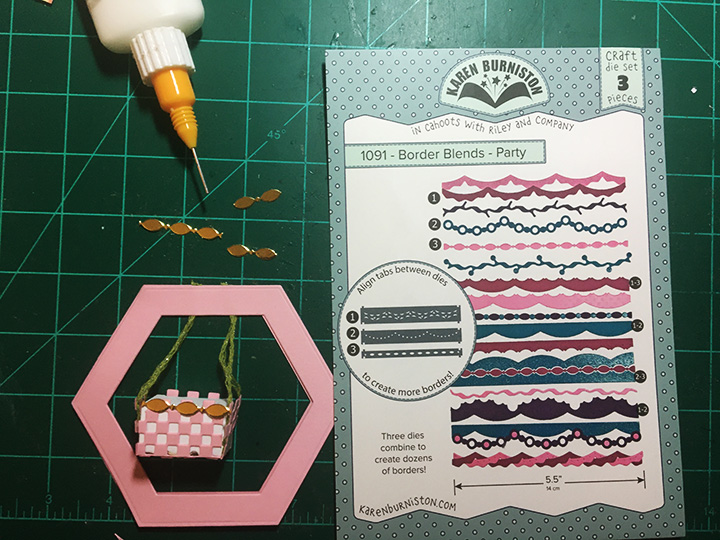
Cradle: From the two leftover hexagons, die cut the checker grid from the blanket in the picnic elements set. (Watch assembly video at the bottom of the bam box page.) Create a white bam box and cut four pieces of the checker grid to be the sides of the bam box cradle. Cut two 6-inch pieces of green floss or cord. Glue floss/cord to bottom of bam box. Tape square pink end pieces to bottom of bam box with the floss glued to checker grid pieces. (I would recommend cord as the floss unraveled on me. Also I would glue the checker grid onto thin white copier paper to make less catch-points on the cradle.) Glue longer pink sides to bam box sides to form cradle. Use a border from the party border blends to create a finished edge of the cradle from gold foil cardstock. Glue the floss between the top bar of the two hexagons. Pull floss to make cradle hang straight before glue sets. Trim off excess floss once glue has dried. Cut one bam box decorator side piece from pink speckled paper and trim to fit the cradle as a blanket.

To make the cradle close, flatten bam box and fold in the square ends with floss. Hold flat as card is closed.

Blanket and Bears: Cut from pearlescent paper the fringed picnic blanket and from cream paper the checkered grid. glue together. Cut three teddy bears from light brown cardstock using bear die from the holiday charms set. Using the stencil features in the bear die, ink in eyes, nose and mouth with a black gel pen and the ears with a pink gel pen. One bear is in the cradle and other is on the blanket. The last bear is on the envelope flap.

Decorations: Flower borders cut from pink speckle paper using the long nature borders 2 set, are used on the cradle stand frame and card front and back. (Front with yellow Nuvo drops centers and back with pink gel pen stenciling.) More of the party border blends borders,cut from white cardstock, are used on all card panels. (See assembly video explaining how to get the border on the card back.)

Personal Message Label: The largest crosshatch label die from the rectangles and labels die set was cut in white.The thin metallic pink frame was made by using the largest label frame and the crosshatch label dies taped together. (This was a leftover piece I had saved from another project.)

Sentiment: Two sentiments were used to create the “Welcome BABY” on the card front. Welcome is its own die set with word (white) and shadow (pink speckle) dies. BABY is from the baby charms set which was cut once each from white and from pink and blue speckled papers. The blocks base is cut from white. Some paper piecing was done using pieces from the different papers to created the colorful blocks.

Envelope: The card fits an A2 size envelope.with the back flap decorated with a strip of the decorative paper and the last teddy bear.

Thank you for reading this blog post. I hope this inspires you and makes you smile. Please like and leave comments ๐Ÿ˜Š

Materials Used:

Dies

Papers

  • Craft Consortium – Hackney & Co.- 6″x6″ Double-Sided 200gm Papers – English Garden
  • Lawn Fawn – 6″x6″ Double-Sided Paper Pad – Spiffy Speckles
  • Bazzill – 8.5″ x 11″ Heavy Cardstock – Cotton Candy
  • White, Cream and Cream Pearlescent Cardstock
  • Gold Foil and Pink Holographic Scraps
  • Staples – Invitation A2 Envelope – Pink

Ink

  • Gel Pen – Pink
  • Sakura – Gelly Roll Pen โ€“ Medium – Black

Adhesives

Tools

  • Die Cutting Machine
  • Paper Trimmer
  • Scissors
  • Craft Knife
  • Bone Folder
  • Kat Scrappiness – Telescopic Embossing Powder Tool with Retractable Brush
  • Quickstik Tool

Miscellaneous

Celebrating 66 Years of Marriage!

Recently I had the honor of creating a pop-up card celebrating a couple’s 66th wedding anniversary. Since there are no special designations for the 66th anniversary, I decided to go with silver, gold and sapphire blue as colors and balloons, stars, hearts and streamers as elements. My inspiration for the card came from a 50th anniversary card by Nicky Foden using Karen Burniston‘s Heart Collage Pop-Up, Balloon Collage Add-Ons and other dies.

Before I began, I read through Nicky’s blog on her card and watched Karen Burniston’s video on making a triple heart collage slimline pop-up card. I learned that I would need to trim down the outer mechanisms’ arms that will stick out of the card and continually test the placement of items to avoid catch points. The mechanism I used is the from the Heart Collage Pop-Up die set.

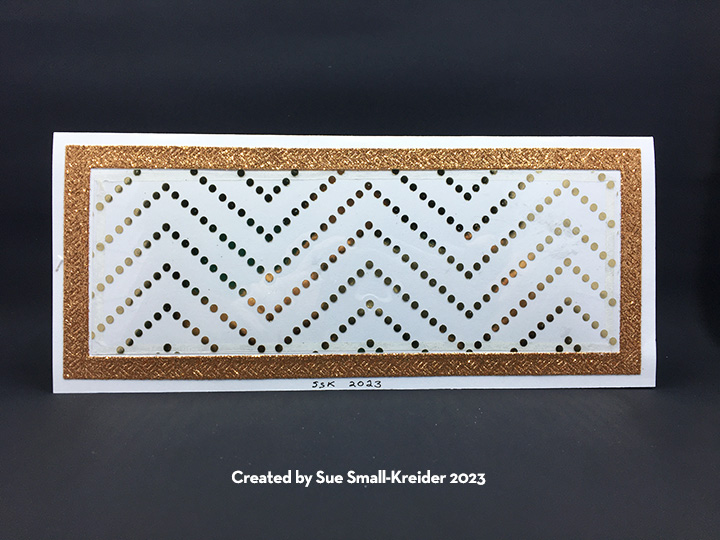
Cardbase: I used a medium weight white cardstock rectangle measuring 8 3/4 x 7 3/4-inches. When folded in half, the card measures 3 3/8 x 8 3/4-inches. Using the largest two dies from the Long Rectangles – Crosshatch die set, I cut frames from gold glitter cardstock and a large white rectangle to cover the front of the card. The frames went on the front and back of the card. For the inside of the card, I followed the dimensions of the largest die, but used a paper cutter to cut two panels of gold dotted acetate. (The acetate was too thick for the die to cut well.) While the glitter cardstock and white cardstock could be adhered using glue, the acetate required double sided-tape. Measuring the inside of the glitter frame on the back of the card, I cut a piece of acetate to fit the opening.

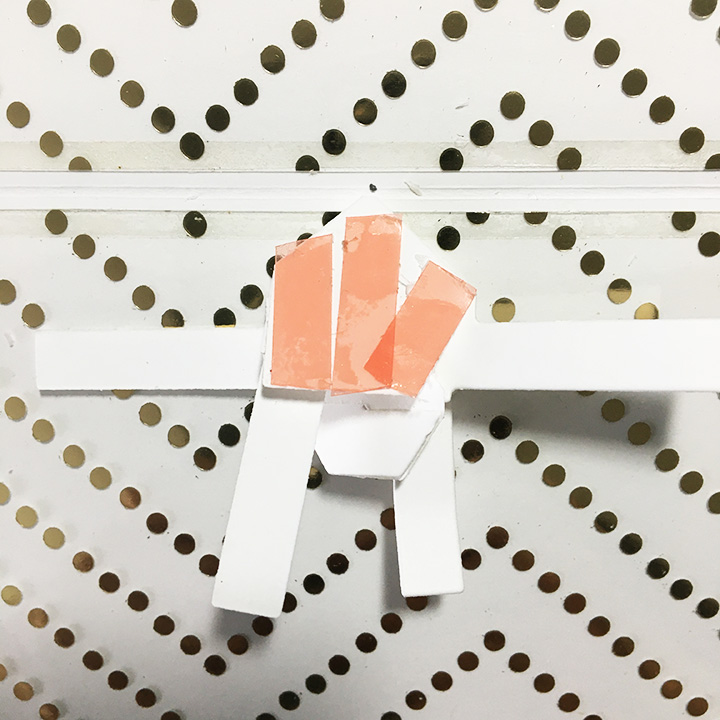
Mechanisms: Following Karen’s instructions on the placement of the mechanisms, I marked the locations with pencil on the inner fold. Making sure to line-up the pencil mark in the center hole of the mechanism and aligning the mechanism fold to the card fold, before I adhered one side of the mechanism to the card. Because of the acetate being used for the surface the mechanisms would adhered to, I used red backed super sticky double-sided tape. Once the mechanisms were in place and trained by opening and closing the card, I noted which arms stuck out of the card and trimmed them to fit inside the card.

Decorating: Die-cutting a number of balloons and stars from the Balloon Collage Add-Ons die set and ribbons with tiny hearts from the Border Blends – Trims, I hoped I had enough pieces to decorate the card. Watching Karen’s video one more time to see how the dimension pieces needed to be installed on the mechanisms, I stated with those balloons on the top arms. I worked from the tips of the arms and center mechanisms using balloons, testing for catch points before gluing in permanently. Next came stars and streamers (I cut the ribbon down into smaller streamers.) Finally the tiny hearts. I used double-sided tape to adhere anything to the front of the glitter cardstock or acetate on the cardbase.

Sentiment: To create the custom “Happy 66th Anniversary” sentiment on the front of the card, I used two die sets – Word Set 12- Anniversary and Numbers. The Numbers set comes with the “th” as well as “st”, “rd” and “nd”. For the label to write a personal message inside the card, I used white cardstock and my favorite crosshatch label die from the Rectangles and Labels – Crosshatch set.

Envelope: The back of the envelope is decorated with ribbon bits and tiny hearts all cut from the Border Blends – Trims die set.

Thank you for reading this blog post. I hope this inspires you and makes you smile. Please like and leave comments ๐Ÿ˜Š

Materials Used:

Dies

Papers

  • Hot off the Pressโ€“ 8 1/2 x 11-inches Foil Cardstock – Fireworks Blue Holographic
  • Hot off the Pressโ€“ 8 1/2 x 11-inches Foil Cardstock – Stars Silver Holographic
  • American Crafts – WE R – 8 1/2 x 11-inch Acetate – Chevron Dot – Gold
  • Gold and Silver Foil Cardstock
  • Gold Glitter Cardstock
  • White Medium Weight Cardstock
  • #10 Business Envelope – Kraft

Adhesives

Tools

Time for Tea

This card was made for Craft Roulette #164 whose parameters included a slimline card, tea party colors, a word element and a hand-drawn line.

I started with an 8 1/2 x 3 3/4 inch top fold slimline white cardbase. The word element “TEA” is die-cut into the front decorative paper which comes from Graphic 45’s Alice’s Tea Party Collection. “Time for” was hand-drawn as was the required line below it.

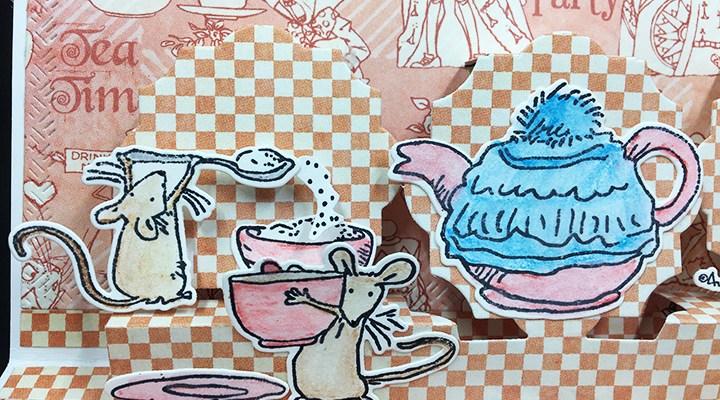
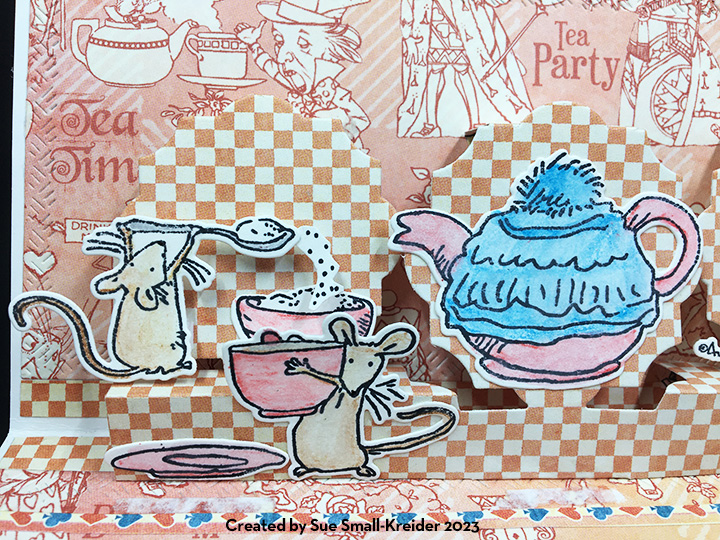
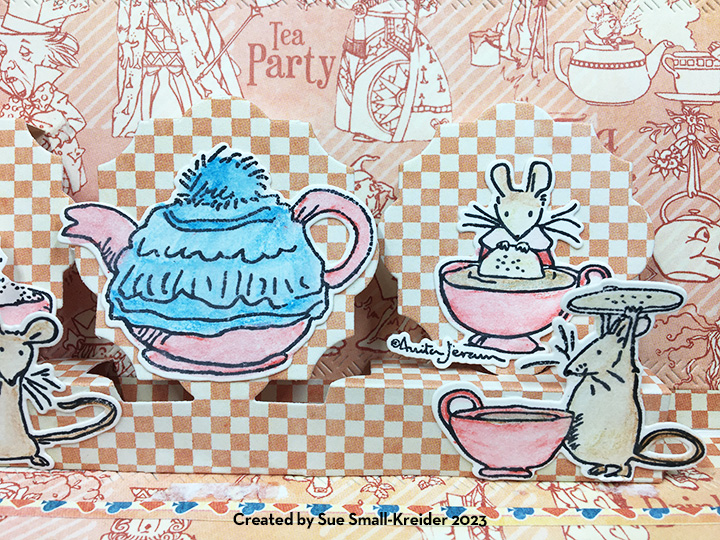
To pop-up the inside scene, I used Karen Burniston’s Little Labels Pop-Up. The stamped and water-colored mice having a fun party are drawn by Anita Jeram.

I popped-out the mouse spooning sugar with a double layer of foam squares.

Just like the inside background panels, the card back was decorated with two stripes of decorative papers taped together and the die-cut using the largest crosshatch rectangle from Karen Burniston’s Long Rectangles-Crosshatch. The cut outs of “TEA” from the front panel were glued onto the back .

Thank you for reading this blog post. I hope this inspires you and makes you smile. Please like and leave comments ๐Ÿ˜Š

Materials Used:

Dies

Stamps

  • Colorado Craft Company – Clear Stamps & Dies – Tea Time Fun by Anita Jeram

Papers

  • Graphic 45 โ€“ 12×12 Double-Sided Paper Pad โ€“ Alice’s Tea Part Collection
  • Stampin’ Up – Thick Basic White Cardstock

Ink

  • Memento – Fade-Resistant Dye Ink – Tuxedo Black
  • Ranger โ€“ Tim Holtz โ€“ Distress Watercolor Pencils – Set 2
  • Pigma โ€“ Mircon 01 Fine Tip Pen โ€“ Black
  • American Crafts – Metallic Marker – Silver

Adhesives

Tools

  • Die Cutting Machine
  • Stamping Platform
  • LDRS โ€“ Stampendable Stamping Tool
  • Stamping Cloth
  • Scissors

Hats Off To You!

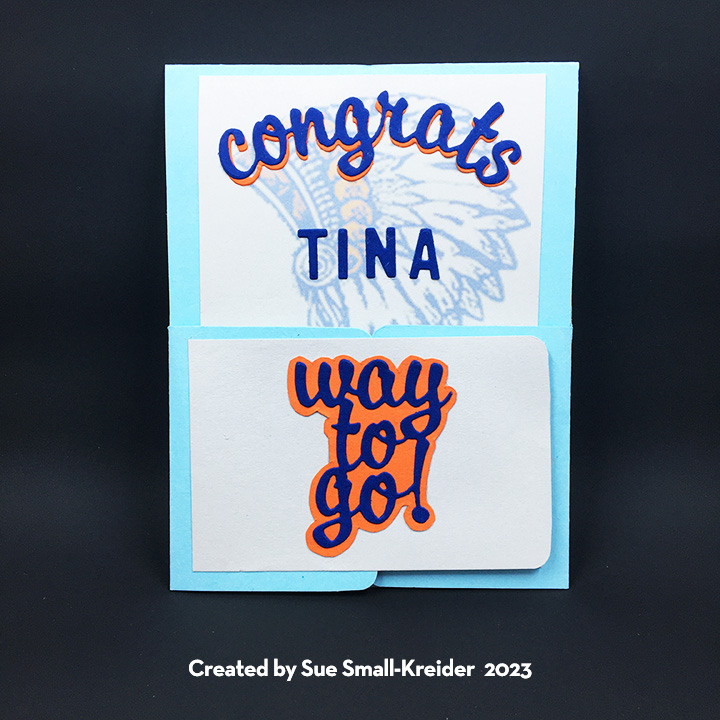
Itโ€™s graduation season and the Craft Roulette Episode 161 gave me the idea for this commissioned card for a high school graduate with the Dutch door cardbase, hats, campfire colors and book page element.

All of the dies used are by Karen Burniston. They include the Heart Collage Pop-Up (for the mechanism), Book Worm and Tiny Accessories 2 (both for graduation caps.) The hands and printed sentiments come from a Simon Says Stamp set called Hats off Grad.

Cardbase: Using a T-ruler and pencil, mark the measurements shown on the photo below on an 8 1/2″ x 11โ€ sheet of heavyweight light blue cardstock. Trim off excess rectangles and then score and fold with metal ruler, scoring tool and Teflon folder. Erase pencil marks. Using a small corner punch, round all six corners.

Hat Mechanism: Watch the assembly videos on the Heart Collage Pop-Up page before die-cutting the mechanism piece from light blue cardstock matching the cardbase. Adhere to top fold as directed in assembly videos. Using a stencil and white ink, stencil clouds over the top inside of card, going over the mechanism. Cut out and assemble a number of graduation caps from Book Worm set (small caps) and from the Tiny Accessories 2 (large caps.)

Money Holder: Take a 3โ€ x 4โ€ piece of white copier paper and score along the short side 1/2″ from the edge. ย Score both long sides at 1/4″, 1/2″ and 3/4″. Accordion-style fold the long sides and then fold short side under to form a gusseted pocket. Using a small circle punch, cut a half circle at top of pocket as a finger hold.

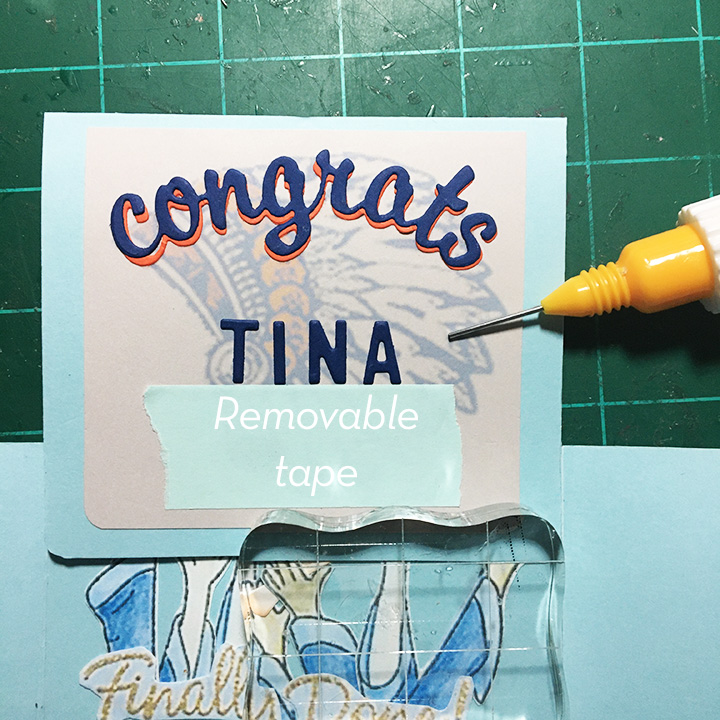
Sentiments: The large die-cut sentiments all come from the same Karen Burniston Word Set 8. โ€œCongratsโ€ was cut once from navy blue and once from orange โ€“ the high schoolโ€™s colors. The two phrases were cut from navy blue and then their dies were traced on the outside on orange cardstock and fussy cut to create shadows for the words. The graduateโ€™s name was die-cut using Karen Burnistonโ€™s Mini Alphabet set and lined up on card using removable paper tape.

Decorations: The high school logo was printed from the school website on light gray and white cardstock for the front and back of the card. (Because I could not find my Hats Off Grad stamp set, I had to print an image from photos of another card I had made using the stamp set.) The โ€œFinally Done! Hats Off to You!โ€ sentiment was fussy cut along with the hands which were glued to the sentiment before being glued to the card base.  Five hearts and two diplomas were added to the hat mechanism and background die cut from the Tiny Accessories 2 set. The math book on the money holder was die cut from the Book Worm set. The labels for a personal message are from two coordinating sets โ€“ Label Charm Pop-Up and Crosshatch Rectangles and Labels.

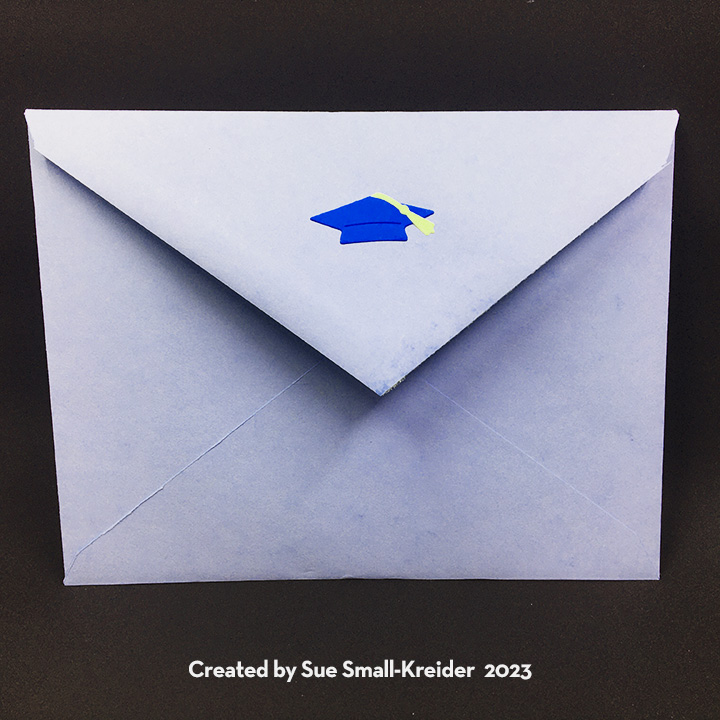
Envelope: The card fits into an A2 envelope. I like to hint at whatโ€™s inside the envelope, so a small graduation cap was glued to the back envelope flap.

Thank you for reading this blog post. I hope this inspires you and makes you smile. Please like and leave comments ๐Ÿ˜Š

Materials Used:

Dies

Stamps & Stencils

  • Simon Says Stamp! -Clear Stamp and Matching Dies-Hats off Grad -sss102120
  • Favorite Things โ€“ Clear Stamps โ€“ Free-010 Hand Stamped
  • Craftin Desert Divas โ€“ 6×6 Stencil โ€“ Clouds and Paths

Papers

  • Navy Blue, Orange, White and Gray Cardstock
  • White Copier Paper
  • A2 Light Blue Envelope

Ink

  • Ranger โ€“ Tim Holtz โ€“ Distress Oxide- Tea Dye
  • Memento โ€“ Fad-resistant Dye Ink โ€“ Tuxedo Black
  • Simon Says Stamp โ€“ Premium Pigment Ink – White
  • Sakura – Gelly Roll Pen โ€“ Medium โ€“ Black
  • Computer Printer

Adhesives

Tools

  • We R Memories โ€“ QuickStick
  • Die Cutting Machine
  • Stamping Platform
  • LDRS โ€“ Stampendable Stamping Tool
  • Stamping Cloth
  • Sponge Dauber
  • Heat Tool
  • Craft Mat
  • Scissors
  • Metal Ruler
  • Scoring Tool
  • Scoring Board
  • Teflon Pencil Tipped Folder
  • Clear T-Ruler
  • ยพโ€ Circle Punch
  • Small Corner Punch
  • Removable Paper Tape
  • Pencil
  • Sand Eraser

Miscellaneous

  • Fun Stampers Journey โ€“ Twine โ€“ Teal Blue

Just Because You’re Sweet!

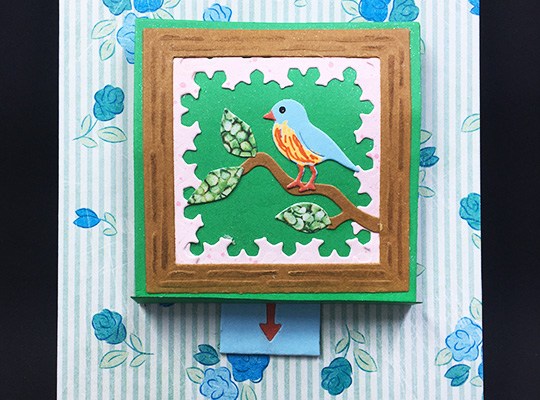
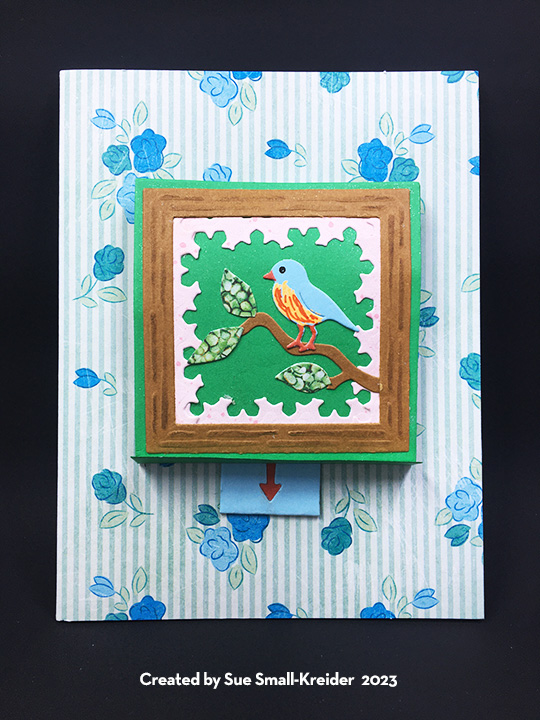
This card was made for Craft Roulette #162 whose parameters included a matchbook card, flowering field colors, a bird and woodgrain.

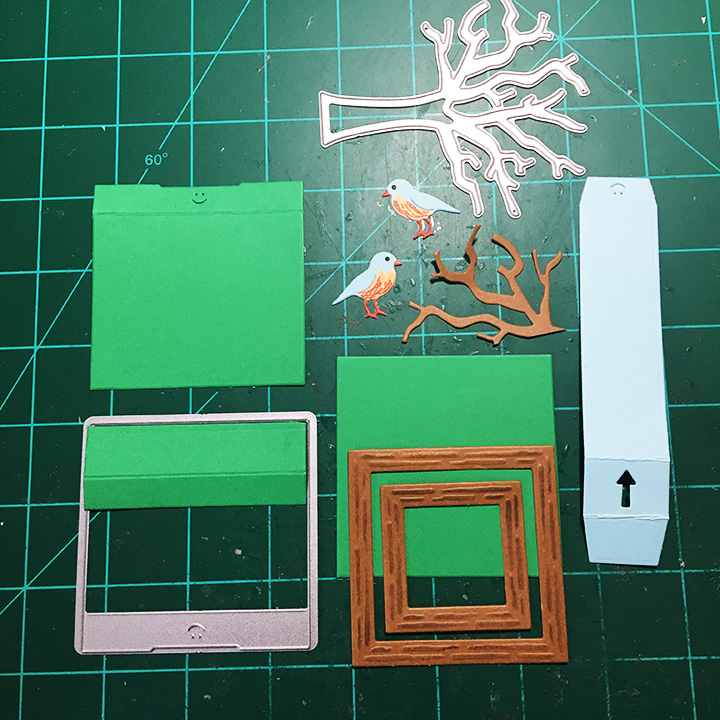
For the pop-up card on the purchased printed cardbase, I used Karen Burnistonโ€™s Frame Pull Pop-Up die set and branches and leaves from her Tree Pop-Up die set.

I followed the basic assembly video instructions for the Frame pull Pop-up using the packaging image as my design inspiration. Before I attached the mechanism to the card, I glued an inch long strip to the bottom and folded it over to form the lip of the matchbook.

Because the green background seemed bland, I covered it with a glitter gloss for some sparkle.

The blue birds were colored with markers while the tree leaves were cut from spotted green paper. I used some pink border scraps for the pink inside the woodgrain frames. The frames were embossed then die-cut and finally inked with a darker brown ink using the stenciling feature on the dies.

The sentiment comes from two of Karen Burnistonโ€™s die sets โ€“ Word Set 15- Just Because and Youโ€™re Sweet!

For the envelopeโ€™s back flap, I used a flower from a Bright Rosa stamp set stamped with pink ink.

Thank you for reading this blog post. I hope this inspires you and makes you smile. Please like and leave comments ๐Ÿ˜Š

Materials Used:

Dies

Stamps

  • Bright Rosa by Paula Pascual โ€“ Fern Die and Stamps โ€“ from Simply Cards & Papercrafts Magazine issue 202

Papers

  • Lawn Fawn โ€“ 6×6 Double-Sided Paper Pad โ€“ Spiffy Speckles
  • Green, Blue and Brown Cardstock
  • Green Spotted Scrap
  • Printed A2 Cardbase and Envelope

Ink

  • Ranger โ€“ Tim Holtz โ€“ Distress Ink- Walnut Stain
  • Simon Says Stamp โ€“ Pawsitively Saturated Ink – Sweets
  • Sharpie โ€“ Ultra Fine Tipped Marker- Racey Red and Orange
  • Staples โ€“ Liquid Stix โ€“ Neon Orange Chisel Nose Highlighter
  • Nuvo โ€“ Aqua Shimmer Bruch Pen โ€“ Glitter Gloss

Adhesives

Tools

  • Die Cutting Machine
  • We R Memories โ€“ QuickStick
  • We R Memories โ€“ Scoring Board and Trimmer
  • Stamping Platform
  • LDRS โ€“ Stampendable Stamping Tool
  • Stamping Cloth
  • Sponge Dauber
  • Craft Mat
  • Scissors
  • Ruler

Mother’s Day Keepsake Card

Recently I received a commission to make a Motherโ€™s Day card that was to have all four of her childrenโ€™s birthdays and names on it. The recipient likes gardening, traditionally receives flowers on Motherโ€™s Day to plant in her garden and may soon be moving to a new home.

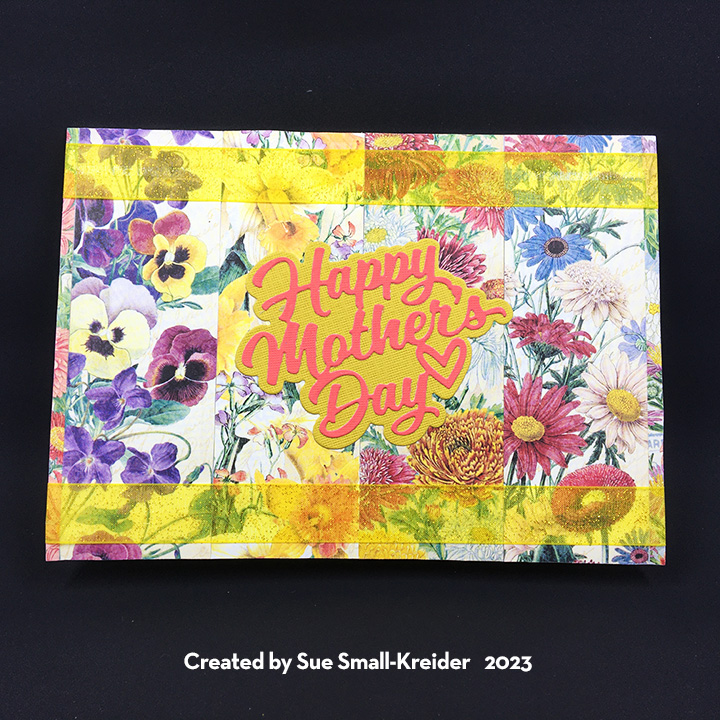
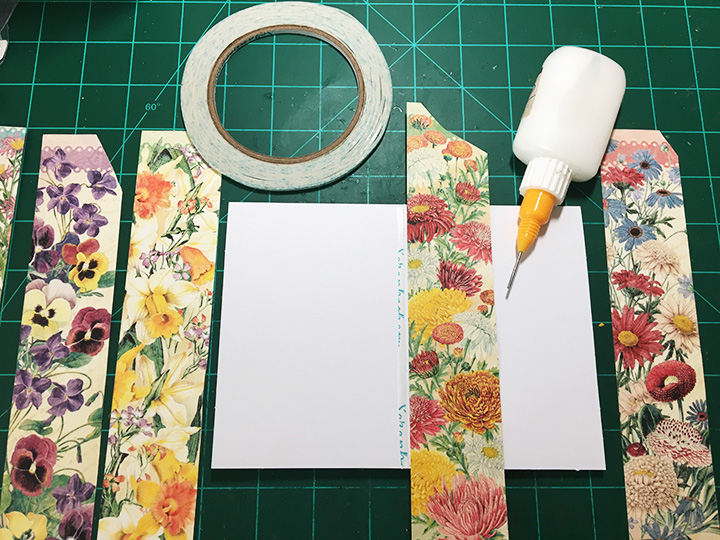
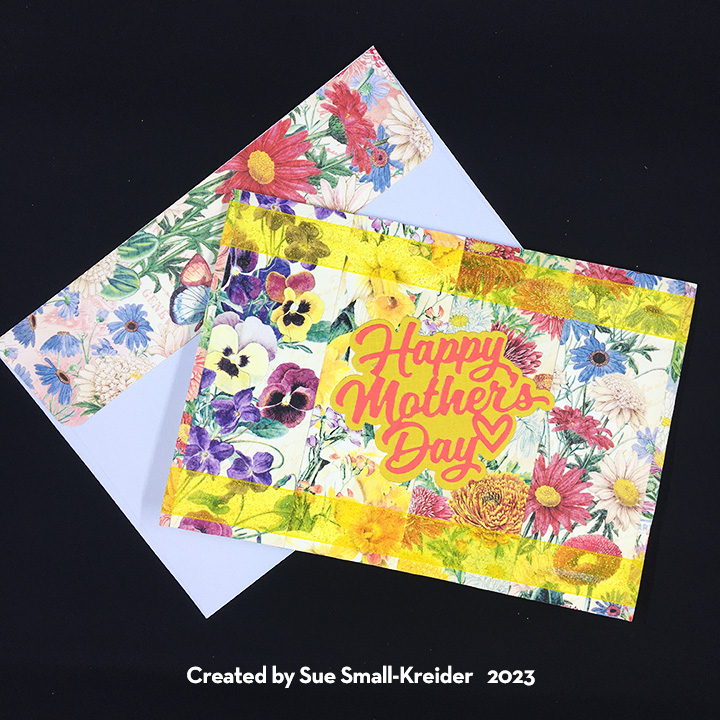
I began by looking through my paper stash and settled on a Graphic 45 paper collection that featured flowers of the months.  Karen Burnistonโ€™s Waterfall Card dies made it easy to create four different waterfall panels. It was the backgrounds panels for the card that were a bit more difficult since I had already cut into the papers for other projects. I ended up piecing together stripes of the flowers from the various months needed for the front of the card and a patchwork for the inside top panel. For the inside bottom panel that the waterfall rests on, I made stripes of the ribbon from the various flower papers. The card back is a whole piece of flowered cardstock.

Having reviewed the waterfall assembly video, I knew that a 5×7 (A7 size) card base with a top fold could accommodate the waterfall. For the hidden message of โ€œlove you,โ€ I used the words from Karen Burnistonโ€™s Words Set 13 to die-cut into the decorative panel that goes to the pull strip. The background papers had all been adhered to the purchased card base when I die cut the finger semi-circle into the card base bottom panel. Having assembled the waterfall mechanism, I then stapled it onto the card base as shown in the assembly video.

For the customization of the names and birthdays, I used the postage stamp ephemera pieces from the paper collection for the month and then added the names and dates using Karen Burnistonโ€™s Mini Alphabet and Numbers die set.

Card Back

Ribbon can hide a multiple of small mistakes and liven up a card. On this card it softens the staples on the back of the card and brightens up the card front. The front sentiment is Karen Burnistonโ€™s โ€œHappy Motherโ€™s Dayโ€ which includes a shadow background die in the set. The white label inside can be used for a personal message and is cut using the largest of the fancy labels in the Crosshatch Rectangles and Labels die set.

The envelope uses more of the flowered paper for the back flap.

Materials Used:

Dies

Papers

  • Graphic 45 โ€“ 12×12 Double-Sided Paper โ€“ Flower Market Collection
  • DCWV โ€“ Textured Cardstock Stack 12×12 – Brights
  • Black Cardstock
  • Park Lane Paperie – A7 Card Base and Envelope – White

Pens

  • Pigma Micronn โ€“ Archival Ink โ€“ 01 Tip โ€“ Black
  • Sharpie โ€“ Permanent Marker -Ultra Fine Point – Black

Adhesives

Tools

Miscellaneous

  • Yellow Organza 3/4-Inch Wide Ribbon

Mother’s Day Flower Cart

Itโ€™s time for the Karen Burniston design team challenge for May 2023 with the theme of BEJEWELED.

My inspiration for this card was drawn from a similar cart made by a crafting friend Diana Bentham several years ago and a video by Anna Griffin.

Cart Drawer: The cart is based around the Slider Box. Watch the assembly video before die-cutting pieces. I used blue 100 lb. cardstock for the box and 65 lb. white cardstock for the drawer. A piece of sheer blue ribbon was used as a drawer pull. A Bam Box (see assembly video) is what pops up the message of โ€œThank you love you.โ€ The sentiment is from Word Set 13 – Snow and Word Set 1 – Greetings while the rectangle is cut using one of the slider box decorative dies. Another decorative die with crosshatches was used to line the drawer with a polka dotted pink paper. The front of the drawer is decorated with the scrap from cutting the scalloped roof.

Cart Base: The cartโ€™s frame made by die-cutting two of the Fancy Label Accordion panels and removing the center pivot panel to create a square frame with a tab on one side. Fold in half with tab side facing up. Glue the u-shape together. I took the two smallest of the off-cuts from the die cut to make the cart handles. (Glue the pieces back-to-back for stability.) Glue handles on to slider box at open end before adhering the u-shape frame to slider box.

Flowers and Pails: The flowers were cut from two shades of pink greeting card envelopes that I upcycled. The dies used come from three different sets – Flutter Charms, Flowers and Bee, and Flower Pot Pop-Up. (The flowers in Flowers and Bee and the Flower Pot Pop-Up are the same.) I used yellow posy flatback gems as the larger flower centers and sparkly resin gems for the smaller flowers. You can create some dimension to the flowers by shaping them with your fingers. I glued flowers on to scrap pieces of green cardstock that were glued into the silver pails.

The pails are cut from another upcycled envelope of holographic silver using the pail from the Adirondak Chair Pop-Up. I cut a front and a back for each pail, plus four more single-sided pails, cutting 16 pails total. Flowers are glued on both front and back of the six pails that line the cartโ€™s sides. Four pails are glued to a small cube I made from matte silver cardstock and adhered to the center of the cartโ€™s tabletop.

Roof Frame: The striped roof awning is cut from some digital striped paper using the large scalloped edged rectangle in the Rectangles and Labels – Crosshatch set. It is held up by a frame made by die-cutting two of the Fancy Label Accordion in white cardstock and cutting off the center pivot panel and side tab. (My cardstock was lightweight, so I cut a third frame and cut it in half to back the lower portion of my frames.)

Fold each of the frames at 2 3/4-inches. Glue the frames on to the sides of the cart base, lining up the bottom edge of the white frame to the inside edge of the blue cart frame.

Cut three strips of white cardstock 1 1/2-inches long by 1/2-inch wide. Fold each strip in half. Pinch the top halves of the roof frames towards each other to form triangular frame. Glue together with the three strips. Scraps from the die-cutting of the scalloped roof were used to decorate the cart sides.

Roof Sign: For the roof sign the โ€œHappy Motherโ€™s Dayโ€ was die cut twice using a deep blue foiled cardstock glued to two of the crosshatch fancy label from the Rectangles and Labels – Crosshatch set. A strip of white cardstock 5-inches long by 1/2-inch wide was folded in half and then the folded end was sandwiched between the two fancy labels and the labels adhered together. (You now have the equivalent of a large paper brad with two legs.) A slit was cut in the roof fold center for the legs of the sign to slide through and be glued to the underside of the roof.

Message Label:  A personal message can be written on the front of the cartโ€™s label made from the smallest of the fancy labels in the Rectangles and Labels – Crosshatch set and the green mat from the dotted label from the Label Charm Pop-Up set.

Wheels: For the wheels I made a template using middle plain and crosshatched circles from the Circles – Crosshatch set. Cut the plain circle from scrap paper and the place the crosshatch circle die in the middle of the paper circle. Trace around the center of crosshatch die. Fold the paper in half, then half again and once more in half to come up with eight sections of the circle. Using a see-through ruler, mark and draw 5mm wide spokes interesting in the middle of the circle.

Die-cut from brown mirror or foil cardstock two plain circles. On the back side of the circles use the paper template to trace the triangles that need to be cute out using a craft knife and straight edge. Color the back of the wheels with black marker.

Die cut two black circles using the larger of the circles from either the Flowers and Bee or the Flower Pot Pop-Up set. These will be the wheel hubs. Top hubs with Nuvo Drops and flat-backed pearls.(Allow Nuvo Drops to dry 24 hours before gluing onto cart.)

Glue wheels onto cartโ€™s front posts. Trim off posts just below wheel hubs.

Finished Measurements: This is card/gift box is designed to hand delivered and measures 8-inches high, 6 1/2-inches wide and 3-inches deep.

Thank you for reading this blog post. I hope this inspires you and makes you smile. Please like and leave comments ๐Ÿ˜Š

For more Slider Box creations click here.

Materials Used:

Dies

Papers

  • Spellbinders-Color Essentials Cardstock โ€“ 100 lb โ€“ Raindrop -CS-019
  • White, Black and Green Cardstock Scraps
  • Pink and Silver Holographic Recycled Envelopes
  • Brown and Deep Blue Mirror/Foil Cardstock
  • Matte Silver Cardstock
  • Ully Cat Designs โ€“ Digital 8.5×11 Cardstock โ€“ Blue Awning Stripes

Pens/Gels

  • Sharpie โ€“ Permanent Marker Chisel Tip โ€“ Black
  • Nuvo Jewel Drops โ€“ Coco Blush

Adhesives

Tools

  • Die Cutting Machine
  • Quickstik Tool
  • Scissors
  • Tweezers
  • Metal Ruler
  • Craft Knife
  • Pencil

Bling

  • Queen & Co. โ€“ Posies Topping โ€“ Golden
  • Craft Consortium โ€“ Designed by Hackney & Co. – Enamel Dots โ€“ Gardener Delight
  • Stampinโ€™ Up โ€“ Wonderful Gems
  • Blue Sheer Ribbon 5/8-Inch Wide

Mother’s Day Flower Cart Pop-Up Card

Flowers for Motherโ€™s Day is traditional. A pop-up flower cart just adds to the fun.

This card uses Karen Burnistonโ€™s pop-stand mechanism die to make the market cart builder dies by Honey Bee Stamps really stand-up in an otherwise flat card.

Card Base:  I watched a variety of videos on how to use the market cart dies as well as the assembly video for the Christmas Trees Pop Stand before I decided on an A2 (5 ยฝ x 4 1/4-inch) top fold card base. The inside of the cardbase was blended with green and black inks over the fold and then covered with two panels of green printed paper. I used the cart die to mark where the two pop-stands needed to be and die-cut them one at a time. I then covered the four holes created in the card base with small scrapes of the green paper adhered to the back of the card base. Finally, I covered the outside of the card base with green paper.

Cart:  I cut two of all the cart pieces – wheels in black and a pink foil, cart base and shelf from a heavy pink cardstock, roof and cart trim from lightweight cream cardstock. There is a coordinating stencil for the roof and cart trim stripes which I used with a bright pink ink and sponger tool. The same ink was also used on the cartโ€™s handles and posts. The two shelf pieces were glued one on top the other so that the tabs were on both sides. Taking one of the cart base pieces, I turned it over and glued a wheel, trim piece and the top edge of the roof onto the cart base. Under the roof I placed three foam squares to add dimension to the roof. I repeated the adhering of cart pieces on to the other cart baseโ€™s front side. The shelf piece was folded in half along the slot line and then glued to the back sides of the cart base pieces making sure the cart pieces all lined up when pressed flat. The top edge of the roofs was glued next. Finally, the pop-stand tabs were glued to the back of the cartโ€™s two legs and two wheels.

Flowers:  Cutting two sets of the three kinds of flowers and leaves from colored cardstock scraps, I used markers and gel pens to color the embossing of the wee flowers. The edges of the leaves were inked with black. The six pails were cut from some silver holographic junk mail scrap. A Quickstik or pick-up tool is very useful when assembling these flowers. An inch long strip of cardstock was stuck through the fold in the cart shelf and glued to the shelf underside. The two rose pails were glued on either side of the strip. The other flower pails were glued to the cart legs and wheels to cover up the pop-stand tabs.

Sentiment and Labels: โ€œHappy Motherโ€™s Dayโ€ is a die cut sentiment that comes with a shadow die. Both pieces were cut from cream cardstock. The sentiment was inked with bright pink ink before being glued to the shadow piece. Labels were cut from cream and pink cardstock using the dies in the Crosshatch Rectangles and Labels die set.

Decorations: I used the green paperโ€™s decorative borders to create fence-like borders on the card front and inside, as well as using smaller snips of the border on the card back and envelope. The envelope and card back snips have a heart drawn with a black gel pen.

See other flower stand cards:

Thank you for reading this blog post. I hope this inspires you and makes you smile. Please like and leave comments ๐Ÿ˜Š

Materials Used:

Dies

Stencils

  • Honey Bee Stamps โ€“ Coordinating stencil -Market Cart -HBSL-085

Papers

  • Hot Off The Press โ€“ 12×12 Single-Sided Paper -Apple Green
  • Bazzill โ€“ 8.5×11 Heavy Cardstock โ€“ Cotton Candy
  • Bazzill โ€“ 12×12 Heavy Cardstock – Travertine
  • Black, Red and Cream Cardstock Scraps
  • A2 Green Envelope

Ink

  • Ranger โ€“ Tim Holtz โ€“ Distress Ink- Abandon Coral, Mowed Lawn and Black Soot
  • Sharpie -Permanent marker- Ultra Fine Tip -Racey Red
  • Gel Pen โ€“ Hot Pink and Black
  • Pigma Micron โ€“ 05 – Brown

Adhesives

Tools