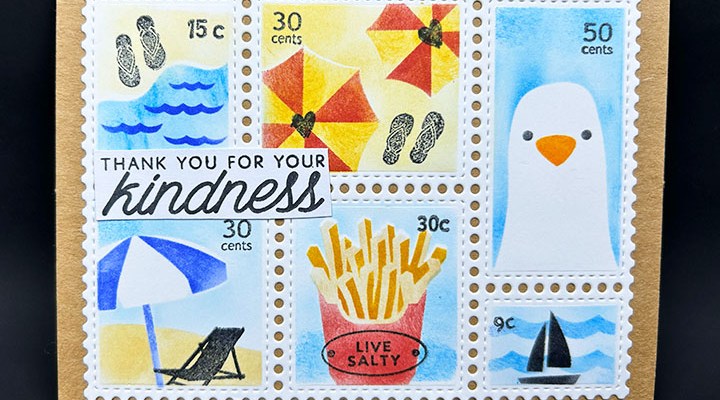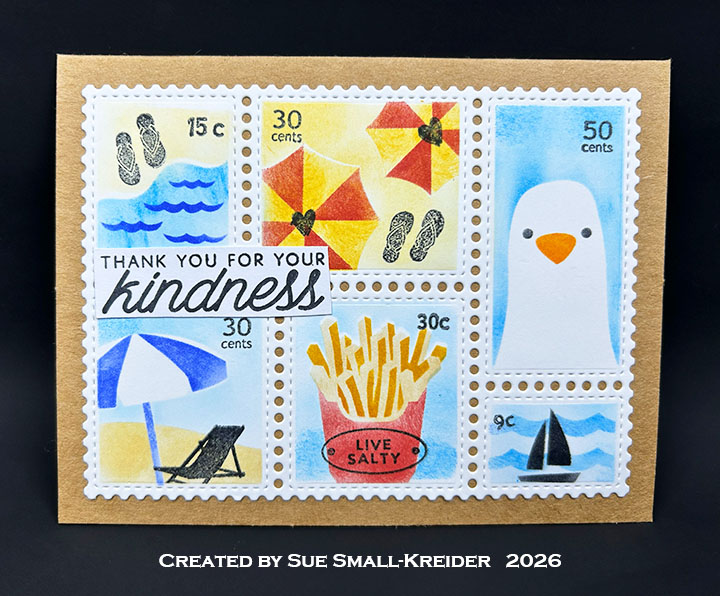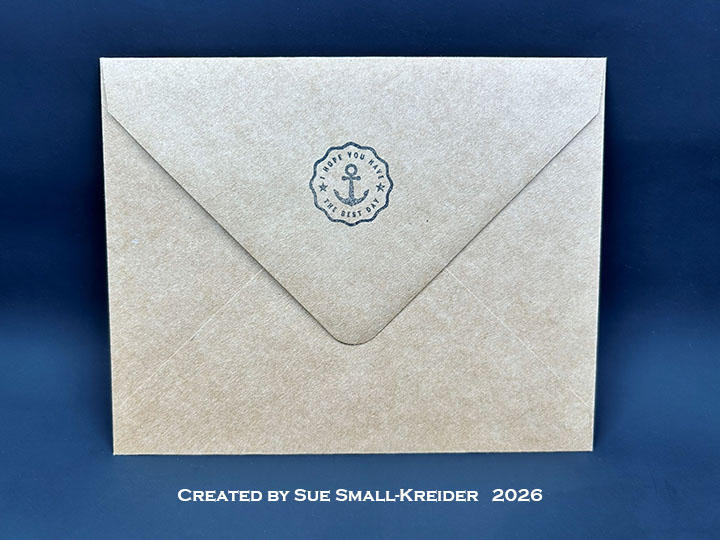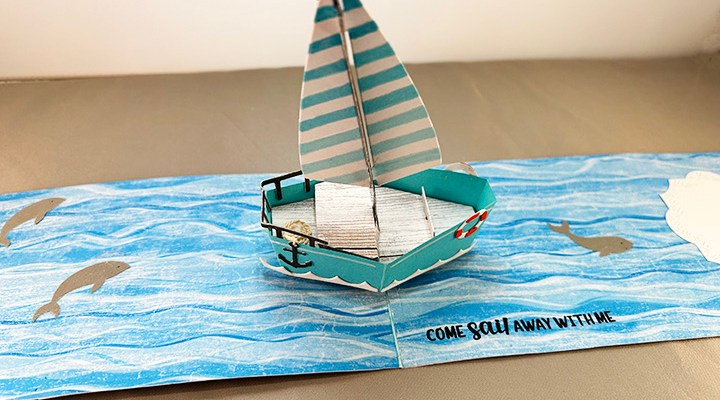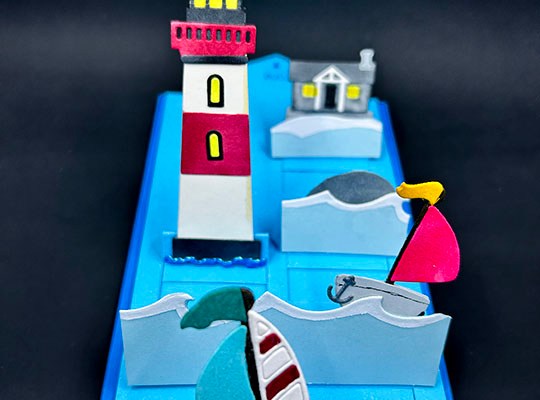
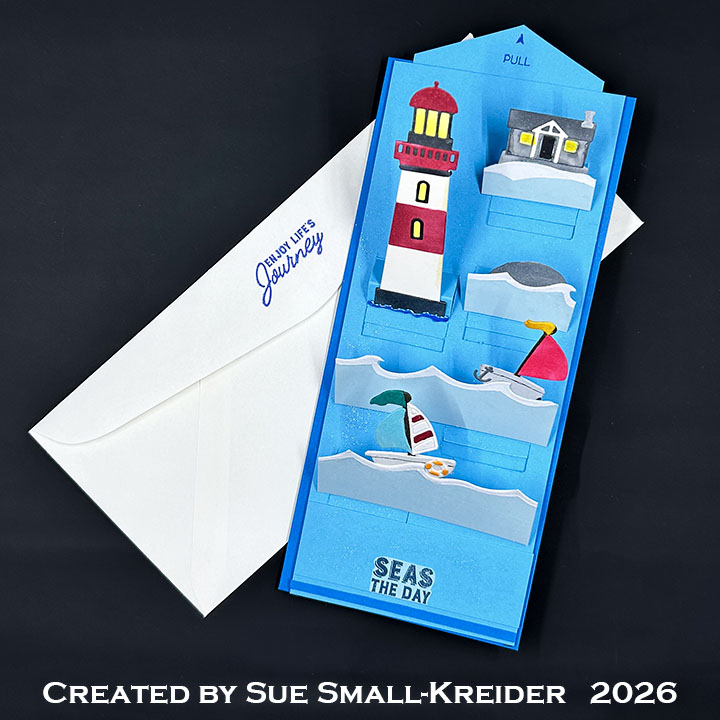
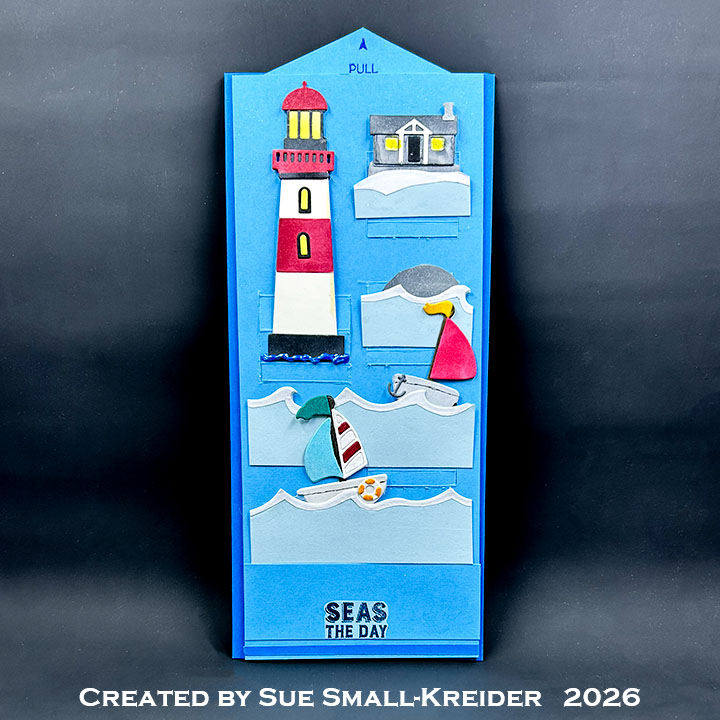
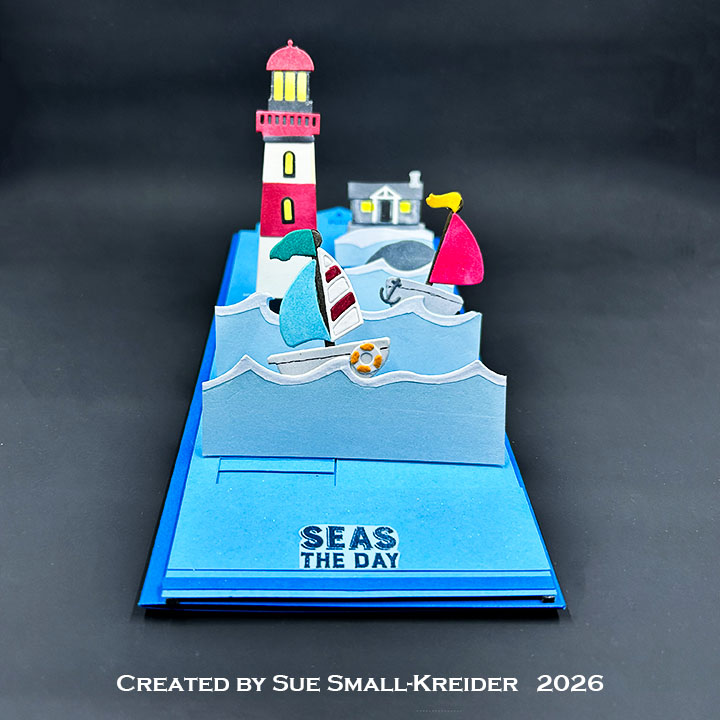
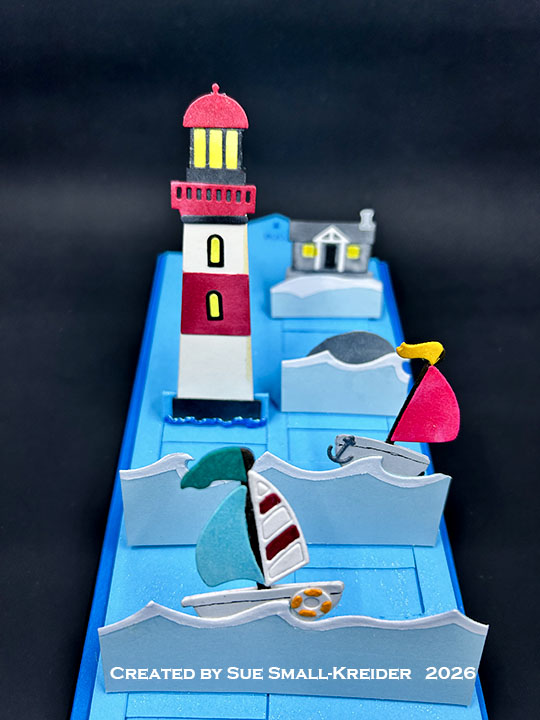
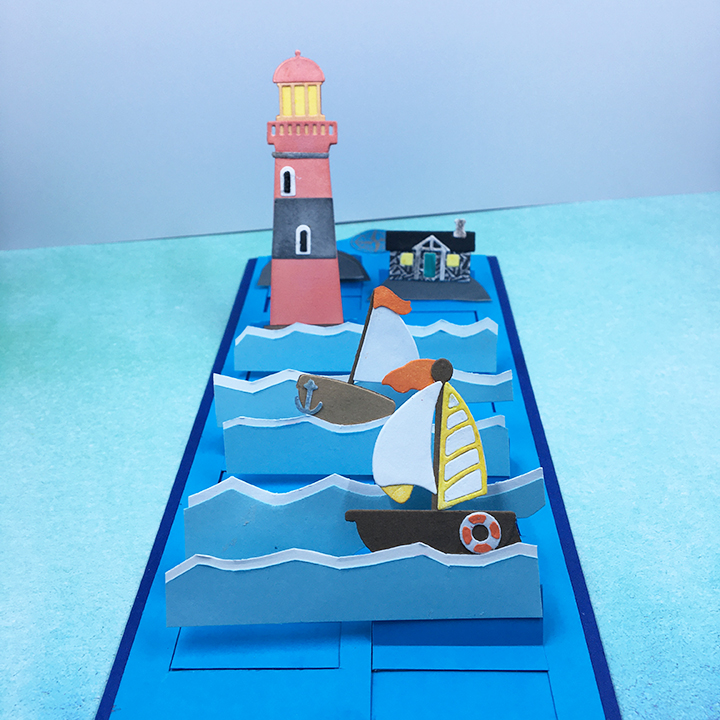
This is my card for Craft Roulette #336. It is a birthday version of a card I made in 2021.
Watch my process video below to learn how the card was made. There are free downloads of the template and CRX sheet below.
___________________________________
Thank you for experiencing this blog post.
I hope this inspires you and makes you smile.
😊 Please subscribe, like and leave comments 😊
Follow my YouTube channel, Instagram and Pinterest as well.
___________________________________
Split Seas Slider
Originally published on January 16, 2021
Life gets rough and choppy sometimes and life isn’t always smooth sailing. Sometimes our friends need to be encouraged to take a chance and try something new. This interactive card is for those times.
This card is the first of a series to use my Ully Cat Designs’ Split-Slider Slimline template.
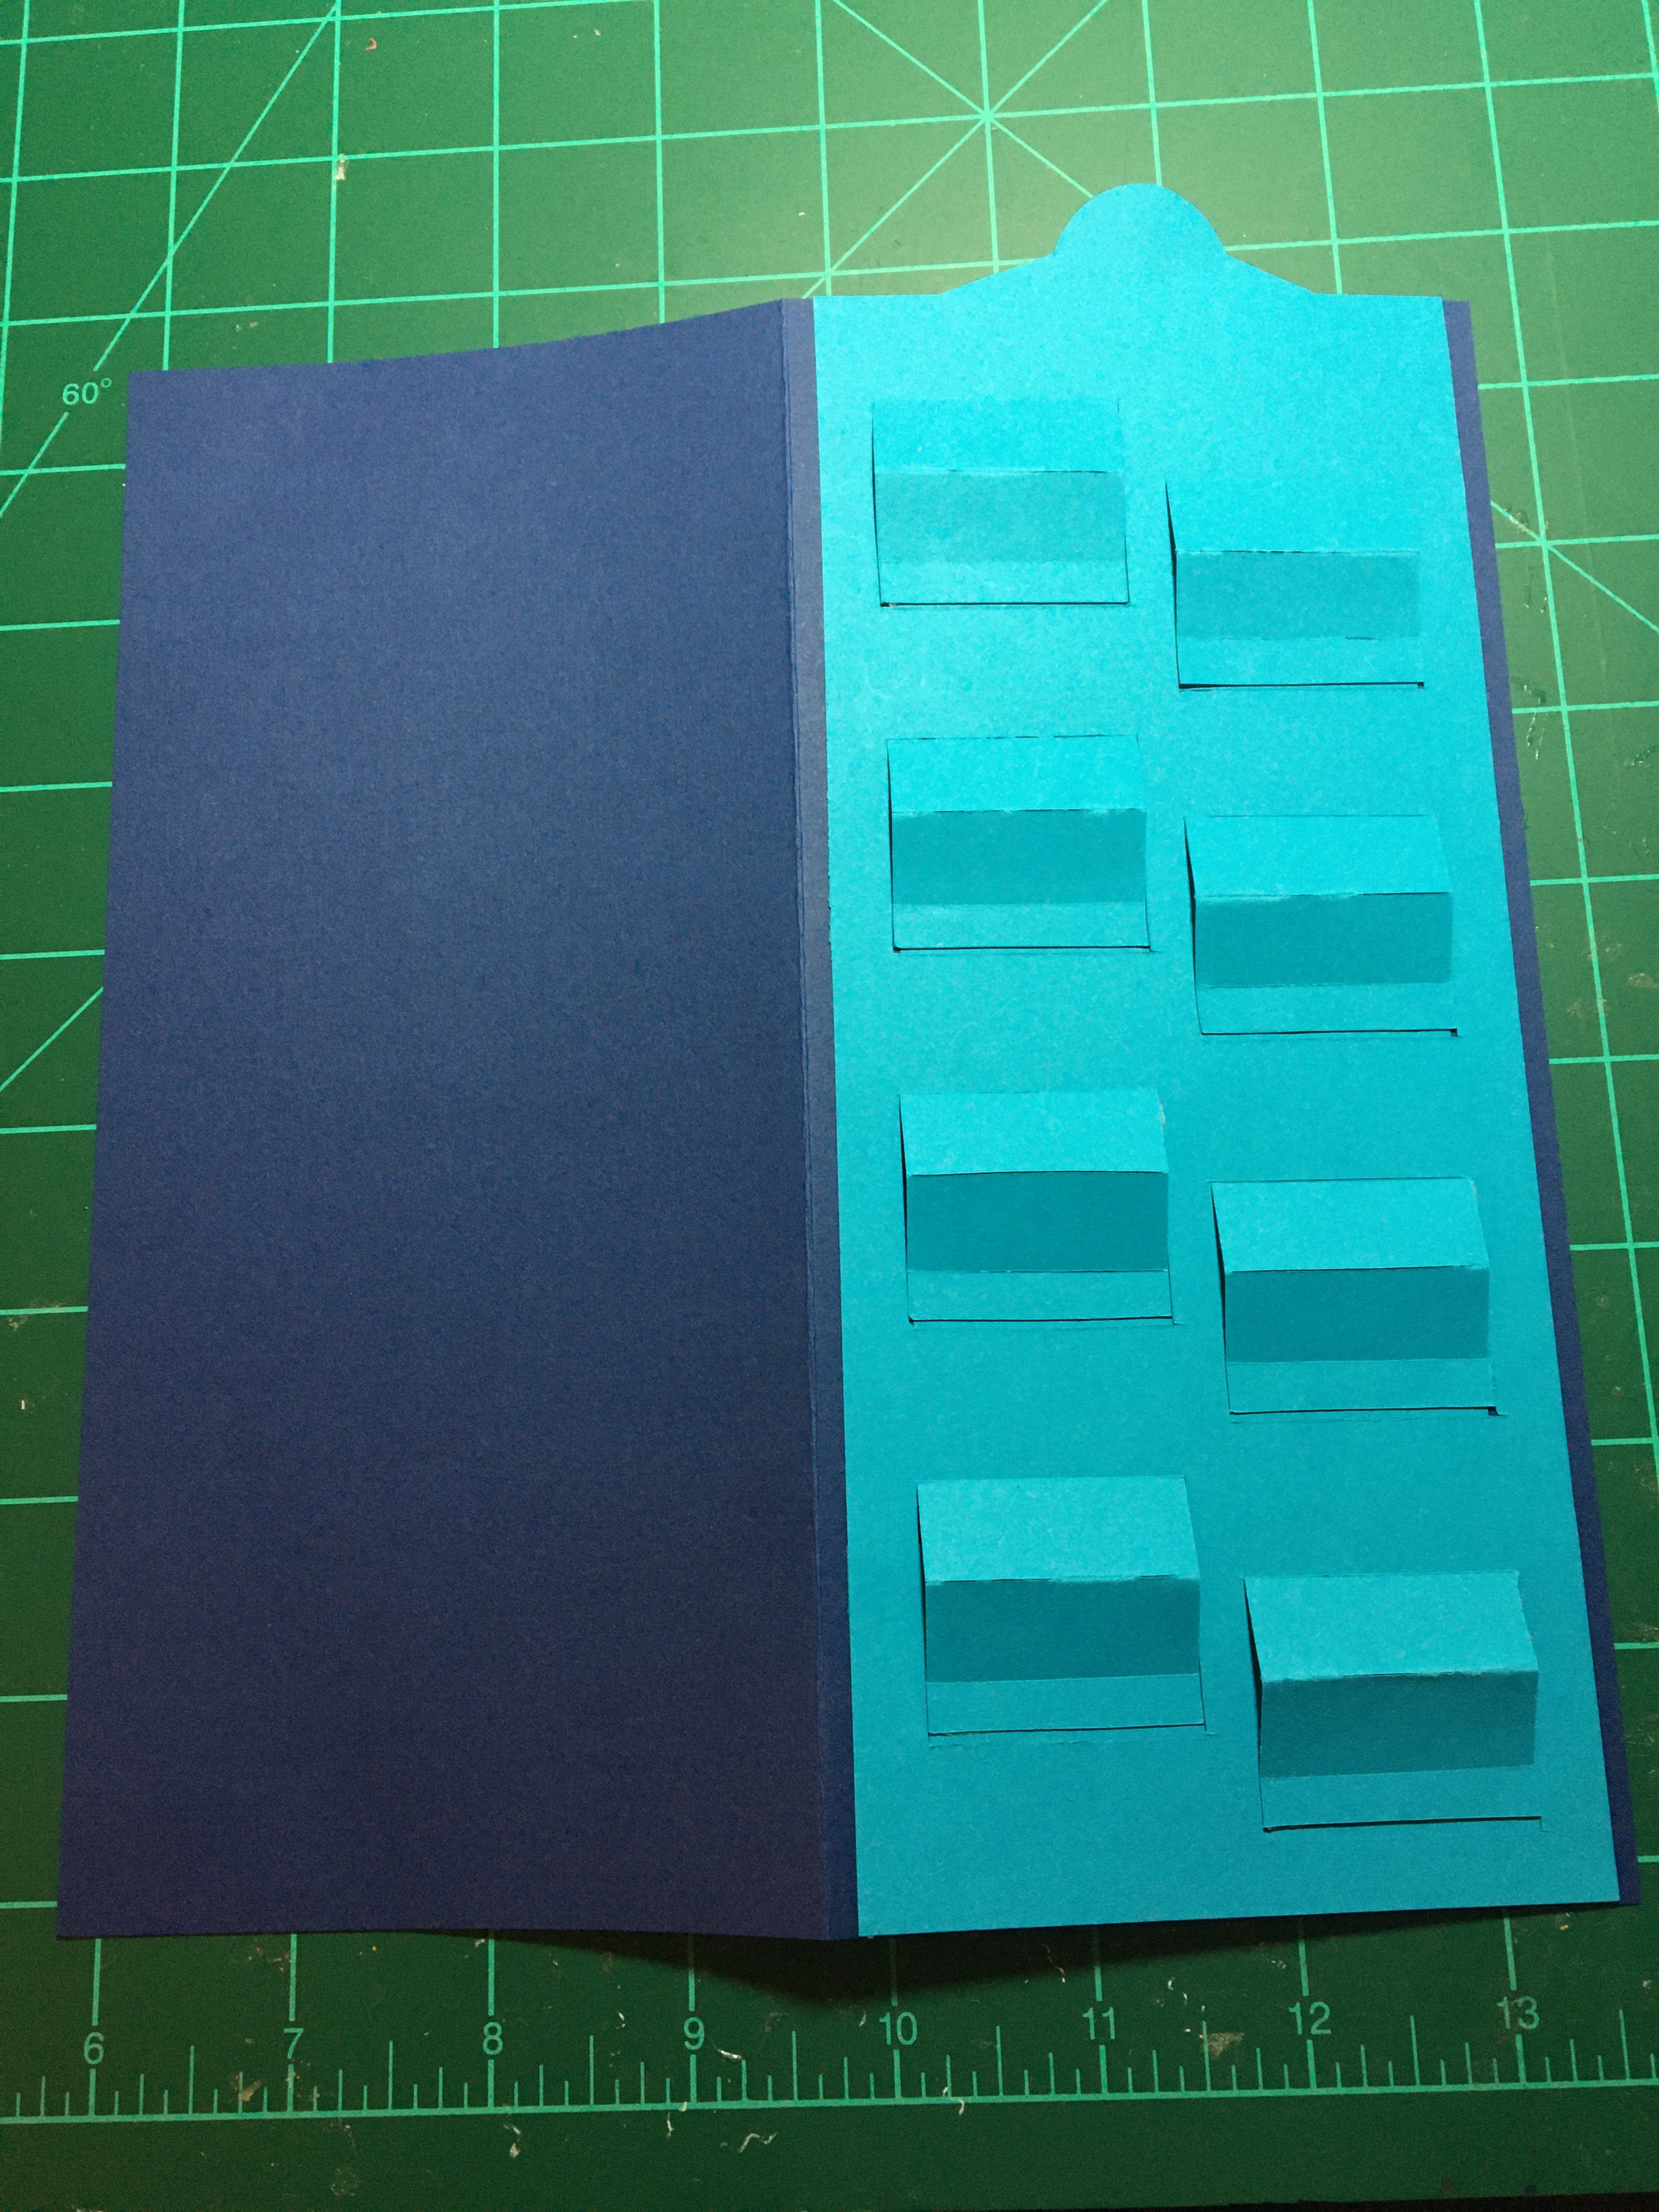
Split-Slider: Print split-slider template (download under Materials Used) onto bright blue lightweight cardstock and then cut out the top panel and slider arm around the outer red cutting lines. (Note: The printed side of the cardstock will be the back of the panel and when assembled will not be seen.) Using a craft knife and a metal ruler, cut the top panel’s eight mini-easels on the red lines. Next, using a scoring tool, score the green and blue fold lines – green being valley folds and blue mountain folds.


Because the top panel is adhered on three sides to the card base and needs to be raised the thickness of the lightweight cardstock slider arm, place two layers of double-sided tape on the long sides and bottom of the panel making sure not to cover the red lines of the easels. A single layer of double-sided tape should be placed on each of the narrow tabs of the eight mini-easels. (If you are using tape that is wider than the tabs, trim off excess.)

To adhere the slider arm to the mini -easel tabs, first, using low-tack tape, tape the front side of the easels shut. (This will ensure that the easels are adhered to the slider arm in the shut/flat position.) Position the slider arm over the back of the panel, making sure there is at least an 1/8 inch/3 mm gap between the tape along the panel edges and the slider arm. Hold the slider arm in place and remove the backing tape on the lowest easel and adhere to the slider panel. Repeat removing tape backing and adhering each easel. Once slider arm is attached to easels, turn over and remove low-tack tape. Test the slider. You may have to help fold the easels into the fully opened position the first time to train them. Once satisfied with the slider/easels’ movement, remove panel backing tape paper and adhere to card base.
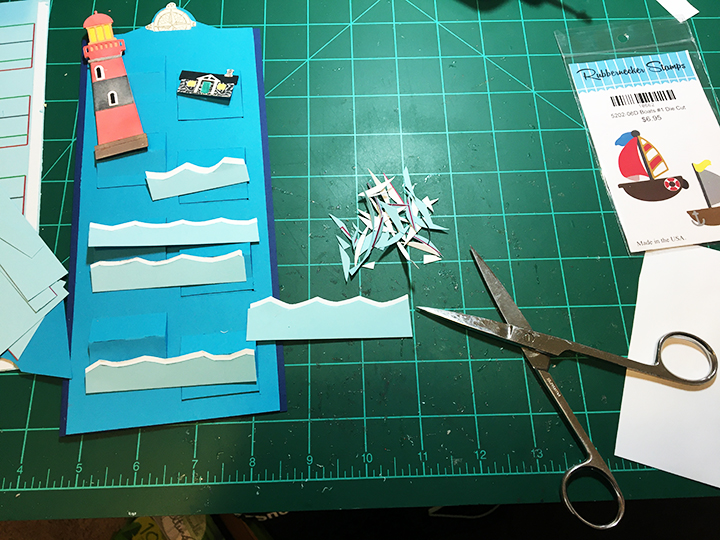
Decorating the Easels: For my die-cut lighthouse and boats, I used Distress Oxides and Inks to color the lighthouse and boat flags, a black gel pen for windows and a silver gel pen to color the anchor. The lightkeeper’s house is cut from a pattern paper and colored with pencil for the grey stone. The blue and white layered sea waves are cut freehand as is the rocky land masses for the three easels around the lighthouse. Make sure you don’t glue anything that will impede the easels from moving. (Note the 2nd & 4th waves on my card have been trimmed to allow the easel in front to operate.)
The gold heat embossed compass on the pull-tab of the slider arm, was stamped on a separate peace of cardstock, embossed and them fussy cut. The compass adds sturdiness to the pull-tab. (Depending on the thickness of your cardstock, you may want to add another circle on the bottom of the pull-tab as well.)
The “SEAS the Day” sentiment is attached with foam squares between two easels and is not adhered to any moving parts.
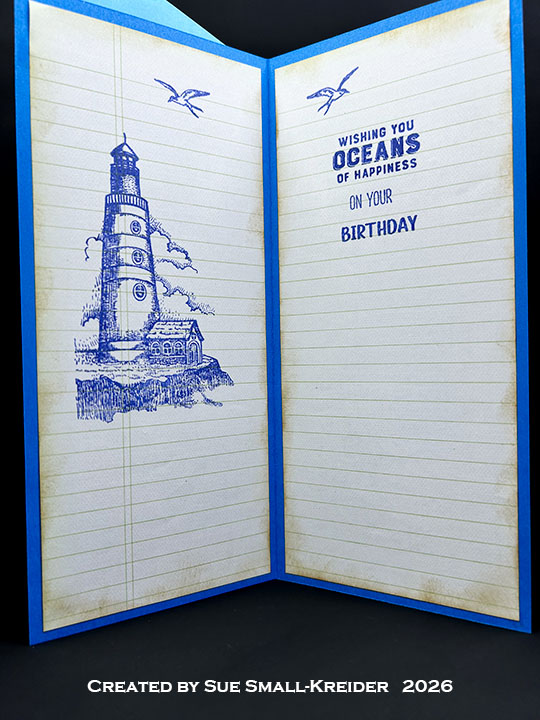
Inside Decorations: You can decorate as you would normally inside the card. Because of the dark card base, I used paper that looks like an old ship’s log, to stamp the inside sentiments “Enjoy life’s journal” and “We cannot control the wind, but we can direct the sails.”

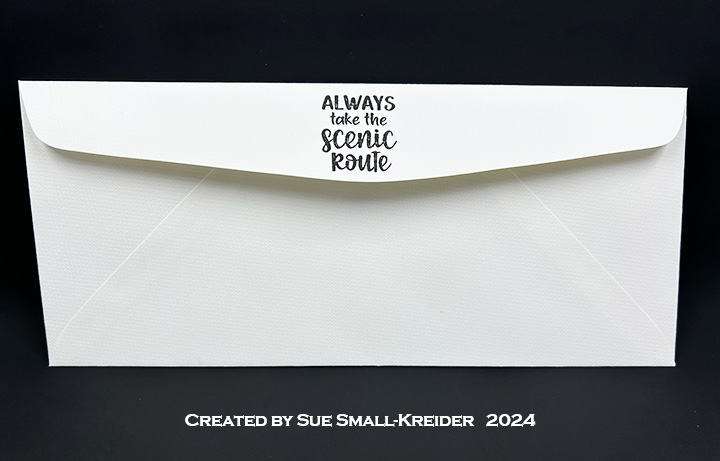
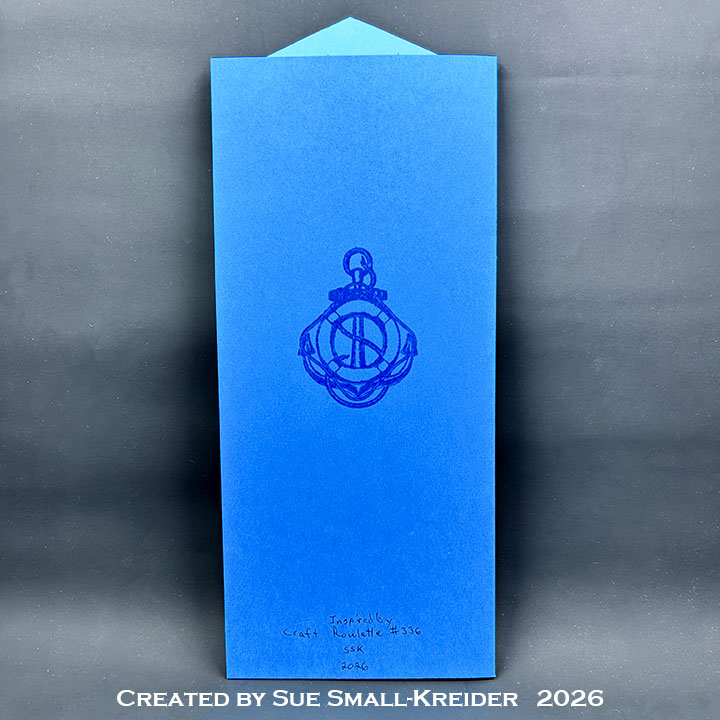
The back flap of the envelope was stamped with a Sara Davies Nautical Collection sentiment “Adventure awaits” to hint at the enclosed card is about.
I enclose a slip of paper with instructions on how to open the card. (See split slider CRX sheet download below.)
Thank you for reading this blog post. Please like and leave comments 😊
Split-Slider Slimline Template Series:
Day 1 – Split Sea Slider
Day 4 – A Valentine for A Baseball Fan
Bonus Cards: Crafty Friends, We’re Off to See The Wizard!
Materials Used:
Please note that this template is copyrighted, and Ully Cat Designs must be cited if you publish a card made using it.
Dies
Stamps
- Crafter’s Companion – Signature Collection by Sara Davies – Nautical Collection – from Simply Cards & Papercraft issue 207, August 2020
- Stampin’ Up – The Open Sea – Clear Mount Stamps – 123032
Inks/Embossing Powders
- VersaMark – Watermark Stamp Pad
- Ranger – Embossing Powder – Gold
- Stampin’ Up – Classic Stampin’ Pad – Dapper Denim
- Distress Oxides – Ground Expresso, Barn Red, Mustard Seed
- Distress Ink – Black Soot
Papers
- Reflections – 8.5×11 inch cardstock – Cape Cod
- Colored and white paper scraps from my stash
- American Crafts – DIY Shop 12 in x12 in Paper Pad
- Cream #10 Business Envelope from my stash
Miscellaneous
- Cosmic Shimmer Acrylic Glue
- Scrapebook.com Clear Double Sided Adhesive Roll ¼ inch
- Foam squares from my stash
- Black and silver gel pens
- Pencil
- Scissors
- Craft knife
- Metal ruler
- Scoring tool
- Anti-static Pad
- Tonic Studios – Tim Holtz Stamp Platform
- Recollections – Embossing Heat Tool
© 2021 Sue Small-Kreider/Ully Cat Designs