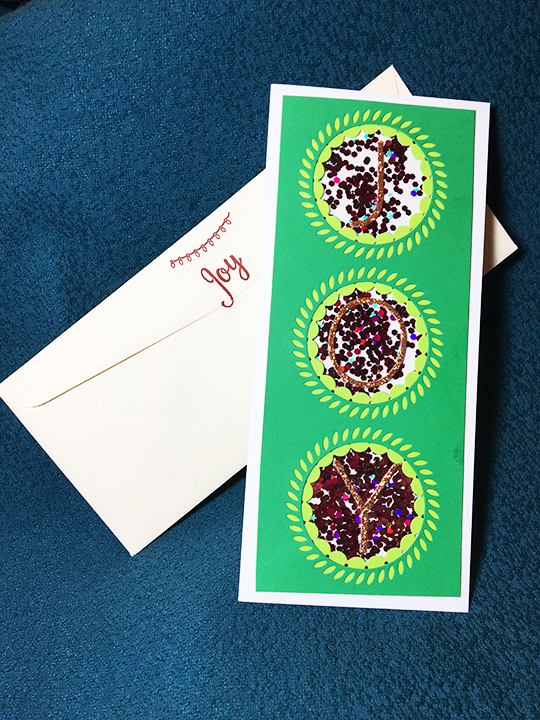
Everyone needs some joy around the end of the year holiday season. This contemporary slimline card wishes the recipient that the simple joys of the season are theirs.
I used two of Pink Fresh Studio’s Essential Slimline Cuts dies to make the trio of circles in two shades of green that form the main design element of this card. Pink and magenta halo glitter were sandwiched between two sheets of acetate using double sided tape. San serif letters cut from a bronze glitter sheet spell out “JOY” and are glued to the acetate windows.

Inside the card is stamped with a string of lights and the main sentiment. The same cherry red ink is used to stamp the string of lights and the word “Joy” on the back envelop flap hinting what’s to come.
Hoping you enjoyed seeing this card. Thank you for reading. Please like and leave a comment.
Materials Used:
Dies
- Pink Fresh Studio – Essentials Slim Cuts – Slim braided circles panel die -PF031ES
- Pink Fresh Studio – Essentials Slim Cuts – Slim stitched scallop circles panel die -PF032ES
- Momenta – 1 ½ inch Alphabet – 6285
Stamps
- Kaisercraft – Clear Stamps – Sentiments -Traditional – CS313
- Winter Woodland Stamp set by Sheena Douglas from Creative Stamping magazine Issue 62, December 2018.
Inks
- Stampin’ Up Classic Stamin’ Pad – Cherry Cobbler
Papers
- Heavy White Cardstock 110# weight 8 ½ x 11 inches
- Dura-Lar .0005 Clear Film Acetate
- #10 Business envelope – cream – from my stash
- Green scrap papers from my stash
- Bronze glitter sheet from Hero Arts September 2020 kit
Miscellaneous
- Glitter – Jumbo Pink Holo Mix non-toxic Sparkling Glitter by Advantus Corp.
- Double-Sided Tear Tape – Scrapbook.com Clear Double Sided Adhesive Roll ¼ inch
- Cosmic Shimmer Acrylic Glue

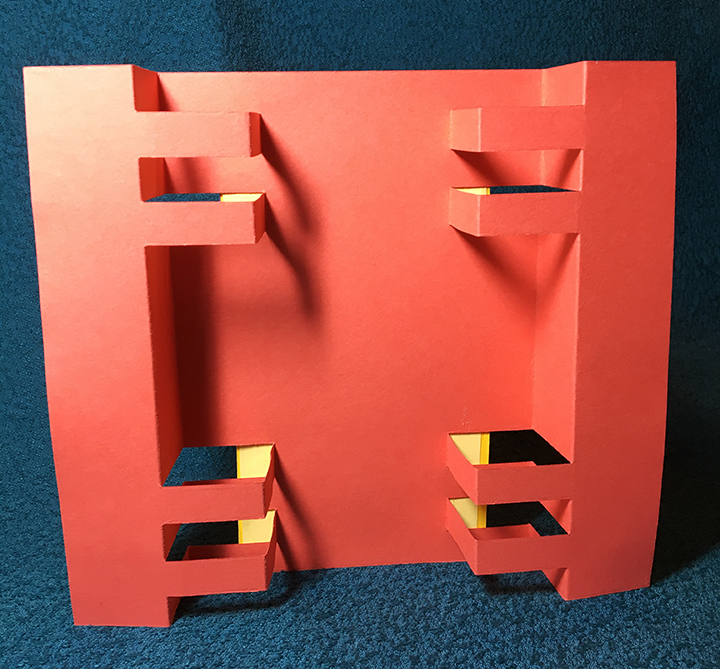



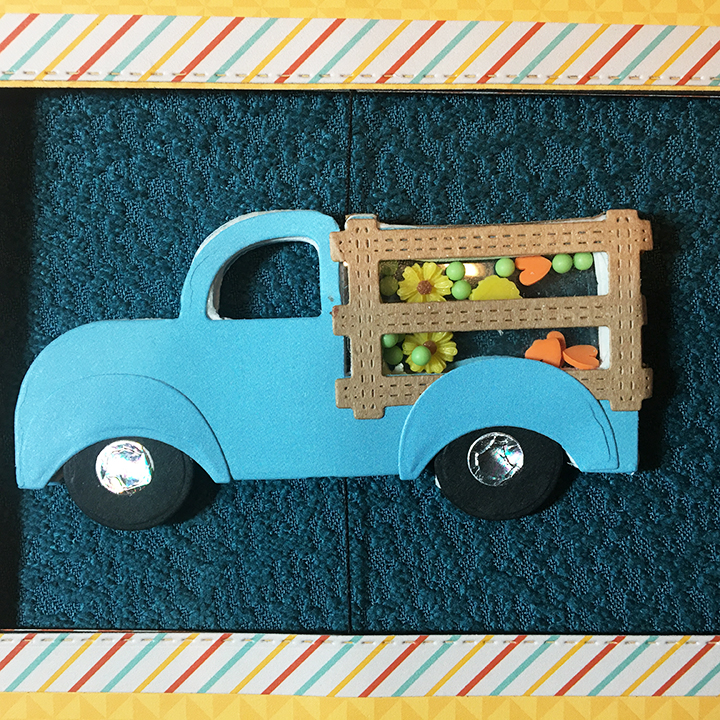
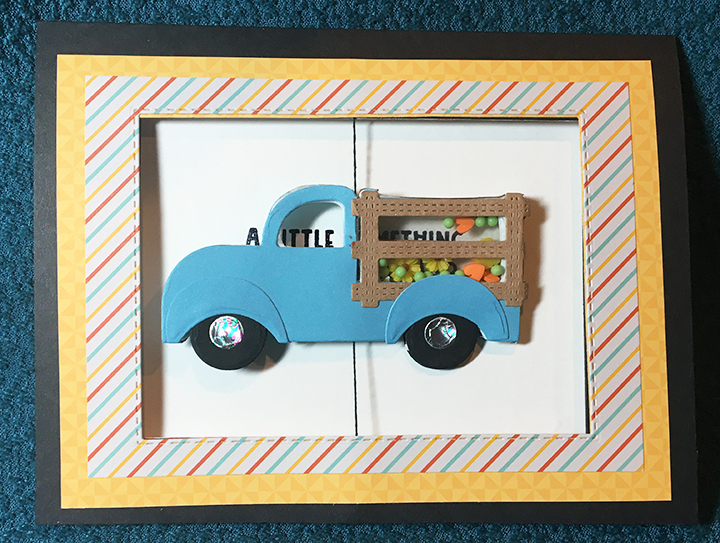


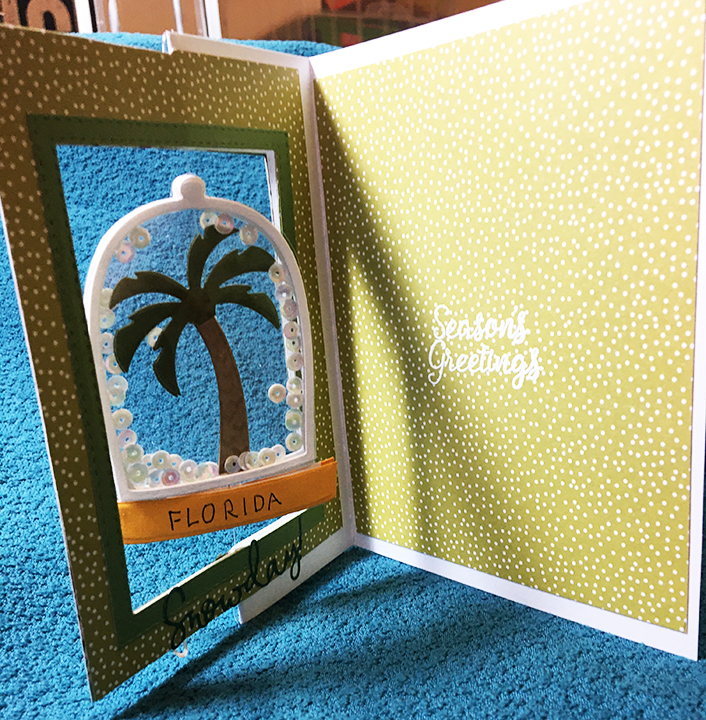
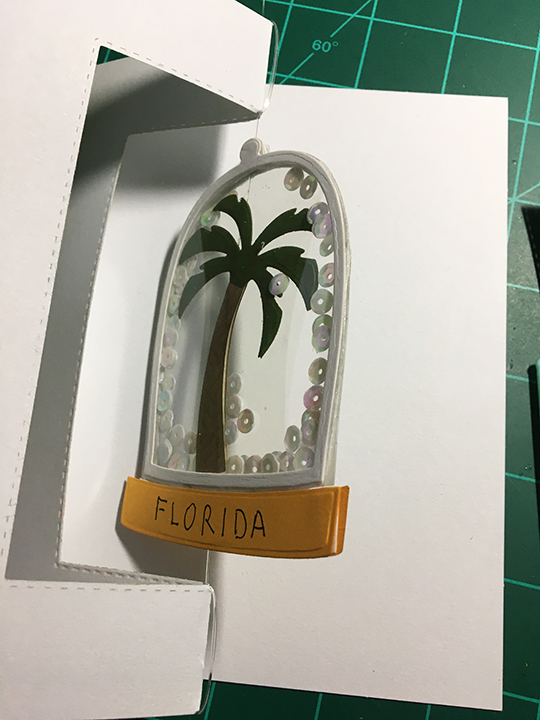




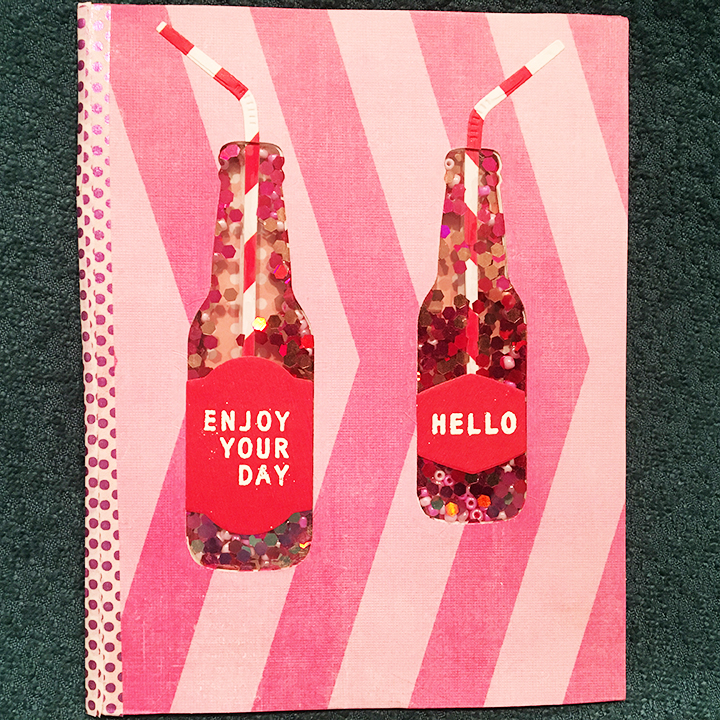

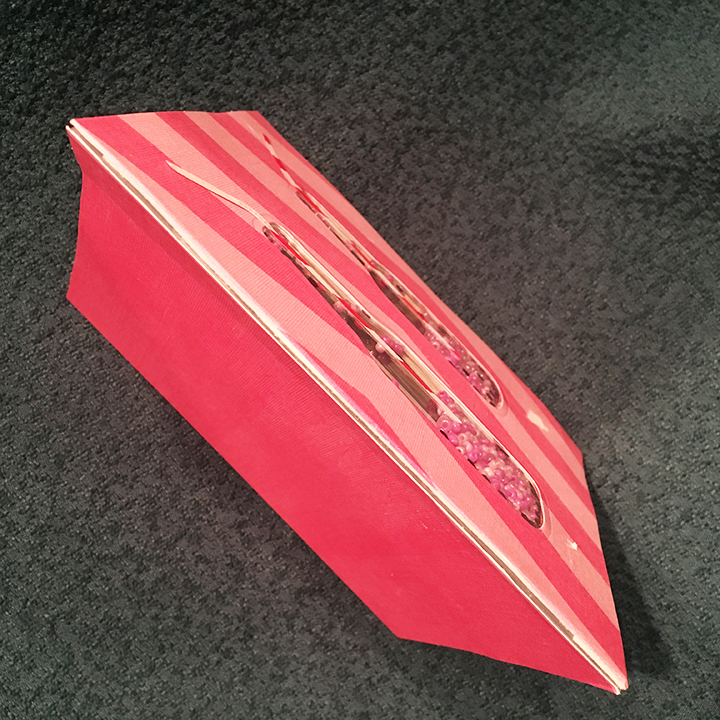

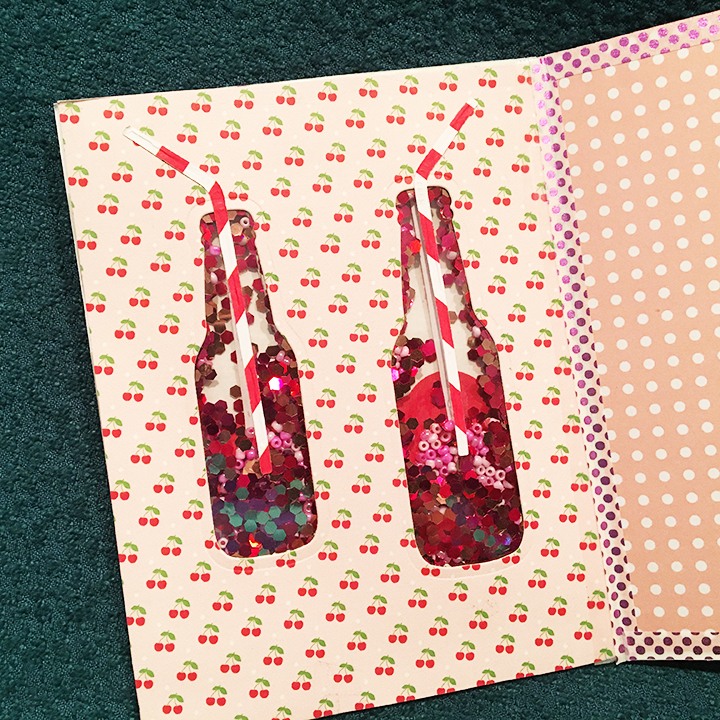

 Because the glitter is very clingy with static to the acetate, I decide to use this quality in my design and my shakers are only the thickness of some recycled cardboard box cut into a square and the circle die-cut out. I adhered a strip of acetate to the inside of the back panel of card base with double-sided tape. The cardboard squares were glued to back of card over the circle openings. With the card on a flat surface I put pinches of glitter into the cardboard circles and then added glue to edges of cardboard and dropped a square of acetate over each cardboard square to seal up the shaker. (If I had it to do over, I would have used the temple to mark out the cardboard and make it one long panel instead of squares.)
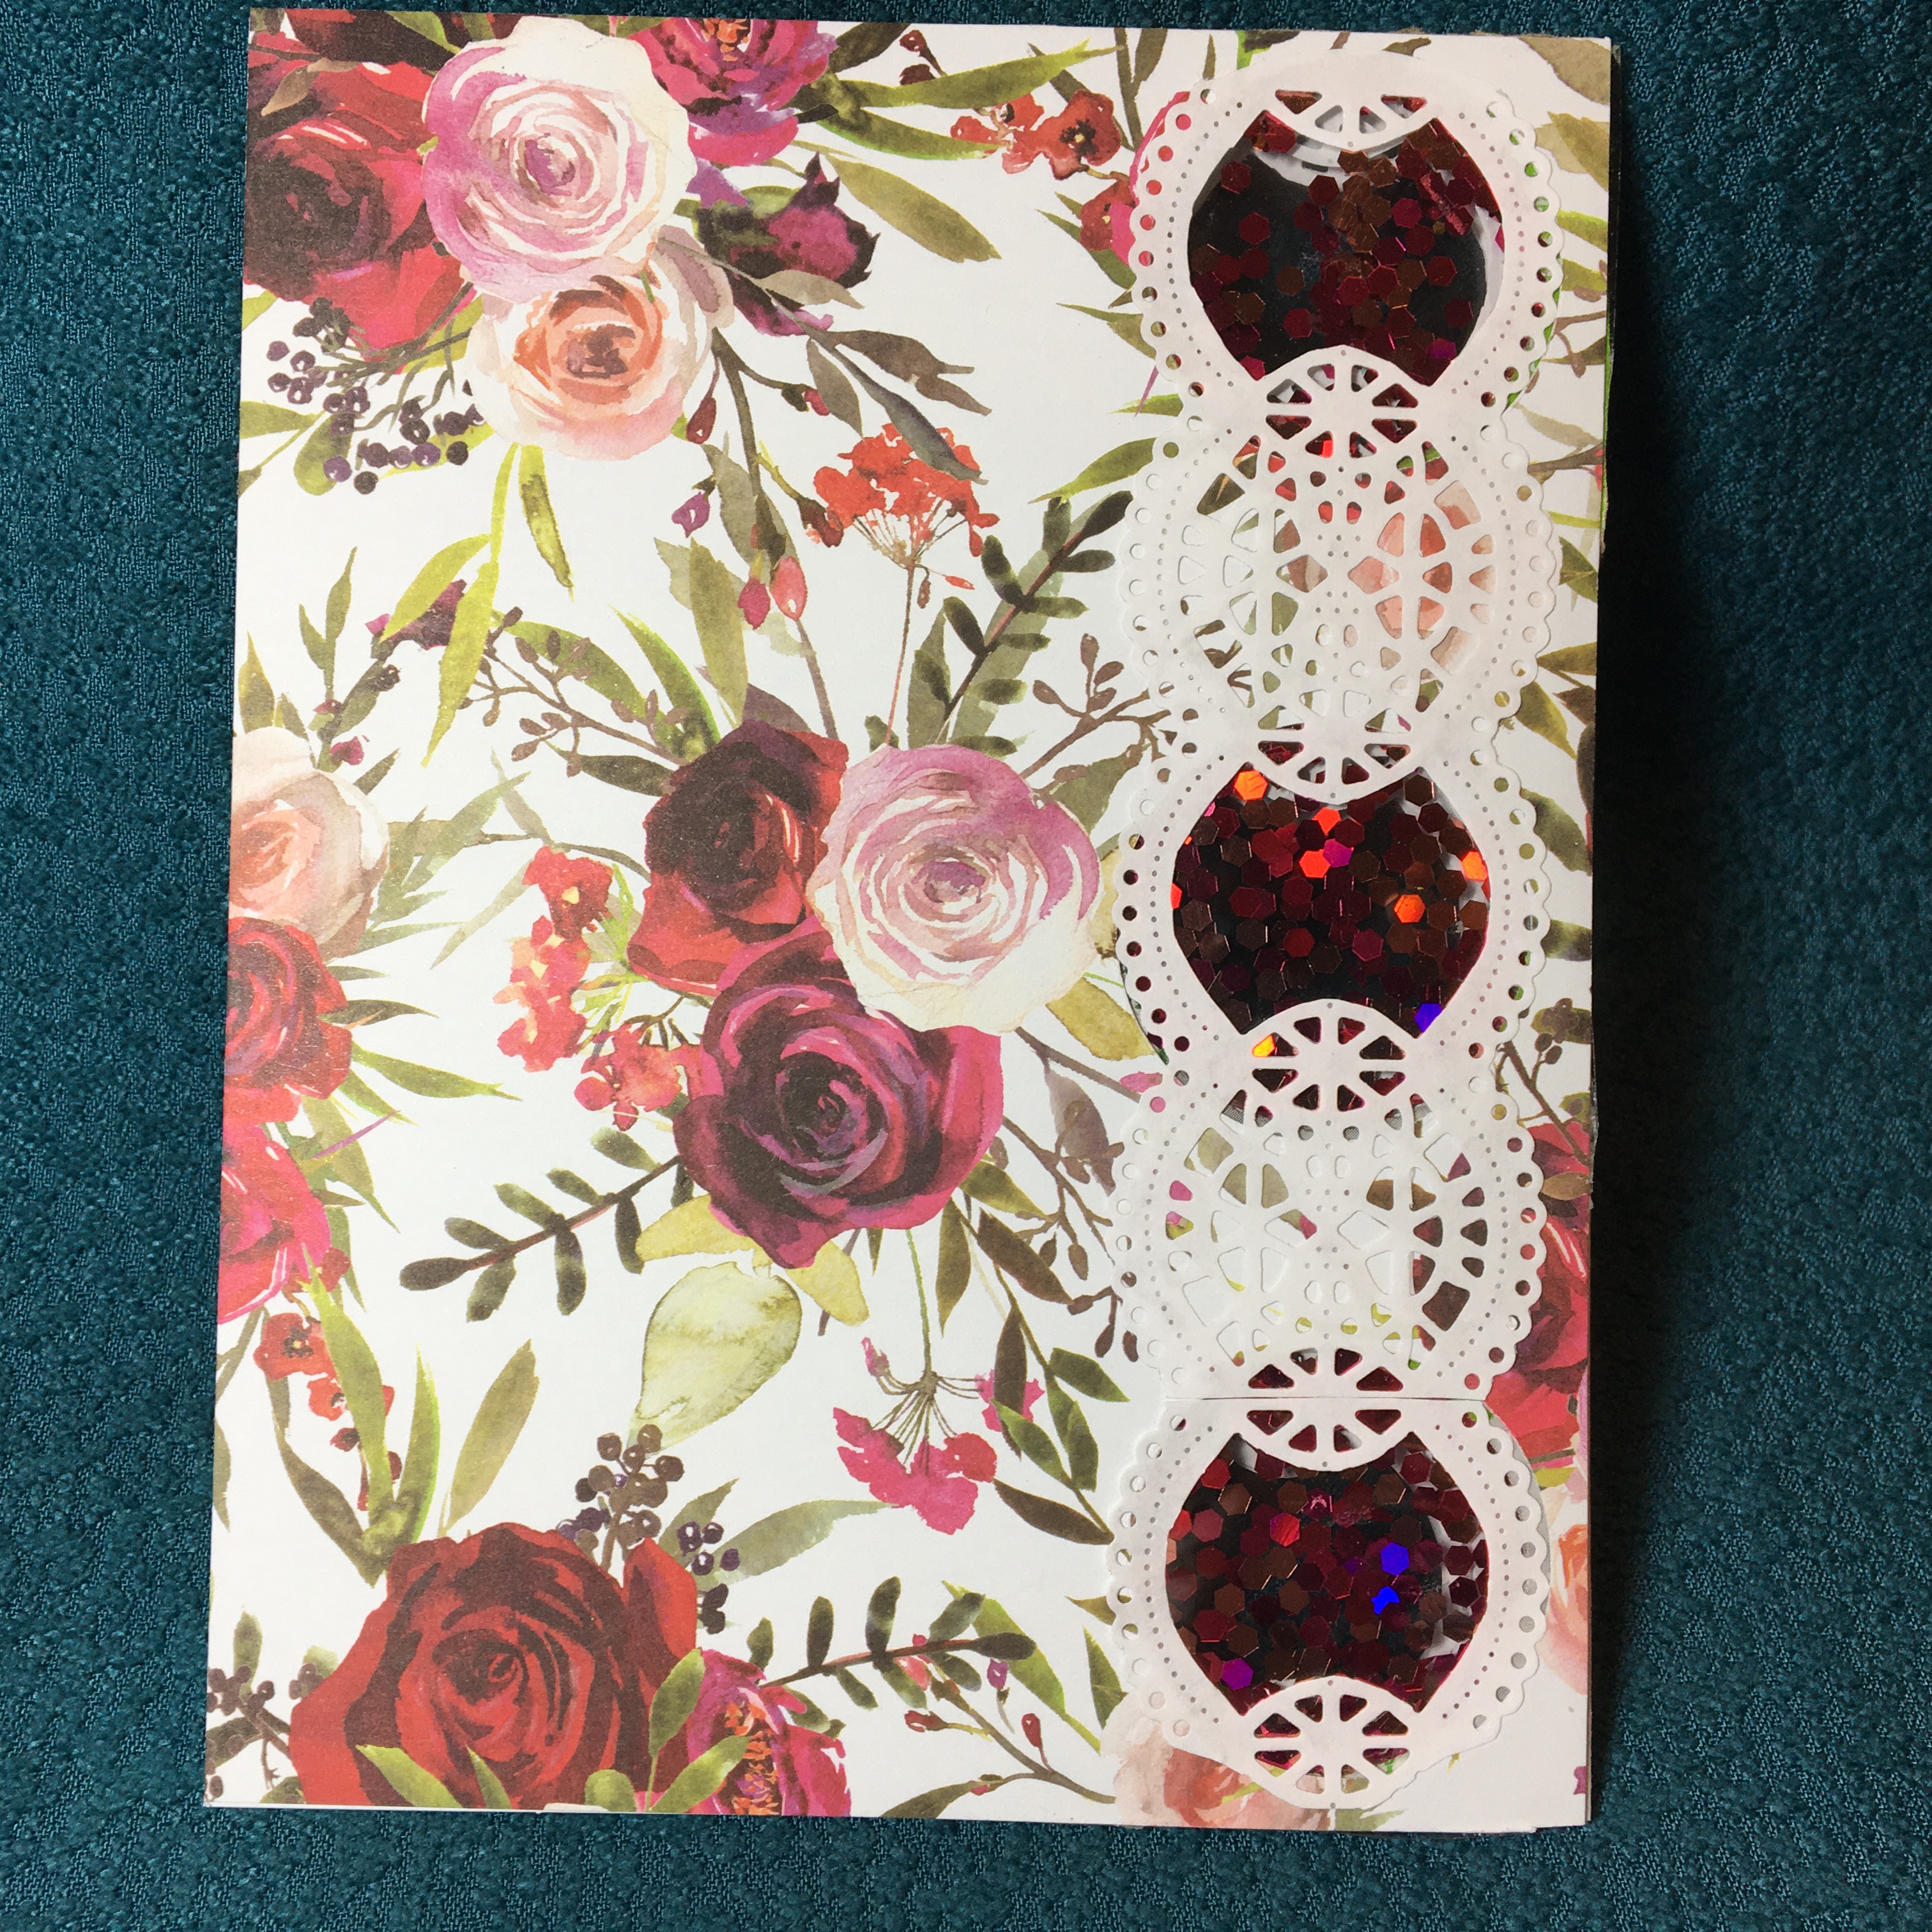 Next, I traced as best I could the shaker circles onto the back side of the two outer printed cardstock panels and the two inner patterned paper pieces. With printed sides place together and taped with removable tape, I cut both outer panels together. Repeated the same process with inner pattern paper. Using double-sided tape and a few drops of glue, I adhered the outer panels and the inner papers lining up all the shaker holes. To hide the small gaps, I die cut four strips of scalloped lace from thin white paper using an un-named die by Joanna Sheen in my stash. There are five circles in the lace, I cut out the top, middle and bottom inner circles to correspond with the shaker circles. I glued the four lace pieces over the inner and outer panels’ circles.
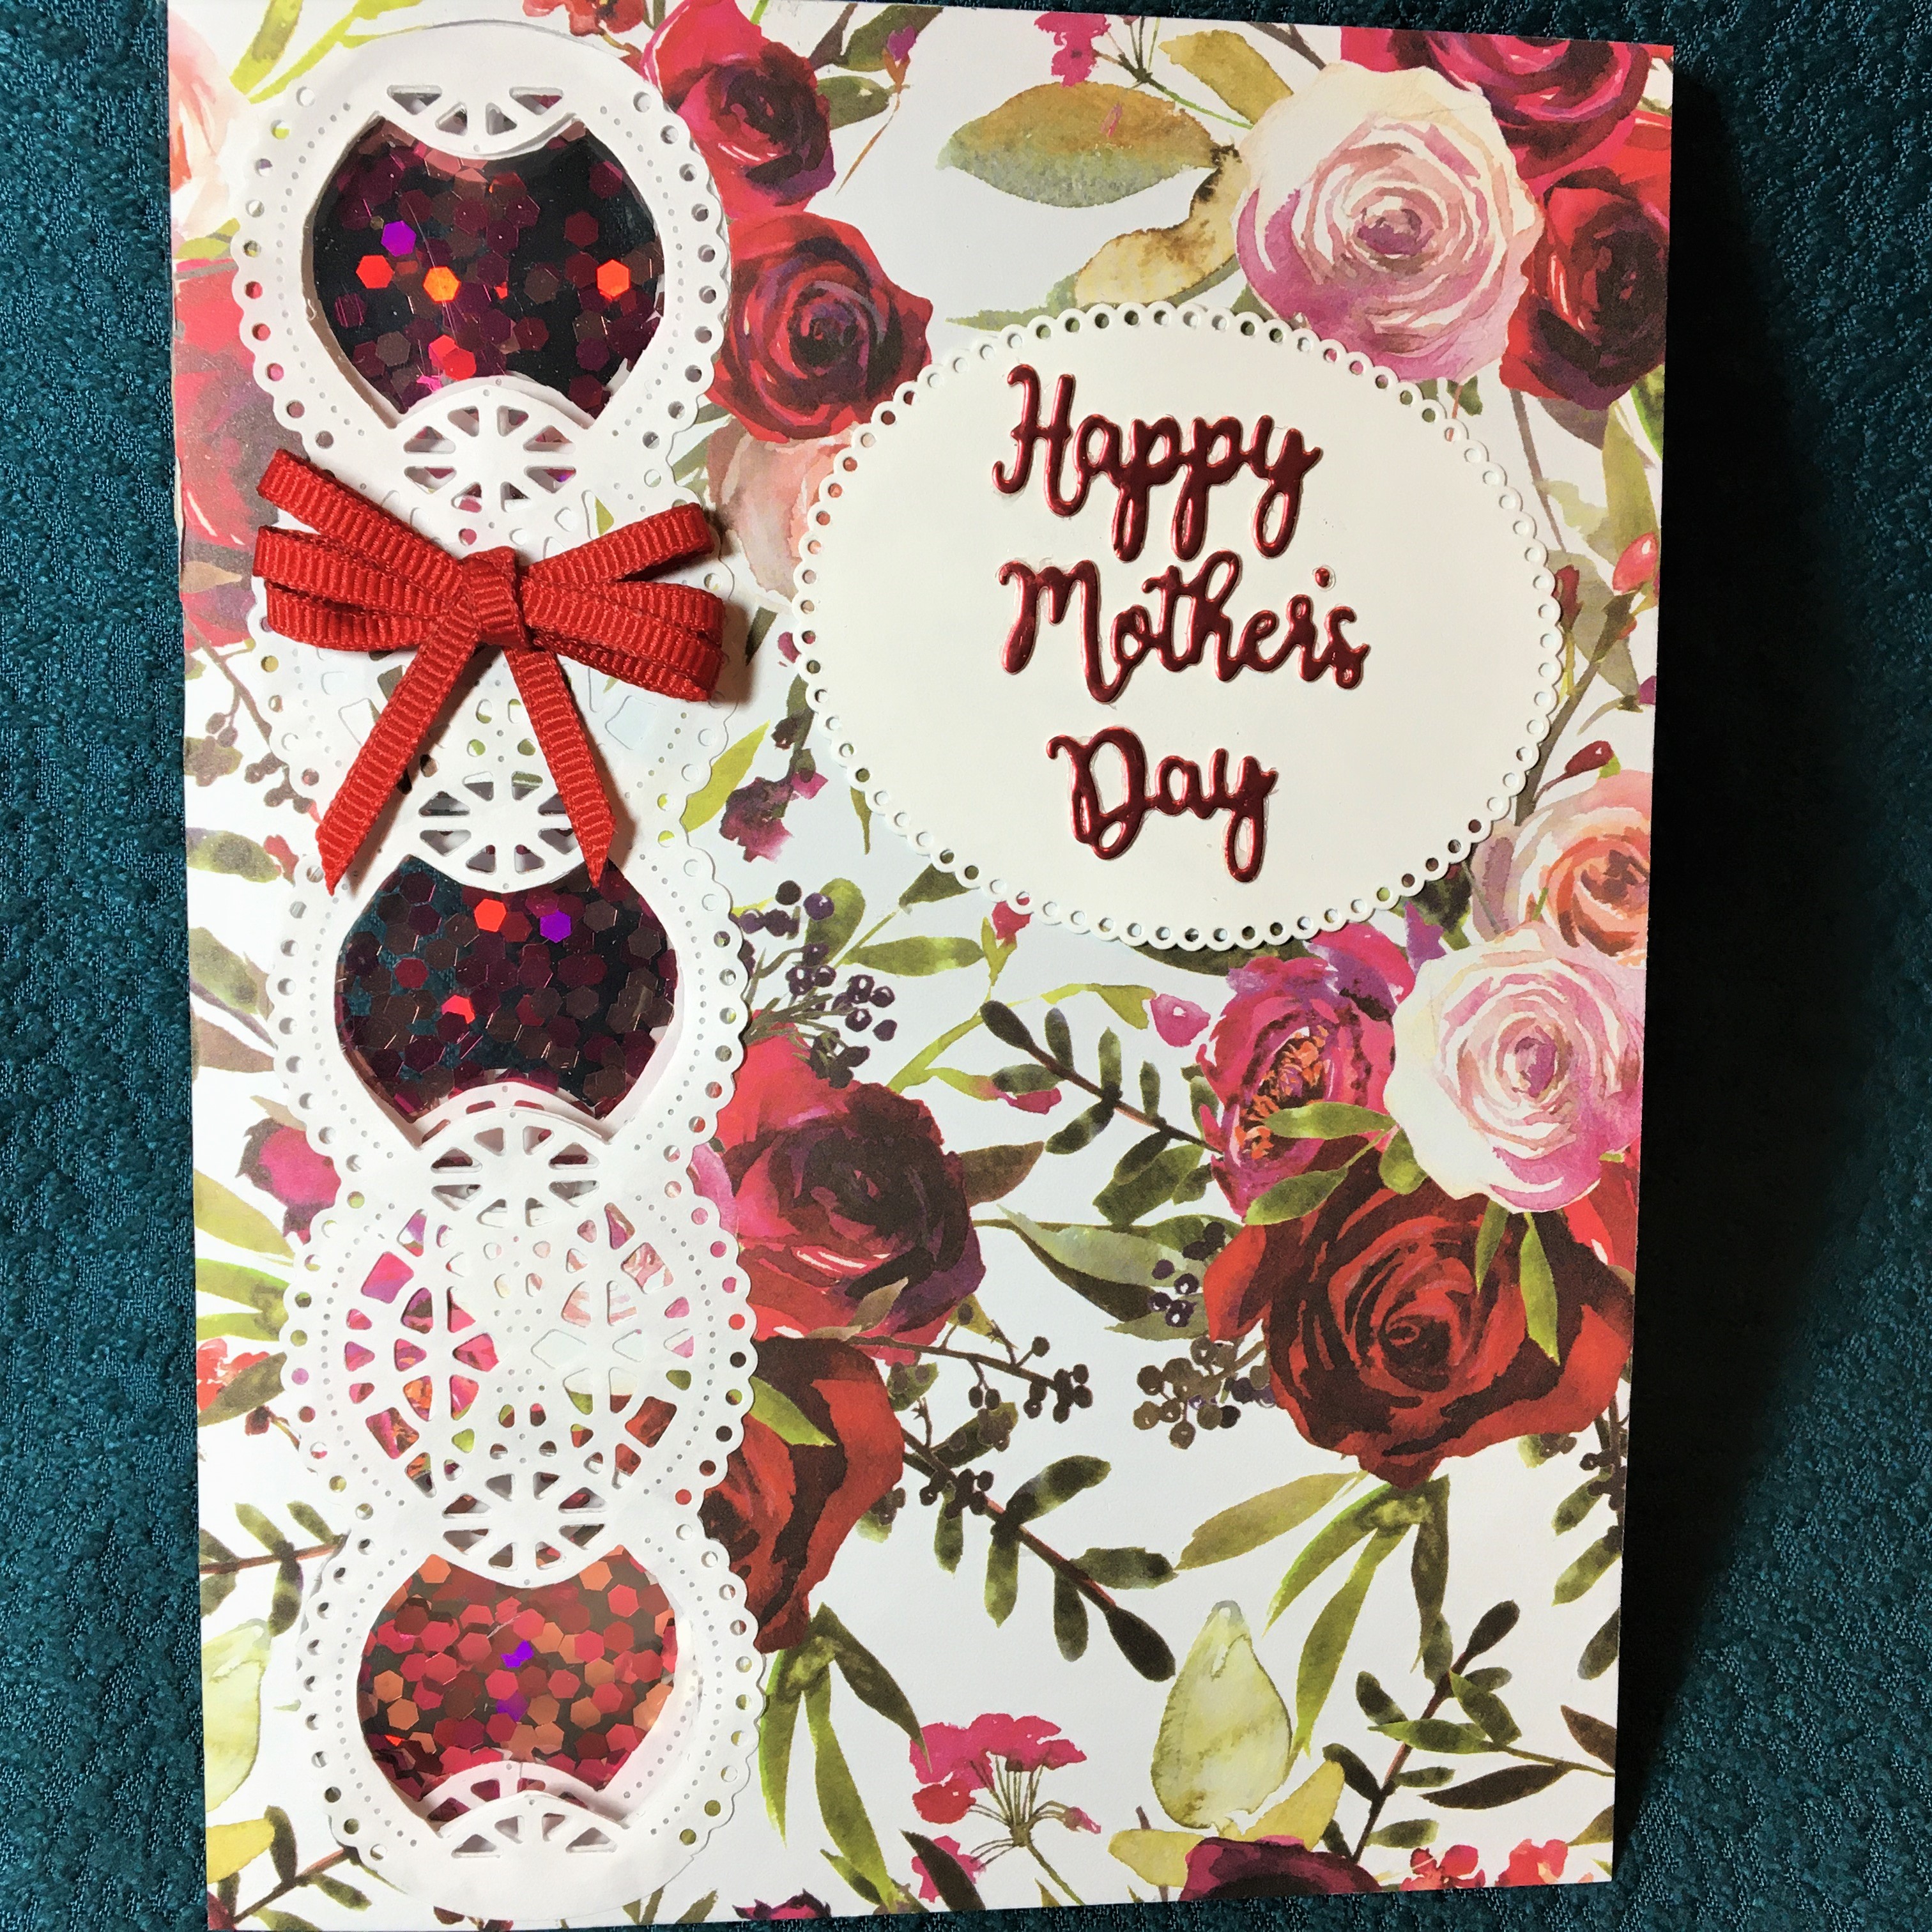
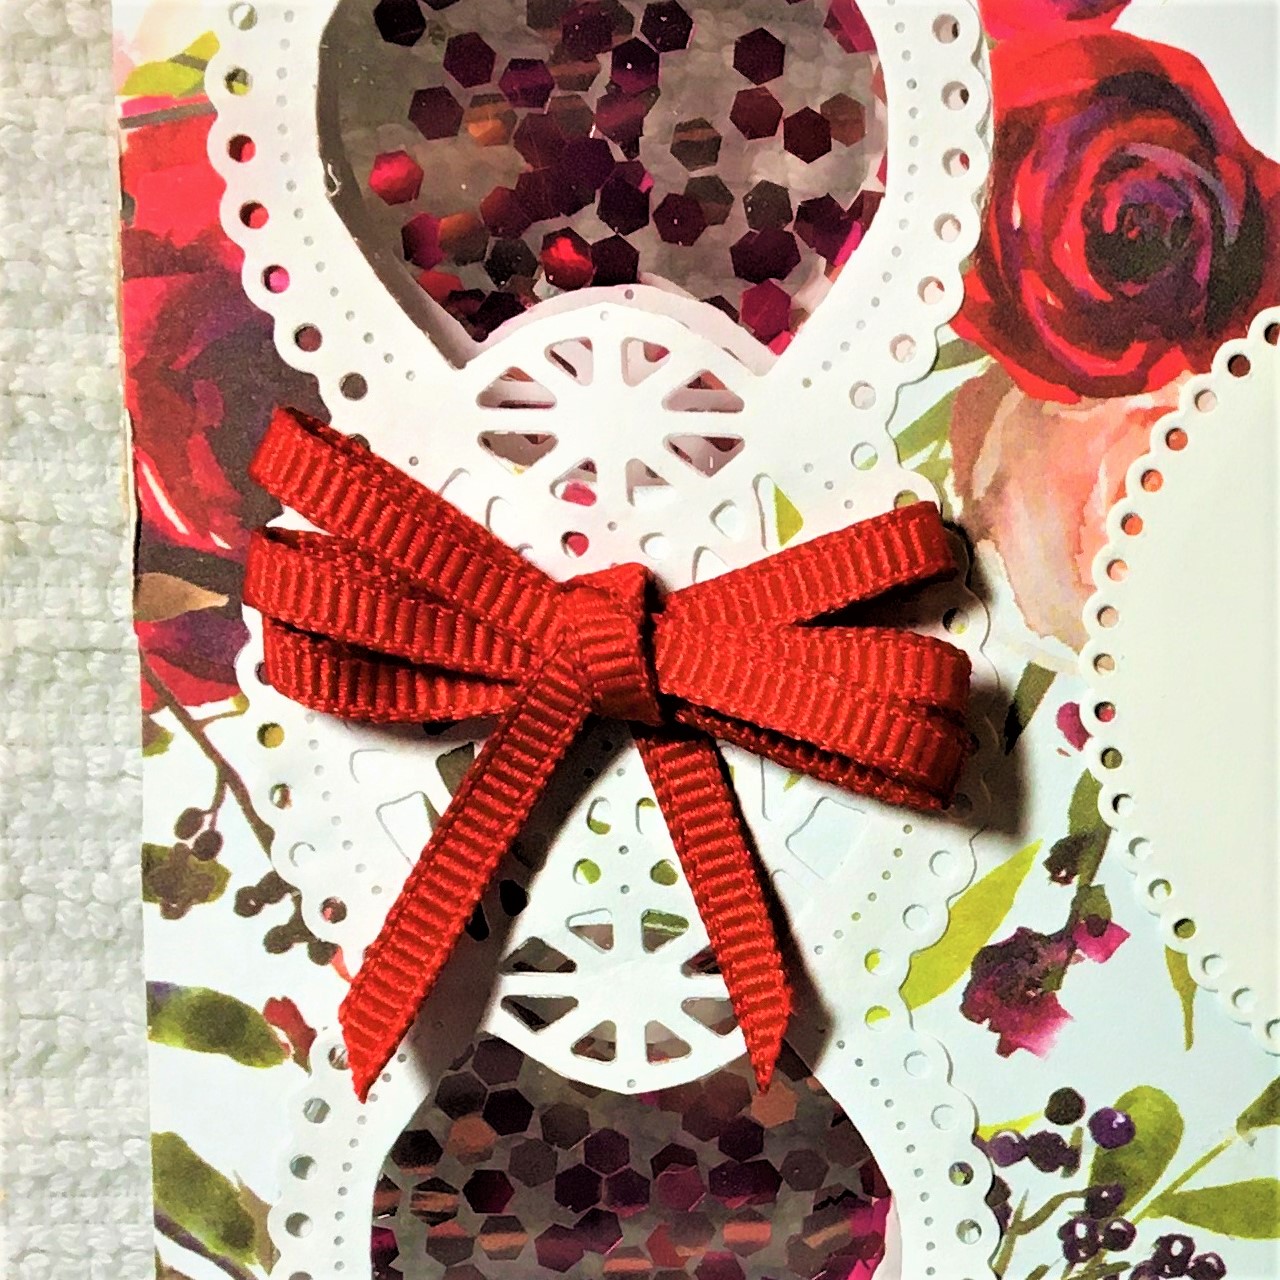
 The front of the card has a die cut scalloped oval with “Happy Mother’s Day” die cut from a recycled chocolate’s box. A multi-looped button is from tiny grosgrain red ribbon from my stash.
 Materials: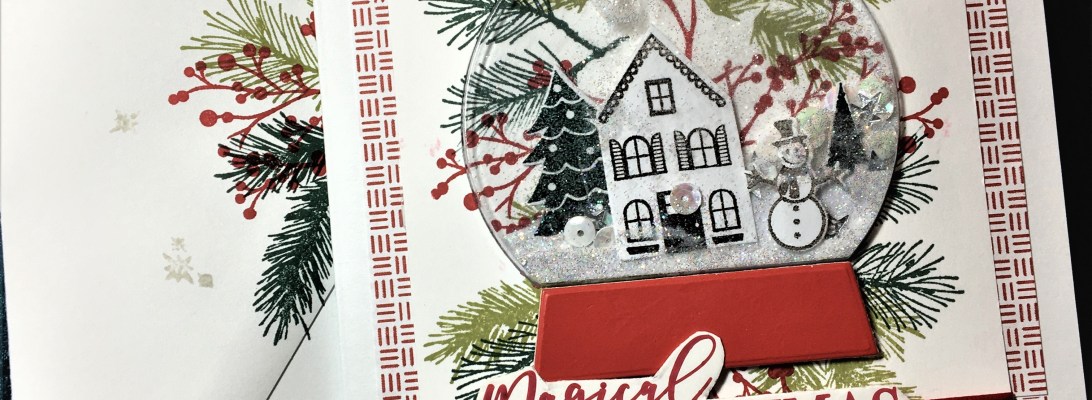
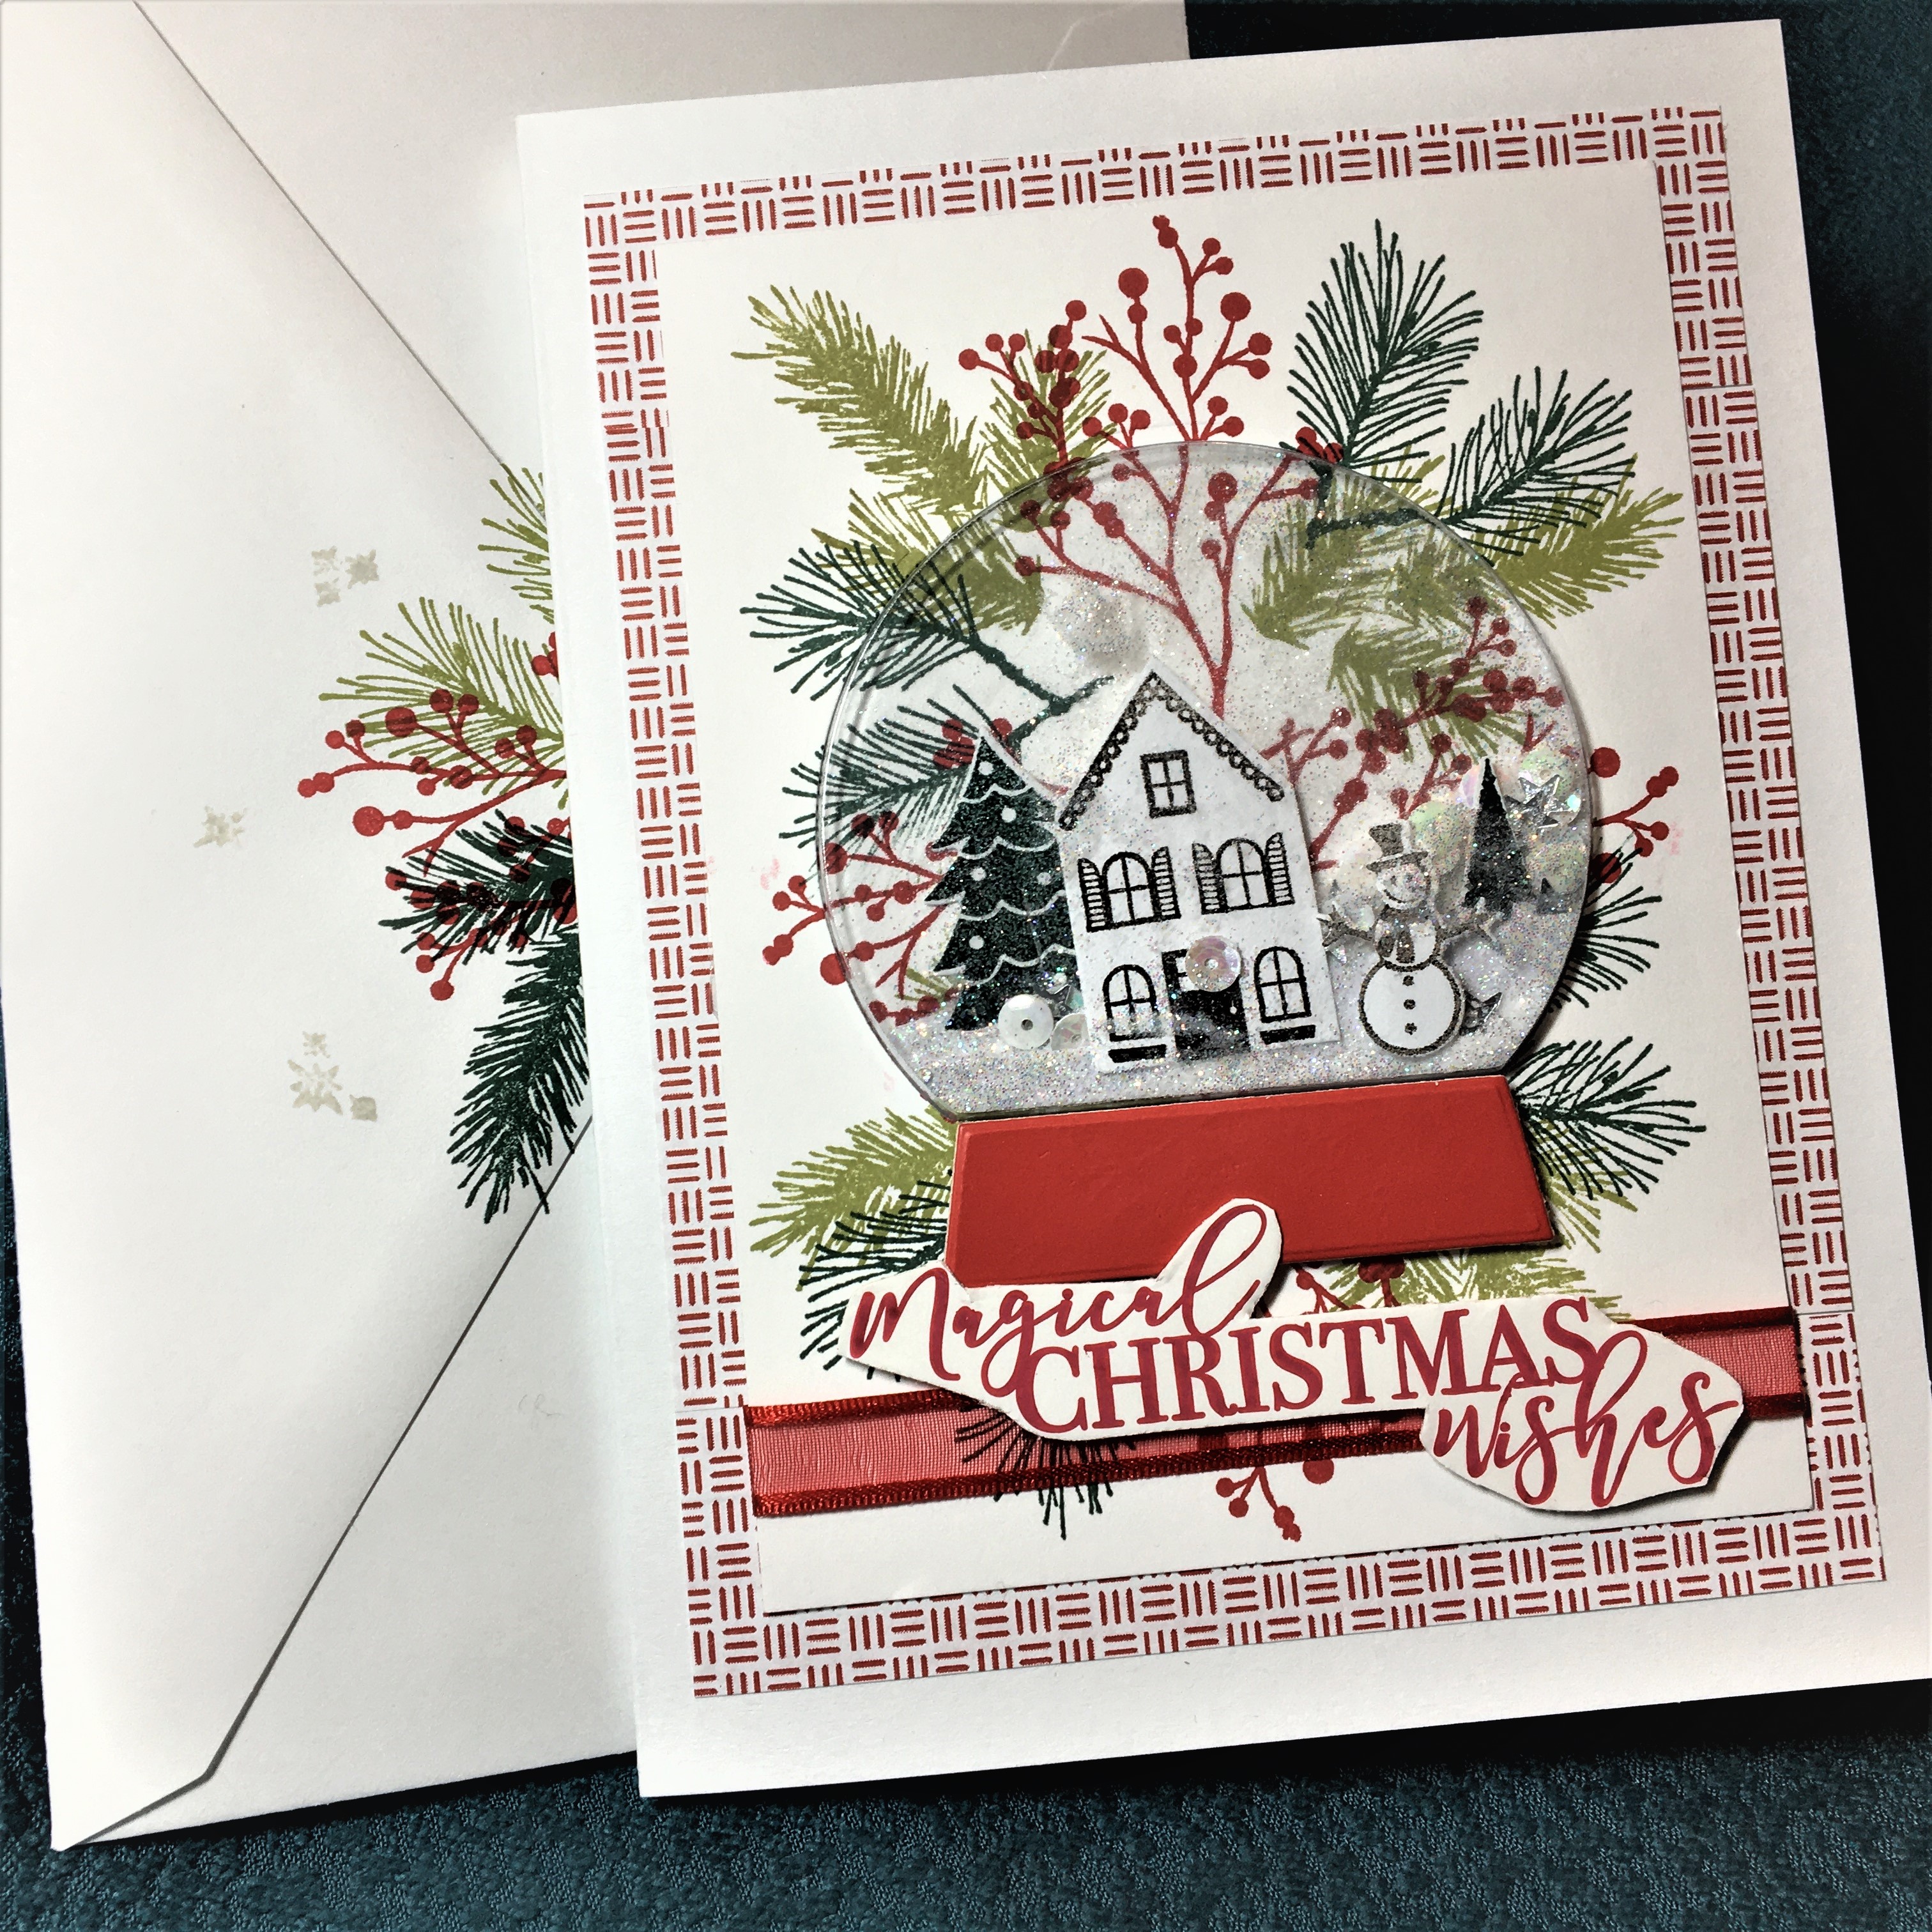
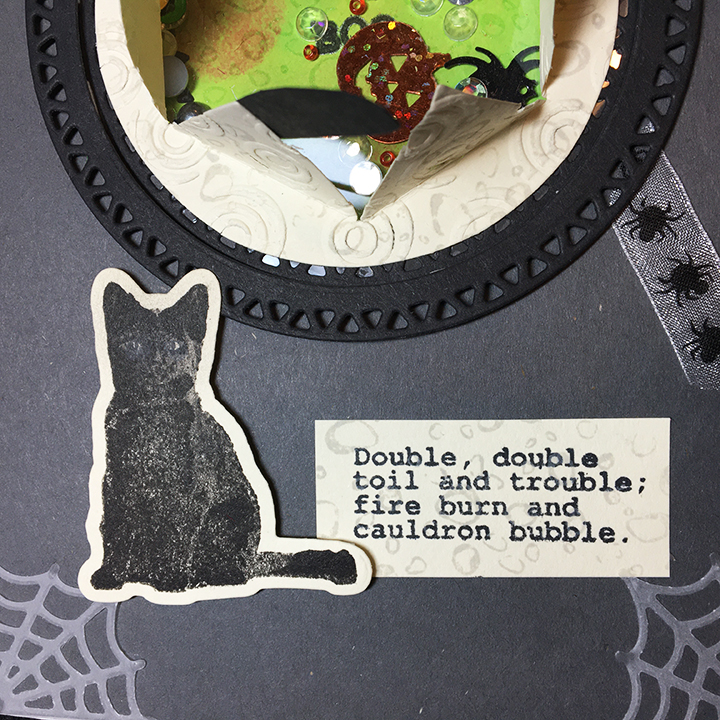
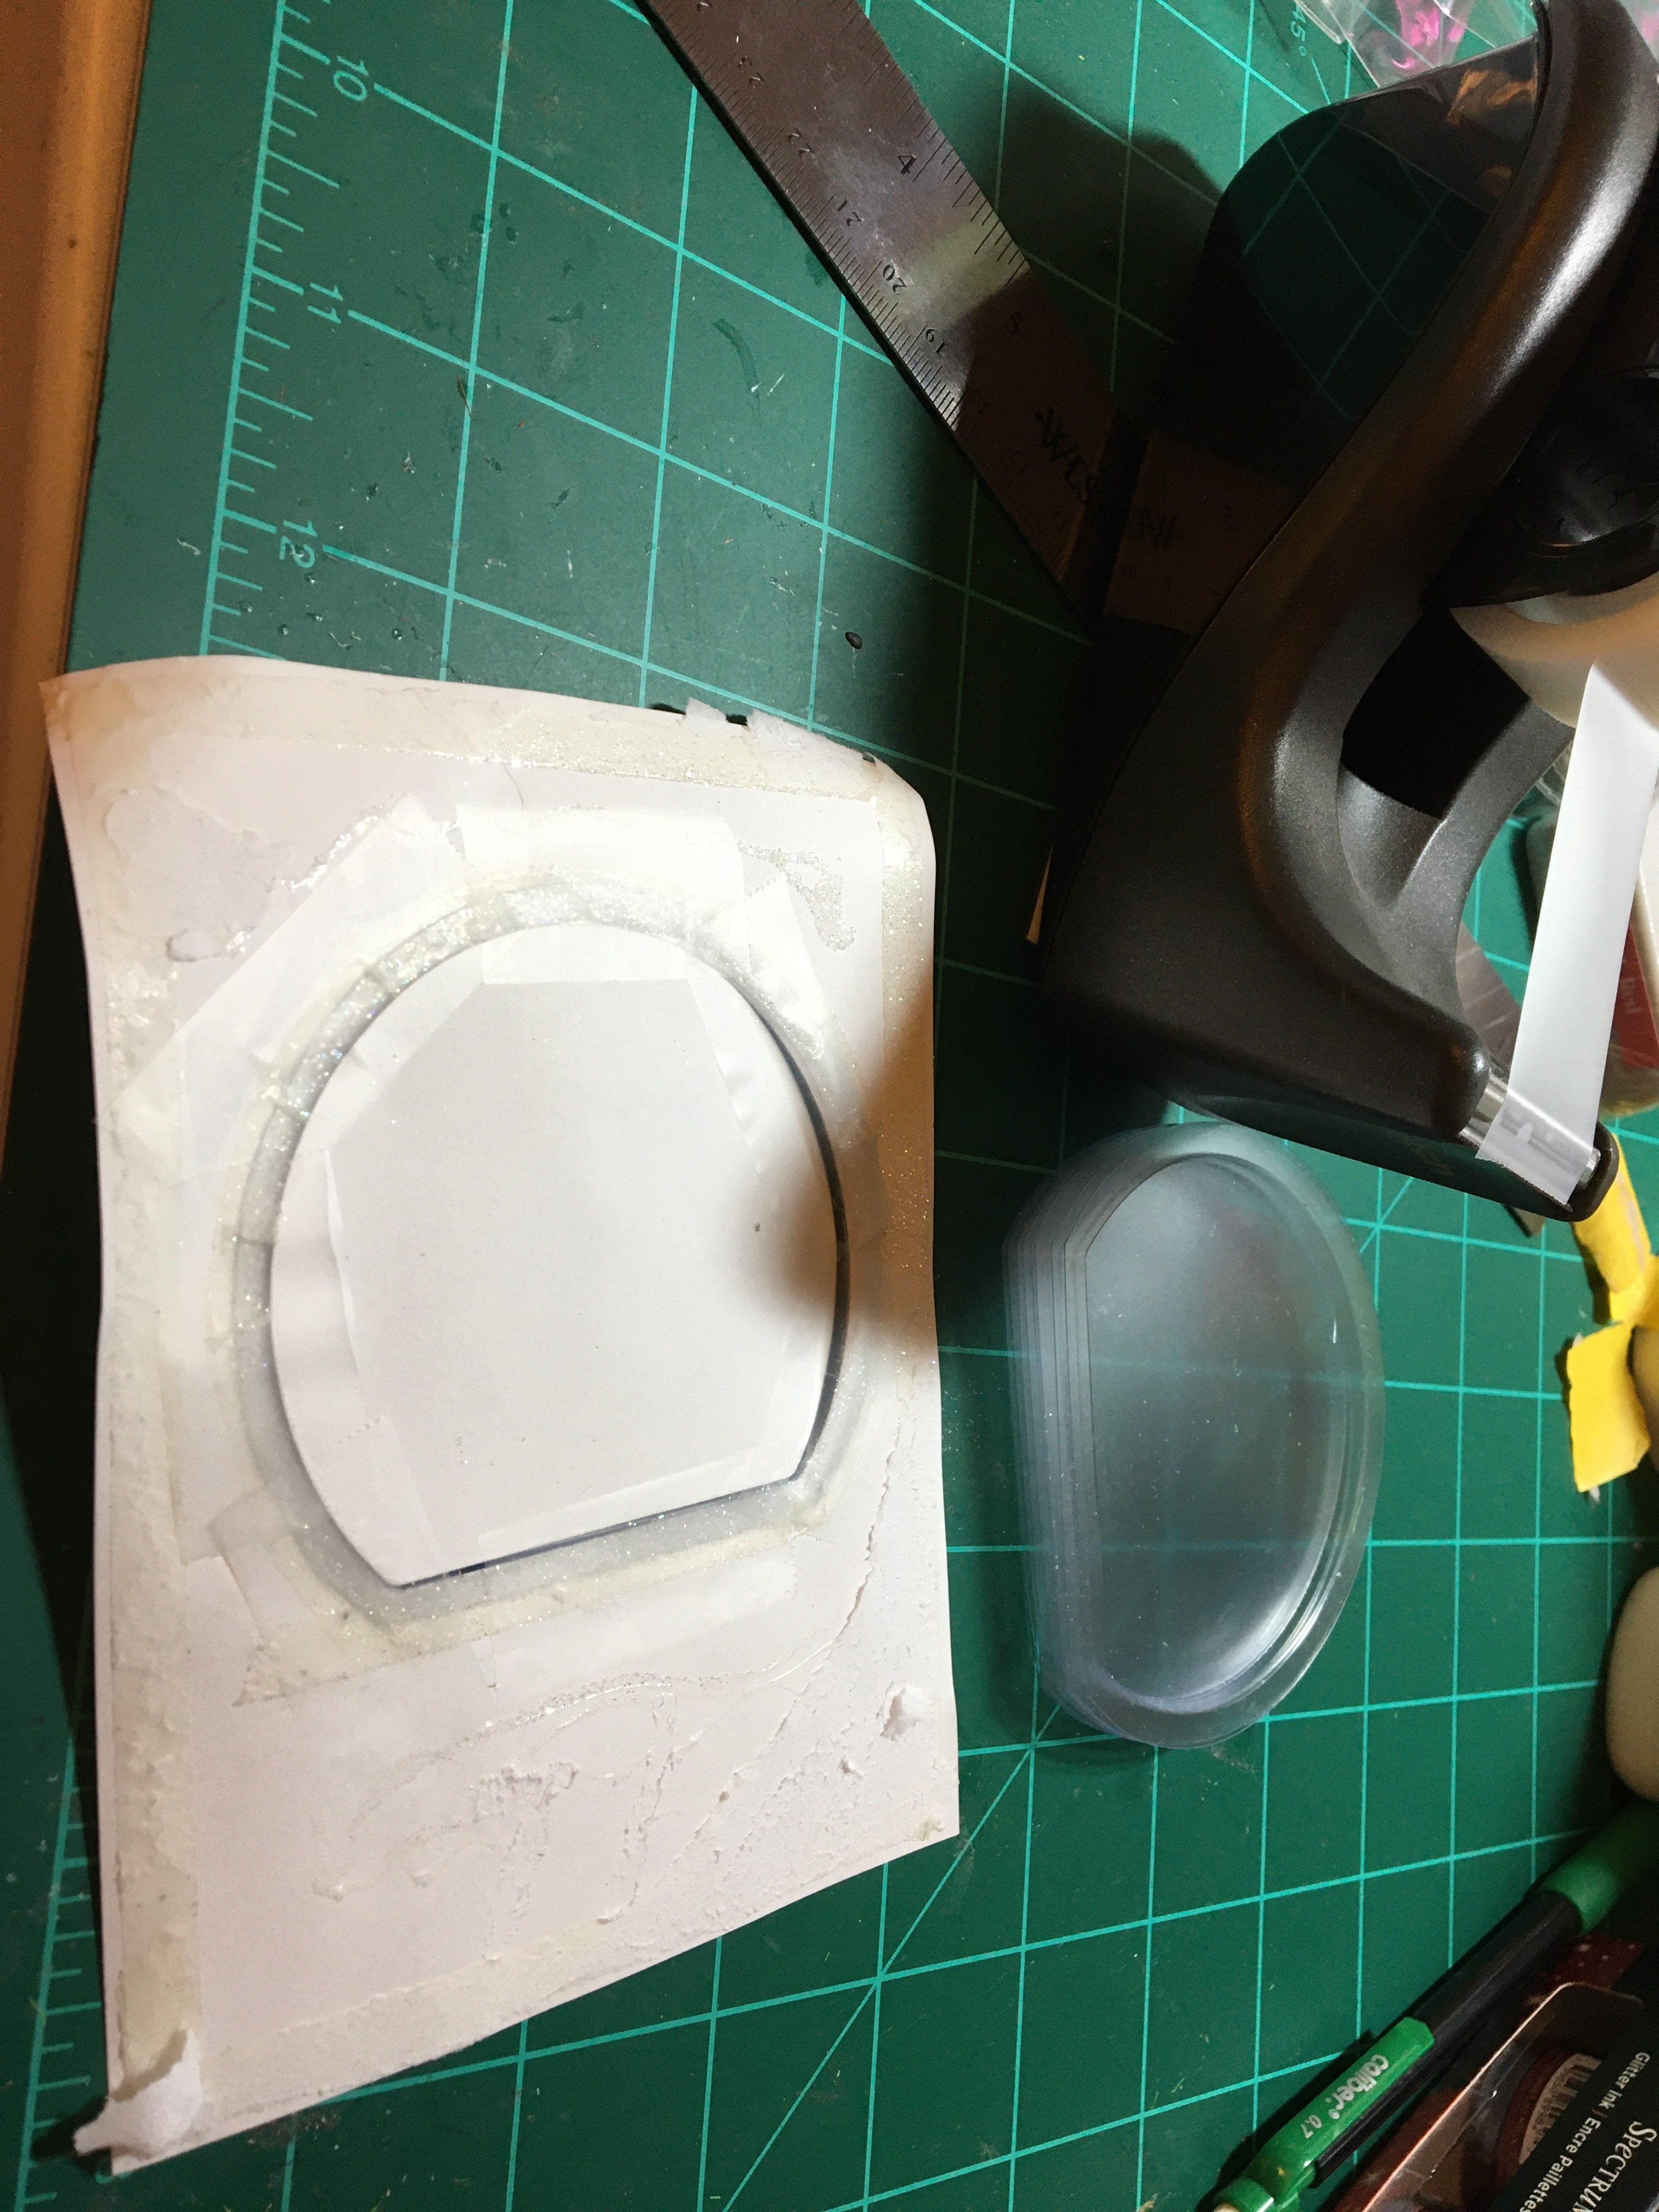 Assembling the globe: I added a few white and silver sequins and a hint of fine snow glitter. (I find the that glitter clings to most of the surfaces inside the globe and a hint gives a sparkle without fogging up the globe.) Using clear removable tape, I sealed the back of the globe with the house and hills which were attached to the stamped globe cut-out. Once the globe was sealed, it was placed into the stamped card with the globe cut out.