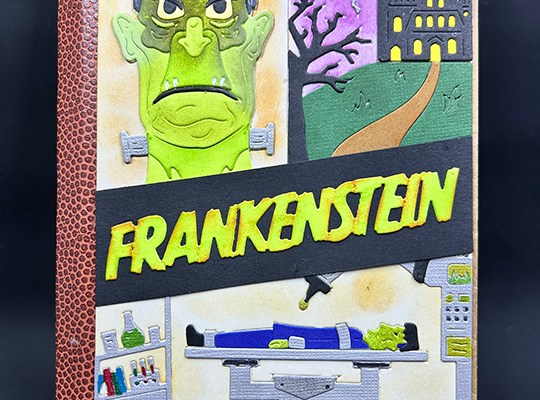
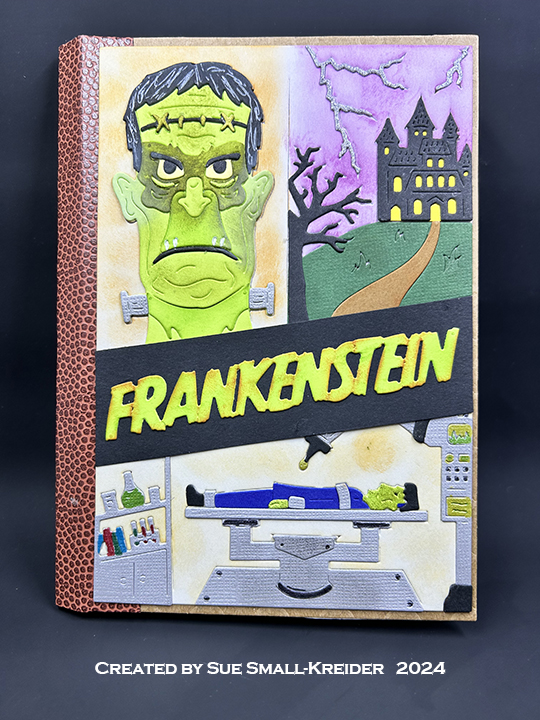
This card was made for Craft Roulette #237 whose parameters included a pop-up card, Trick or Treat colors, boutique, and jewelry.
I chose to make Mary Shelley’s gothic novel Frankenstein as a pop-up book card using dies by Scrappy Tails.
Watch the process video to see how I made this card.
Cardbase: The card base is made using the Scrappy Tails A7 Pop up Book die set. (I apologize for not having included video of the frame assembly.) The accordion fold pages frame that goes inside the book card can be seen in an assembly video by the designer by clicking here.
Sentiments: The “Halloween Greetings” is a stamp from PoppyStamps. The “Boo-tique Books specializing in Gothic Novels” was computer generated and die using a label die from the Scrappy Tails Life is a Story die set.
Envelope: The card fits into a catalog (6×9-inches) size envelope. “This book belongs to…” is stamped in black on the envelope flap.
___________________________________
Thank you for experiencing this blog post.
I hope this inspires you and makes you smile.
Please like and leave comments 😊
___________________________________
Materials Used:
Dies
Scrappy Tails – Metal Dies – A7 Pop up Book – Parts 1 & 2
Scrappy Tails – Metal Dies – Frankenstein Tomb Stone
Scrappy Tails – Metal Dies – A7 Frankenstein CP
Scrappy Tails – Metal Dies – Life is a Story CD
Stamps
Papercraft Essentials Magazine Issue 183, January 2020 – The Next Chapter
PoppyStamps – Clear Stamps – Bugs and Hisses -CL512
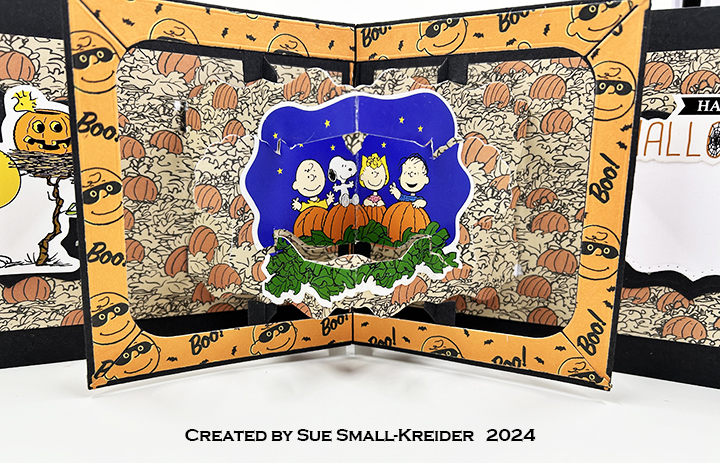
It’s time for the October 2024 Karen Burniston Design Team Challenge with the theme of a haunted location. I chosen an Adirondack chair in a pumpkin patch to be haunted.
Watch the process video to see how the card was assembled.
Cardbase: Cut two 5 1/2 x 11-inch rectangles from black cardstock. Fold each rectangle in half to form two 5 1/2-inch square top fold cards. Two pieces of patterned paper from Graphic 45 were used to cover the inside floor and front card cover.
Adirondack Chair: Watch the assembly video for the Adirondack Chair located at the bottom of the linked page.
Ghost Mechanism: Watch the assembly video for the Spinner SquarePop-Up located at the bottom of the linked page. The ghosts are from the Halloween Charms set and were cut once from white cardstock and had their eyes and mouth stenciled on using the die. They also were cut from glow-in-the-dark paper for their backs and to hide the black mechanism arm.
Decorations: The large pumpkins are from the Autumn Elements set and the smaller jack-o-lantern and green hands are from the Halloween Elements set. The background pumpkins were cut from the Graphic 45 papers. The black cat on the chair is from the Skeleton and Bat set. The Slim Pattern Plate – Spiders was cut from pearlescent vellum and the spiders colored black. Then it was placed on the diagonal on the card front.
Sentiments: The card front uses the “Happy Halloween” from the Halloween Charms set while the inside uses a Spellbinders BetterPress “Happy Haunting” sentiment. Other inside sentiments – “Boo!” “Sit for a spell” and “Hey Pumpkin” – are cut from the Graphic 45 papers.
Envelope: The card will fit into a 6×6-inch square envelope or a 6×9-inch catalog envelope.
___________________________________
Thank you for experiencing this blog post.
I hope this inspires you and makes you smile.
Please like and leave comments 😊
___________________________________
Disclaimer: Karen Burniston products are provided free of charge by the manufacturer for review and use. All other items were personally purchased. Compensated affiliate links used where or when possible, meaning I will receive a small percentage commission from these manufacturers at no cost to you. This will allow me to add more content to my YouTube channel and help out a lot. Thank you.
Disclaimer: Karen Burniston products are provided free of charge by the manufacturer for review and use. All other items were personally purchased. Compensated affiliate links used where or when possible, meaning I will receive a small percentage commission from these manufacturers at no cost to you. This will allow me to add more content to my YouTube channel and help out a lot. Thank you.
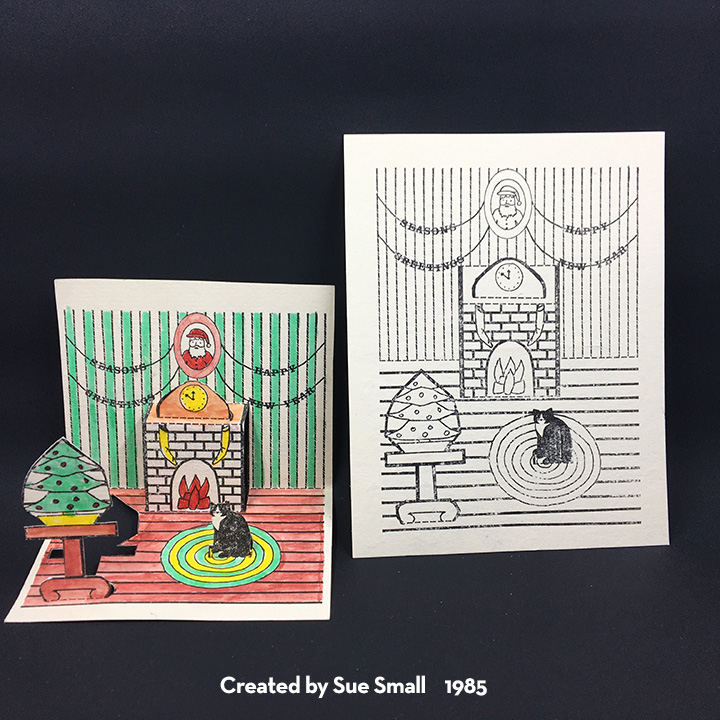
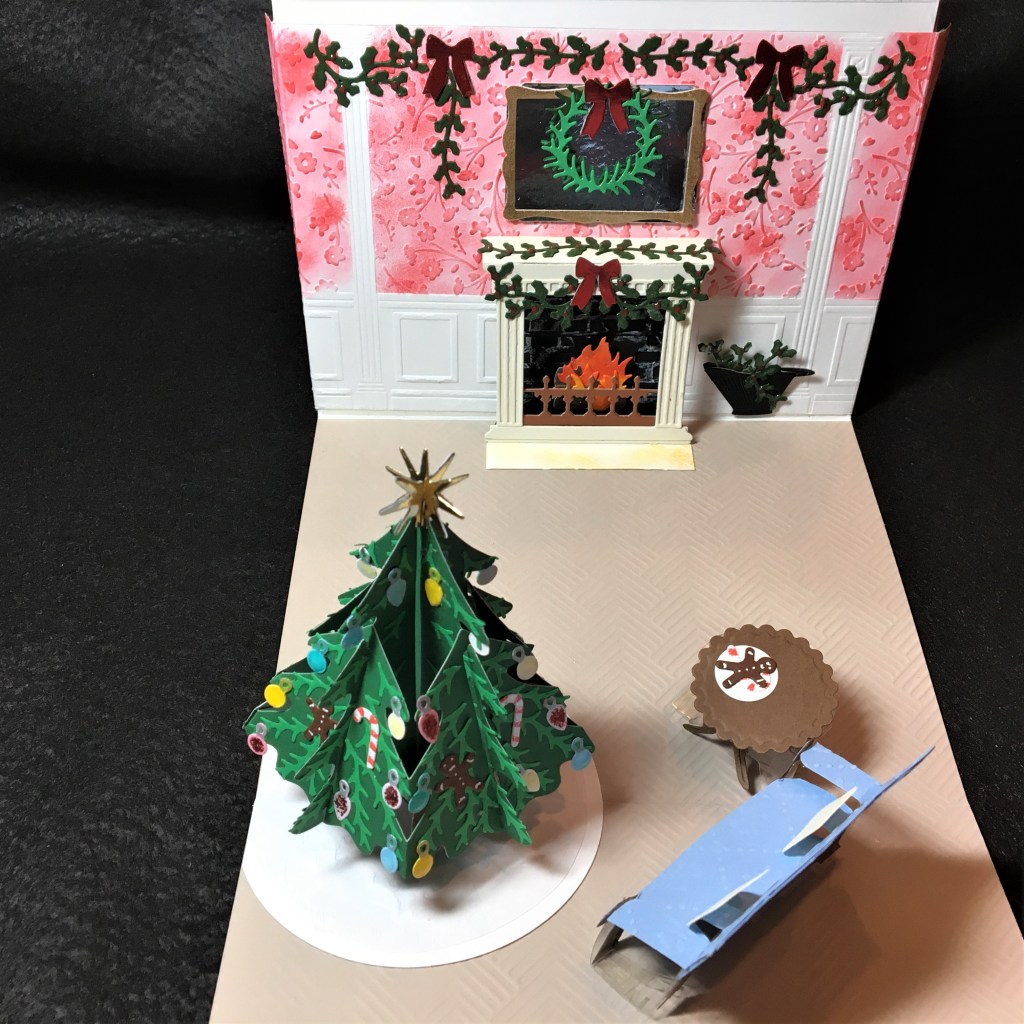
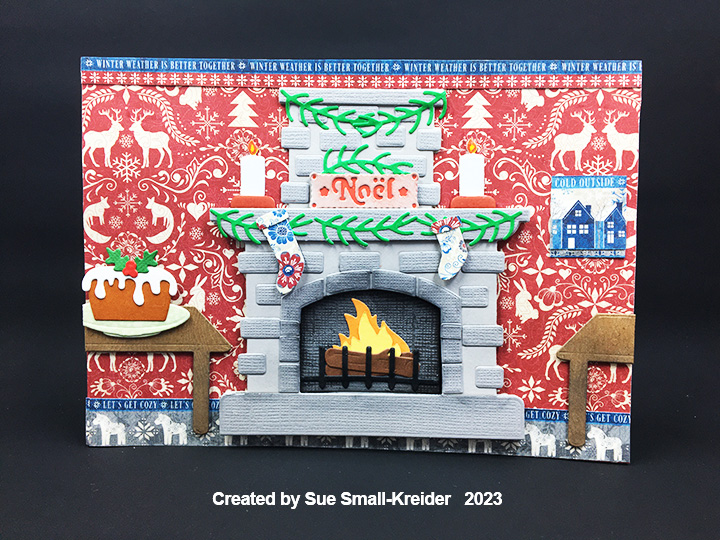
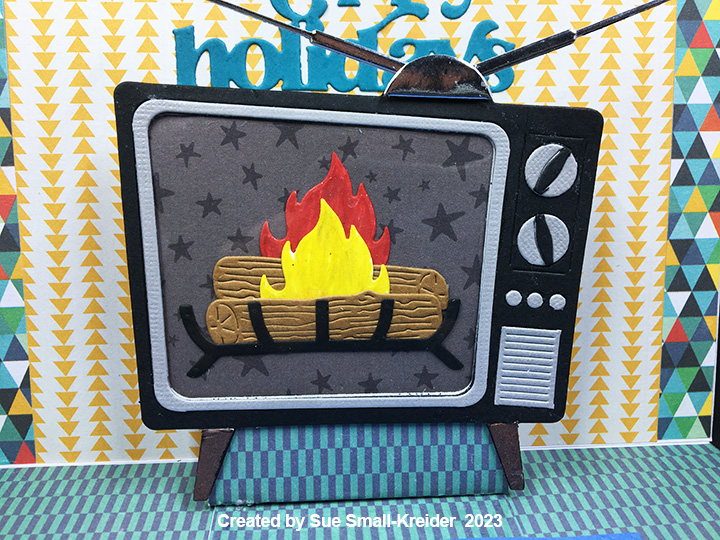
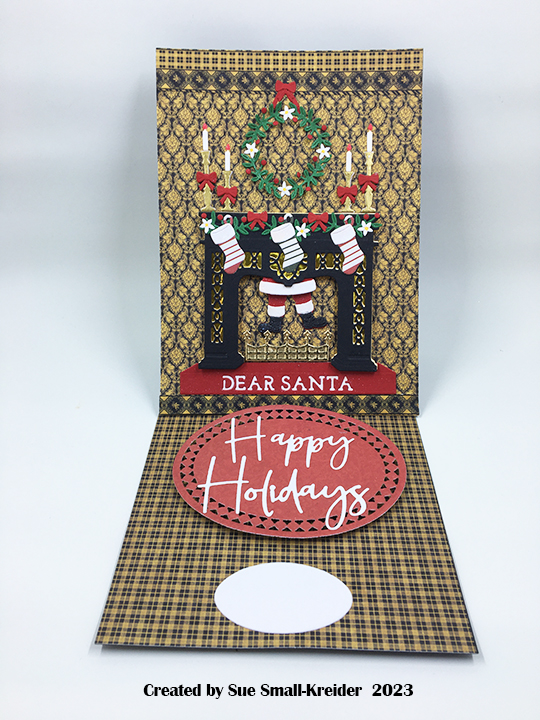
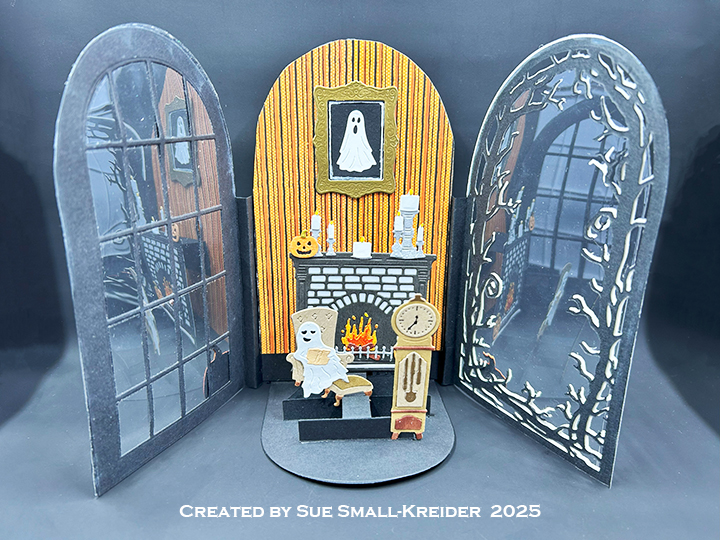
I have been collecting and making fireplace cards for several years now. Here is a collection of all my fireplace blog posts. Click on an image to see details of the fireplace.
___________________________________
Thank you for experiencing this blog post.
I hope this inspires you and makes you smile.
Please like and leave comments 😊
___________________________________
Disclaimer: Karen Burniston products are provided free of charge by the manufacturer for review and use. All other items were personally purchased. Compensated affiliate links used where or when possible, meaning I will receive a small percentage commission from these manufacturers at no cost to you. This will allow me to add more content to my YouTube channel and help out a lot. Thank you.
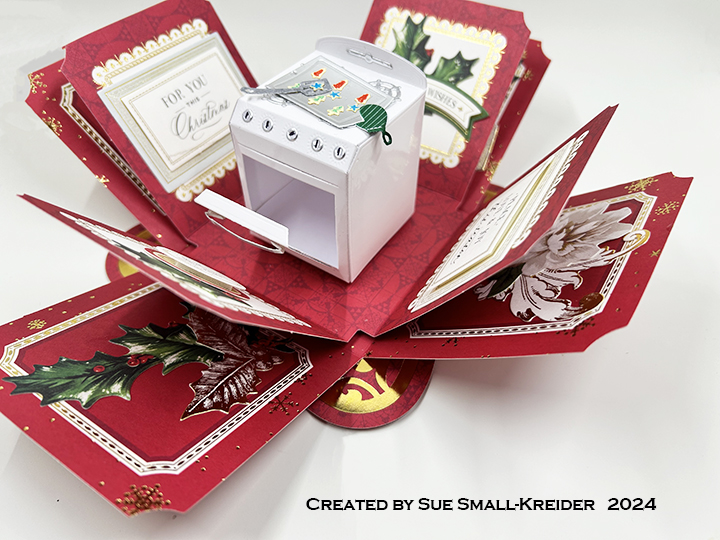
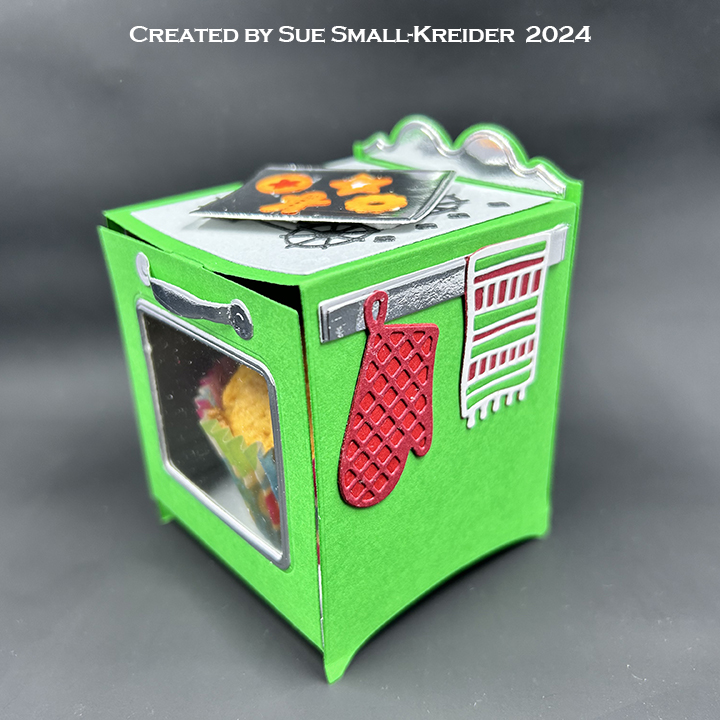
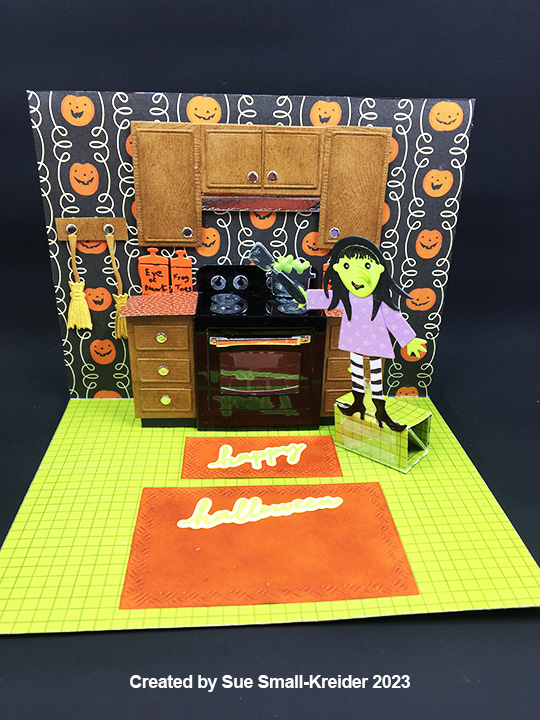
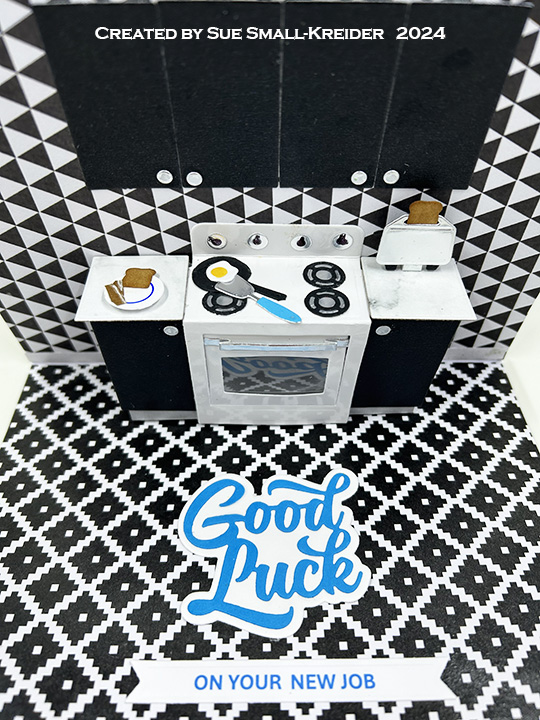
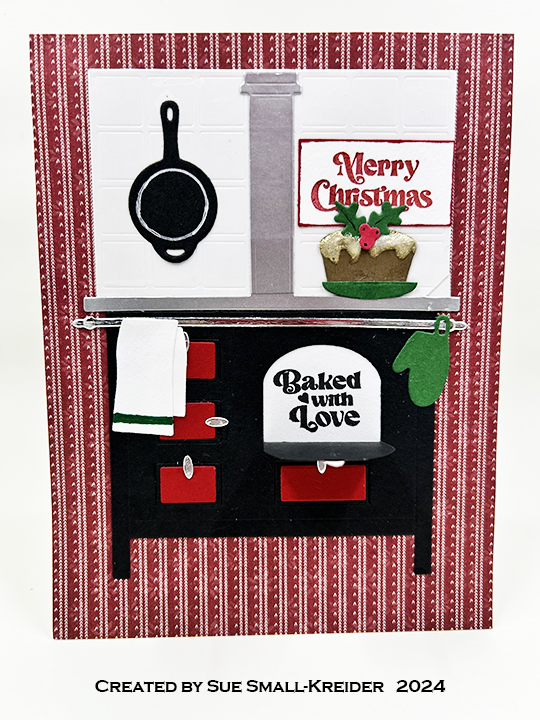
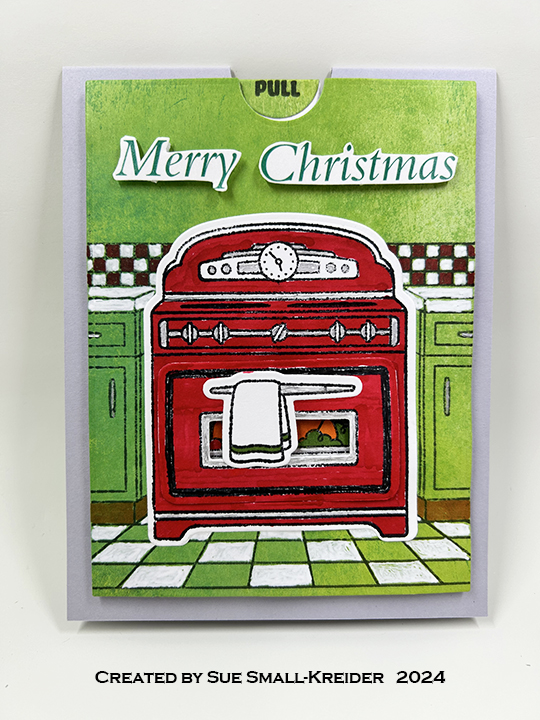
I have been collecting and making oven cards for several years now. Here is a collection of all my ovens blog posts. Click on an image to see details of the oven.
(Images are posted from the earliest release of dies/stamps/kits 2016 to newest 2023.)
____________________________
Thank you for experiencing this blog post.
I hope this inspires you and makes you smile.
Please like and leave comments 😊
___________________________________
Disclaimer: Karen Burniston products are provided free of charge by the manufacturer for review and use. All other items were personally purchased. Compensated affiliate links used where or when possible, meaning I will receive a small percentage commission from these manufacturers at no cost to you. This will allow me to add more content to my YouTube channel and help out a lot. Thank you.
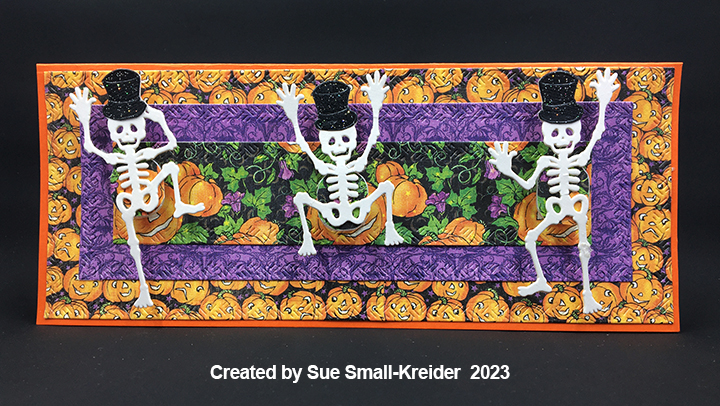
“Stepping out with my baby!” coons Fred Astaire in his top hat and tails. “Putting on the Ritz!” the monster in Young Frankenstein moans with his top hat and stick. These were the sights and sounds that serve as the theme of this wedding anniversary card for a couple married close to Halloween.
The card brief was for some interactivity that was spooky (but not too spooky) and included the word “BOO!” as well as “Happy 15th Anniversary.”
Cardbase: Starting with an orange 8 1/2-inches wide by 7-inches tall rectangle folded in half for a top-fold, slimline cardbase of 3 1/2 -inches tall by 8 1/2-inches wide. The front and back panels of the card base has mats cut using the three crosshatch dies from Karen Burniston’s Long Rectangles – Crosshatch die set and papers from Graphic 45. They are glued together and then glued to the cardbase. (I found placing weights – stamping blocks or cell phone – on the mats to keep them flat as the glue dried very helpful.) The inside has a piece of white computer paper cut to 6 3/4 -inches tall by 8 1/4 -inches wide and folded in half before being adhered to the cardbase with thin double-sided tape.
Card Front: Using the Creative Expressions Skeletons by Sue Wilson cut two each of the three skeletons dies from thick white cardstock and glued them together. Die cut just the hats/heads from black glitter cardstock. Fussy cut the hats from the heads and glue them in place. Cover one side of the wobbler springs with patterned paper to match the center mat of the card front. Glue the skeletons onto the patterned paper side of the spring and allow the glue to dry before gluing the springs to the card front.
Sentiments: The sentiments come from two different Karen Burniston die sets – Halloween Elements and Word Set 12 – Anniversary. The numbers are The Greetery’s Cake Pops Number Candles die set and fussy cut of their tabs and flame. The “th” superscript is from Karen Burniston’s Numbers set. (I cut two “Boo!” from black glitter and orange cardstock and offset them to create a shadow. For the anniversary greeting I used one layer of orange foil cardstock.)
Envelope:Karen Burniston’s jack-o-lantern border decorates the back flap of the envelope. It is cut in two pieces – the top orange and the bottom full outline from black glitter cardstock.
Thank you for reading this blog post. I hope this inspires you and makes you smile. Please like and leave comments 😊
Materials Used:
Dies
Creative Expressions – Craft Dies by Sue Wilson – Halloween Collection – Skeletons
Karen Burniston in cahoots with Riley and Company – Halloween Borders – 1247
Karen Burniston in cahoots with Riley and Company – Long rectangles – Crosshatch – 1151
Karen Burniston in cahoots with Riley and Company – Word Set 12 – Anniversary – 1137
Karen Burniston in cahoots with Riley and Company – Numbers – 1031
Karen Burniston in cahoots with Riley and Company – Halloween Elements – 1013
The Greetery – Wafer Thin Steel Dies – Cake Pops Number Candles
Papers
Graphic 45 – 8×8 Double-Sided Paper – Charmed Collection – If the Broomstick Fits
This card was made for Craft Roulette #186 whose parameters included a dude card, library colors, large flower(s) and stitched.
These parameters suggested a book box with a pop-up surprise to me. I followed Nicki Baxley’s idea of using an embossing folder with flowers for the cover of the book and Mary Gunn’s idea of a 3D book.
Before the show, I had been experimenting with a new Stampin’ Up stamp and die bundle of skeletons so I had a number of heat embossed skeletons ready. I also had been playing with a Whimsey Stamps ATC Book die set.
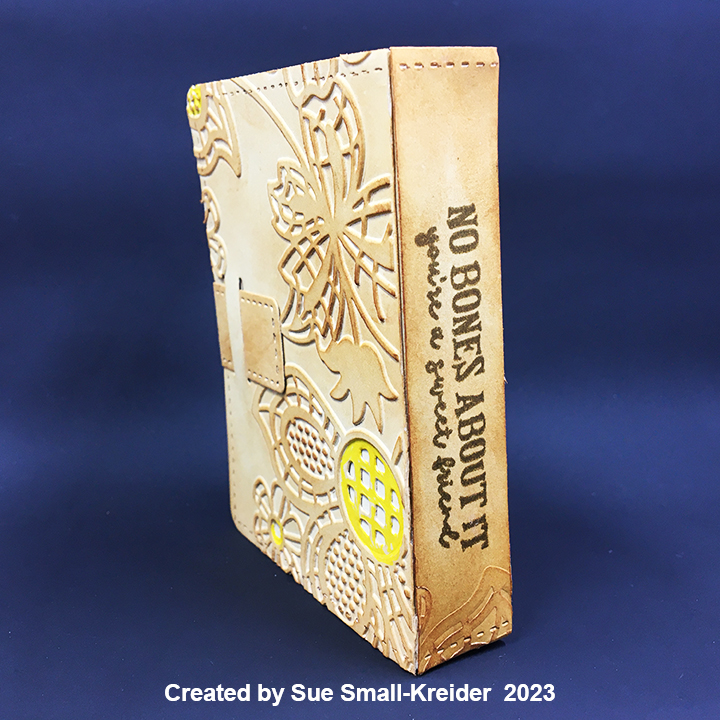
Book Box: Watch this video to see how the book box is assembled. Next, die cut two book cover pieces from kraft cardstock along with one of the box base piece from kraft cardstock and another from textured black cardstock. Run over one book cover with an embossing folder and color the flower centers with a yellow marker. Then trim off the front embossed cover and glue it to the top of the other book cover piece. Stamp the book title sentiment onto the embossed book spine and trim it off to be glued onto the top of the other book cover piece. With Distress Ink, age the book cover along the edges, spine and over the embossed flowers. Use a thin brown marker to color stitch marks embossed into book cover and closure strap.
Assemble the kraft box base. Cut off the tabs of the black box base piece and then trim off the four side pieces. Glue the black base into the kraft box bottom and then glue in black side pieces. Stamp sentiments to inside of book cover. Glue box onto inside bottom panel of plain book cover piece.
Book Pages: Cut three pieces of white cardstock the same width as the end sides and then trim to fit the outside of the box. Glue the white strips to the outside edges of the box. With a fine tipped dark marker, draw thin lines on all the white strips to represent page edges.
Skeletons: Stamp skeleton pieces onto black cardstock with watermark ink. Heat emboss with white detail embossing powder. Use dies to cut out pieces. Glue a jumping skeleton together. Cut an 11-inch by 1/4-inch strip of black cardstock. Fold strip in half and begin folding one strip end over the other to form a spring. Glue spring to the back of skeleton. Attach spring to inside of box. Add cat skeleton below the skeleton’s feet.
Sentiments: Stamp the “No Bones about it, you’re a sweet friend” sentiment on embossed book spine before gluing the piece onto book cover. Stamp the inside sentiments “Happy Halloween” and “BOO to you” before the box is glued inside the cover.
Thank you for reading this blog post. I hope this inspires you and makes you smile. Please like and leave comments 😊
Materials Used:
Dies
Stampin’ Up – Cut & Emboss Dies – Bag of Bones
Whimsey Stamps – Metal Craft Dies – ATC Book – WSD569
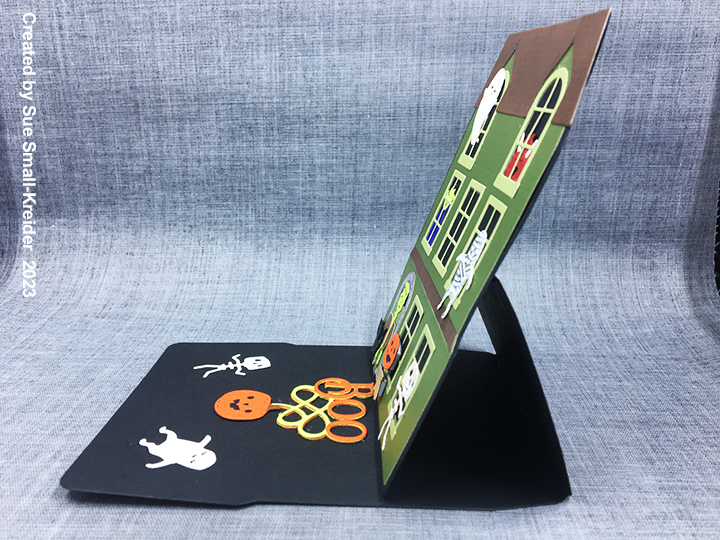
I have a crafty friend who loves Halloween. This card was made for her using Poppy Stamps Neighborhood Home Pop Up Easel set along with their Whittle Monsters, Whittle Creatures and Boo Poe Script dies.
It took just a morning to make. The die cutting of the Whittle creatures and monsters took the most time, but they went together easily and used up leftover scraps. For the house I had to make some decisions on open or pained windows. I decided some of the creatures should be outside rather than behind windows.
The easel stop is four layers of green and orange cardstock die-cut using the Boo Poe Script die.
I included a CRX sheet to show how to open the card. (You can download the CRX sheet for free.)
Cart Drawer:The cart is based around the Slider Box. Watch the assembly video before die-cutting pieces. I used kraft brown 65 lb. cardstock for the box and drawer. A piece of striped satin ribbon was used as a drawer pull.
A Bam Box (see assembly video) is what pops up the green hands and message of “BOO!” which are from the Halloween Elements die set. There is space to place a special treat in the drawer over the pop-up. When the treat is picked-up the pop-up hands will make a grab at the gift recipient.
Cart Base:The cart’s frame made by die-cutting two of the Fancy Label Accordion panels and removing the center pivot panel and side tab to create a square frame. Fold in half. Glue the u-shape together. I took the two smallest of the off-cuts from the die cut to make the cart handles. (Glue the pieces back-to-back for stability.) Glue handles on to slider box at open end before adhering the u-shape frame to slider box.
Roof Frame: The striped roof awning is cut from some digital striped paper using the large scalloped edged rectangle in the Rectangles and Labels – Crosshatch set. It is held up by a frame made by die-cutting two of the Fancy Label Accordion in white cardstock and cutting off the center pivot panel and side tab. Fold each of the frames at 2 3/4-inches. Glue the frames on to the sides of the cart base, lining up the bottom edge of the white frame to the inside edge of the blue cart frame.
Cut two strips of brown cardstock 1 1/2-inches long by 1/2-inch wide. Fold each strip in half. Pinch the top halves of the roof frames towards each other to form triangular frame. Glue the frame together with the two strips.
Pumpkins:The Halloween Border die set has a row of pumpkins that are the right size to layer onto the cart sides with glue and foam squares.
Jack-O-Lantern: The four-sided jack-o-lantern lights up with an EZ-Light. I created a cube from two strips of clear packaging each folded in half and creased with a bone folder and then folding each half to the middle and creasing so that each strip has four sections to it. Weave one strip over the other to form a cube. Snake the coil of wires of the EZ-Light into the center of the cube.
Position the lighted cube and control piece onto the cart and secure with double sided tape or foam tape. Cut a rectangle of 1 1/2 x 7/8 inches from kraft brown cardstock, center over the control piece and stamp “push here” on the end that has the button.
The large pumpkin die from the Autumn Elements was used to cut out four pumpkins for the jack-o-lantern. The face was cut out using the face insert die from the Halloween Elements set. The pumpkins were inked blended and the ridges outlined with a thin black pen. A green marker was used to color the stems. To lessen light leakage, an orange square was attached to the top of the clear plastic cube and the pumpkin faces attached with foam squares. As part of the final decorations. A small pumpkin from the Skeleton and Bat set was added to the top of the jack-o-lantern.
Roof and Sign: For the roof, the scalloped rectangle from the Rectangles and Labels – Crosshatch set was used with orange and white striped cardstock. (I created my own digital paper.) The sign was created by cutting two of the sentiment oval from the Halloween Charms from black cardstock and glued them onto orange cardstock and fussy cut around the oval frame.
A strip of white cardstock 5-inches long by 1/2-inch wide was folded in half and then the folded end was sandwiched between the two ovals and the ovals glued together. (You now have the equivalent of a large paper brad with two legs.) A slit was cut in the roof fold center for the legs of the sign to slide through and be glued to the underside of the roof.
Cut two of each of the bird dies in the Halloween Elements from black cardstock. Glue the bodies together leaving the legs free. Use the legs as the tabs to glue the birds to the roof ridge on either end of the roof.
Wheels: For the wheels I made a template using middle plain and crosshatched circles from the Circles – Crosshatch set. Cut the plain circle from scrap paper and the place the crosshatch circle die in the middle of the paper circle. Trace around the center of crosshatch die. Fold the paper in half, then half again and once more in half to come up with eight sections of the circle. Using a see-through ruler, mark and draw 5mm wide spokes interesting in the middle of the circle.
Die-cut from dark brown cardstock two plain circles. (Because my cardstock was thin, I cut four circles and glue two together before cutting the spokes.) On the back side of the circles use the paper template to trace the triangles that need to be cute out using a craft knife and straight edge.
Die cut two 1/2 inch circles from black cardstock. (I used the burner dies from the Oven Pop-up set because it was handy. You could use other dies to cover the wheel axle.) Adhere half rounded pearls over the black circles, glue each gem circle to the center of the wheels to make the axle caps.
Glue wheels onto cart’s front posts. Add large pumpkins to hide the cart leg behind the wheel. Additional pumpkins cut from the Autumn Elements (large pumpkin) and Halloween Elements (medium pumpkin) and two black cats from the Skeleton and Bat set, were added to the cart legs.
Finished Measurements: This is a card/gift box is designed to be hand-delivered and measures approximately 8-inches high, 6 1/2-inches wide and 3-inches deep.
Thank you for reading this blog post. I hope this inspires you and makes you smile. Please like and leave comments 😊