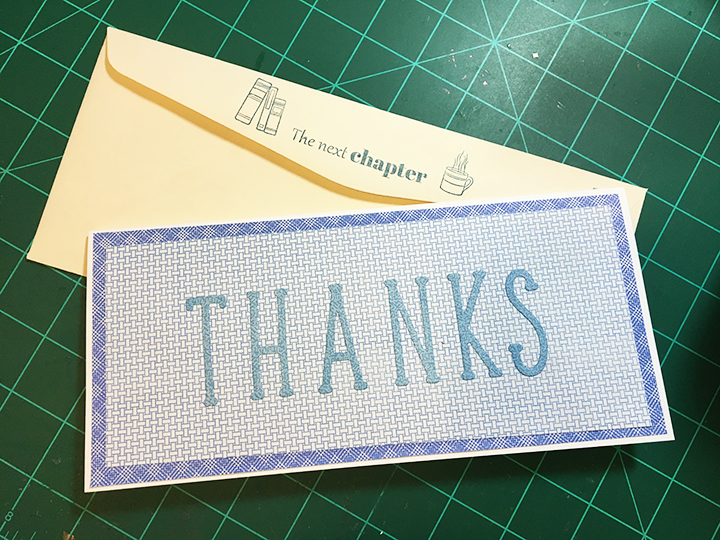
A friend sent me wonderful rubber stamp set of marching elephants. This is my thank you card using the vintage stamps.

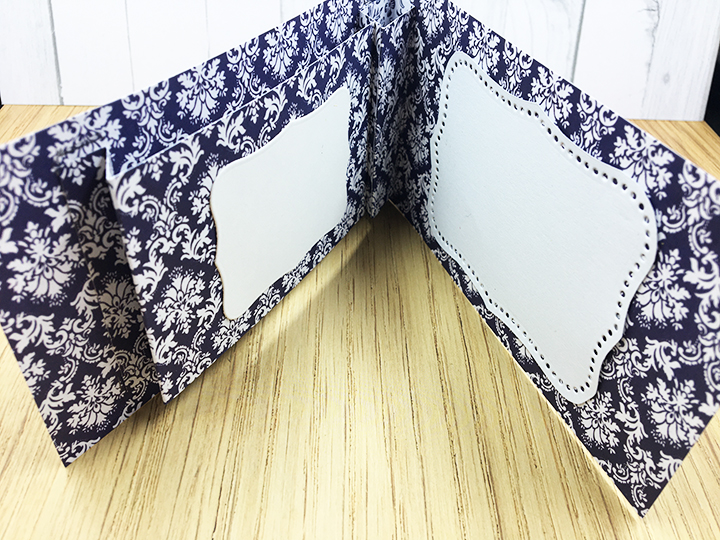
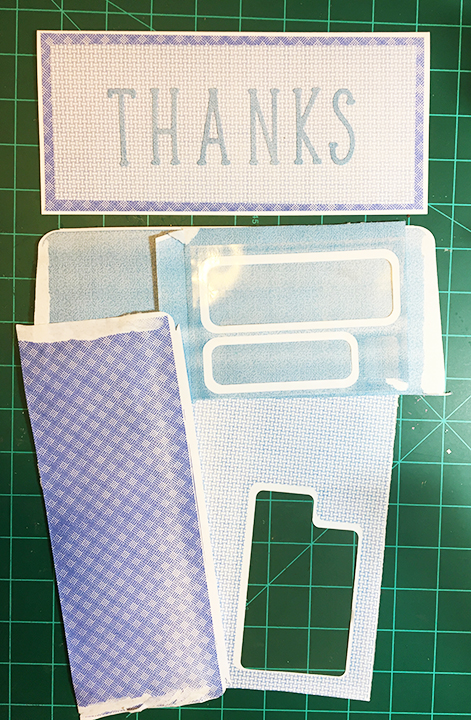
I had some handmade artisan papers that complimented the elephants and I used the paper as a background for the card front and then fussy cut the flowers and leaves from the leftover sections to create the card back and inside accents.
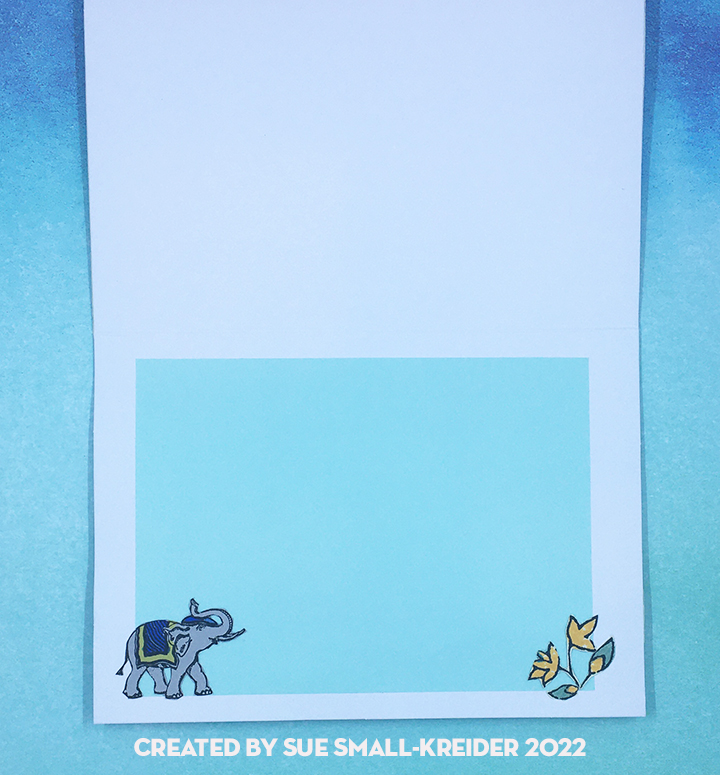
The elephants were stamped on grey cardstock with black ink and colored with markers. Nuvo Vintage Drops were added for accents to the floral coverings of the elephants.
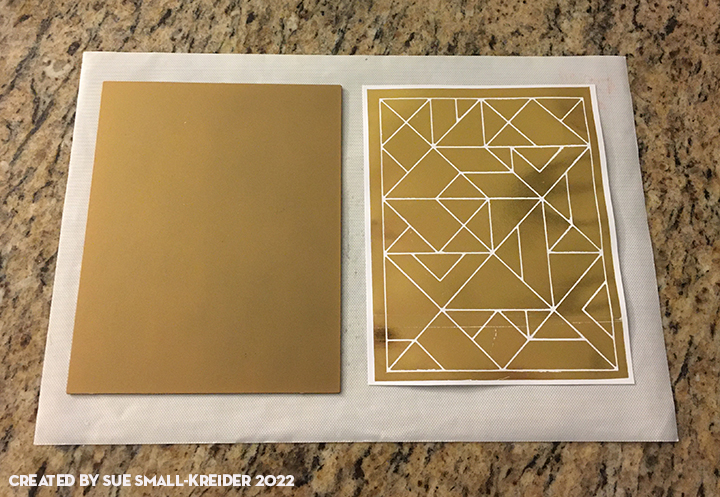
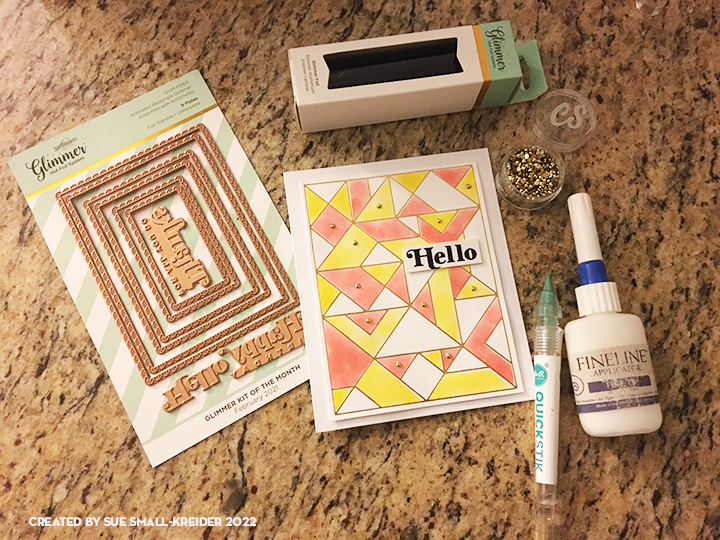
Five fancy border frames were die-cut from marigold cardstock and glued together to provide dimension to the card and lift the large elephant off the face of the card.
Thank you for reading this blog post. Please like and leave comments 😊
Materials Used:
Dies
Stamping
- Crafter’s Companion – A Taste of India by Sheena Douglass – Rubber Stamp set – Marching Elephants
- Memento Fade-Resistant Dye Ink – Tuxedo Black
- Crayola blending markers
Foiling
- Spellbinders –Glimmer Hot Foil System Machine
- Spellbinders – Everyday Sentiments II
- Spellbinders – Glimmer Foil – gold
Papers
- Bazzill 8.5×11 inches cardstock – Tiara
- Park Lane – 12 x12 inch Premium Handmade Artisan Paper
- Scrap blue and marigold cardstock
- Xcut – Xtras Adhesive Vellum Sheets – Blue
- A7 white card base and envelope
Miscellaneous
- Cosmic Shimmer – Specialist Acrylic Glue – 125ml
- Sizzix – Big Shot PLUS die cutting Machine
- Fineline 20 Gauge Applicator & Bottle
- Nuvo Vintage Drops – Yellow Brick Road
- Craft knife