
Each day for 12 days, I will be showing card variations made with Karen Burniston’s Christmas Tree Pop-up die. I recommend watching her assembly video before attempting to cut and assemble the pop-up tree.
For all of these cards I started with an A7 size card base (10 x 6 ½ inches), but because my die cutting machine can only accommodate 6-inch-wide pieces of paper, I had to trim the cards down to 10 x 6 inches.
Day 4 – Snowy Day

Inspiration for this card came on a very hot summer day. I have had the blue snowy paper (Me & My BIG Idea CDCX-340) for many years. The little bit of sparkle to the dots of snow is fun and when doubled up forms a stiff card base. The die-cut snow flakes come from a set from Dies by Chloe snowflakes die set From Die Cutting Essentials issue 45.
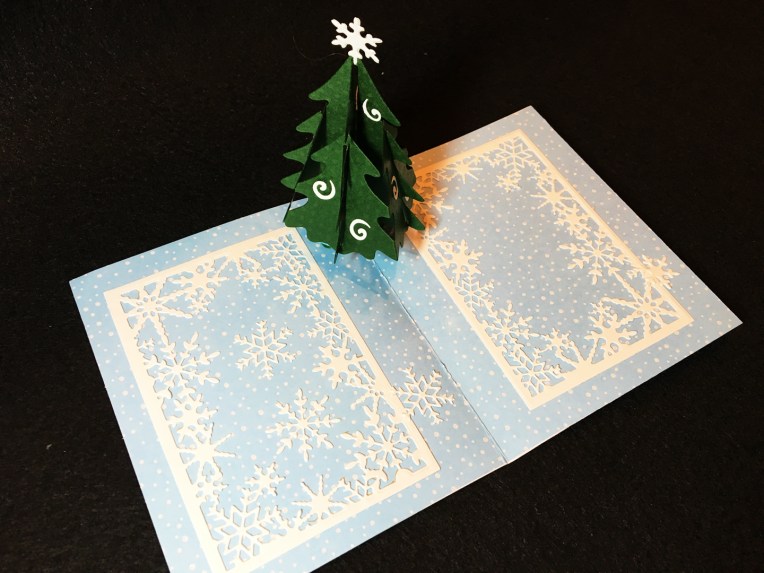
The snowy swirls on the tree came from an older Karen Burniston die set called Merry Christmas Pop-up from Elizabeth Craft Designs. All of the snowflakes were cut from white card stock that had been adhered to a 6 x 6 inch sheet of double-sided tape before being die cut.

I added some glitter drops to the tree. and snowflakes for that extra sparkle that don’t show up well in the photos.
Follow the rest of the 12 Days of Christmas Trees with a new post tomorrow.
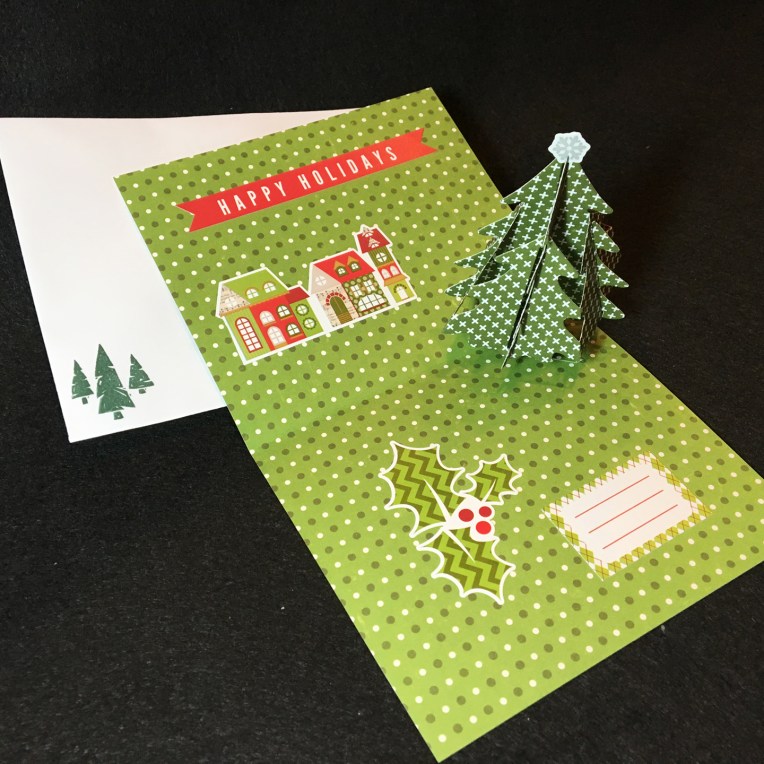
Day 2 – Home for the Holidays-Village
Day 7 – Home for the Holidays-Joy to the World
Day 10 – Home for the Holidays-Let It Snow
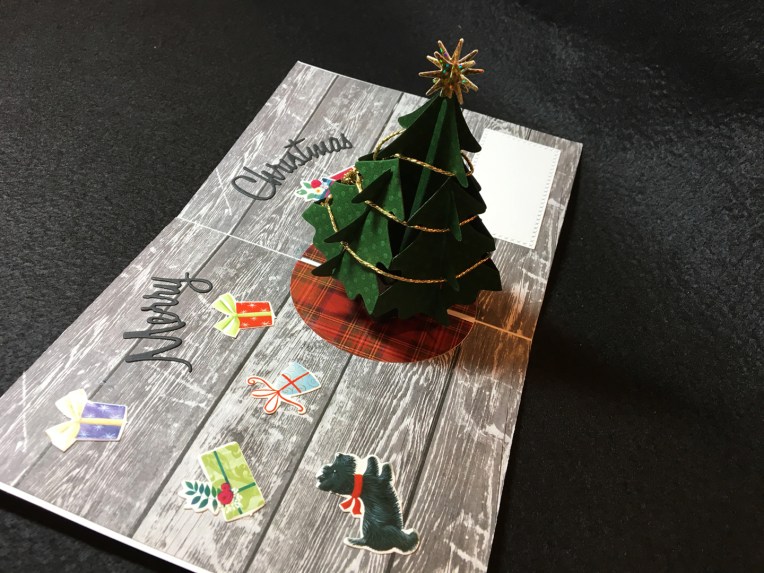
Day 12 – Home for the Holidays-Peace and Joy
Bonus Day – Tropical Christmas
Click Here for video of all 12 trees
SUPPLIES USED:
Dies
- Karen Burniston in cahoots with Riley and Company 1020 – Christmas Tree Pop-up
- Karen Burniston Pop It Ups for Elizabeth Craft Designs – 1039-Merry Christmas Pop-up
- Card Deco Essentials Merry Christmas CDECD0003
- Dies by Chloe snowflakes die set From Die Cutting Essentials issue 45
Stamps & Ink (on envelope)
- Studio 112 – Mini-Assortment -5 – Evergreen Trees
- Disney Vintage Micky Mouse & Friends A6 Stamp
- Stampin’ Up Classic Stamin’ Pad – Tranquil Tide
Paper
- Brazzill Thicket 12 x 12 inches embossed polka-dotted cardstock
- White card stock
- Me & My BIG Idea CDCX-340 – snowy blue paper
Miscellaneous


![TZXT2727[1]](https://ullysworld489442913.com/wp-content/uploads/2019/07/tzxt27271.jpg?w=764)


