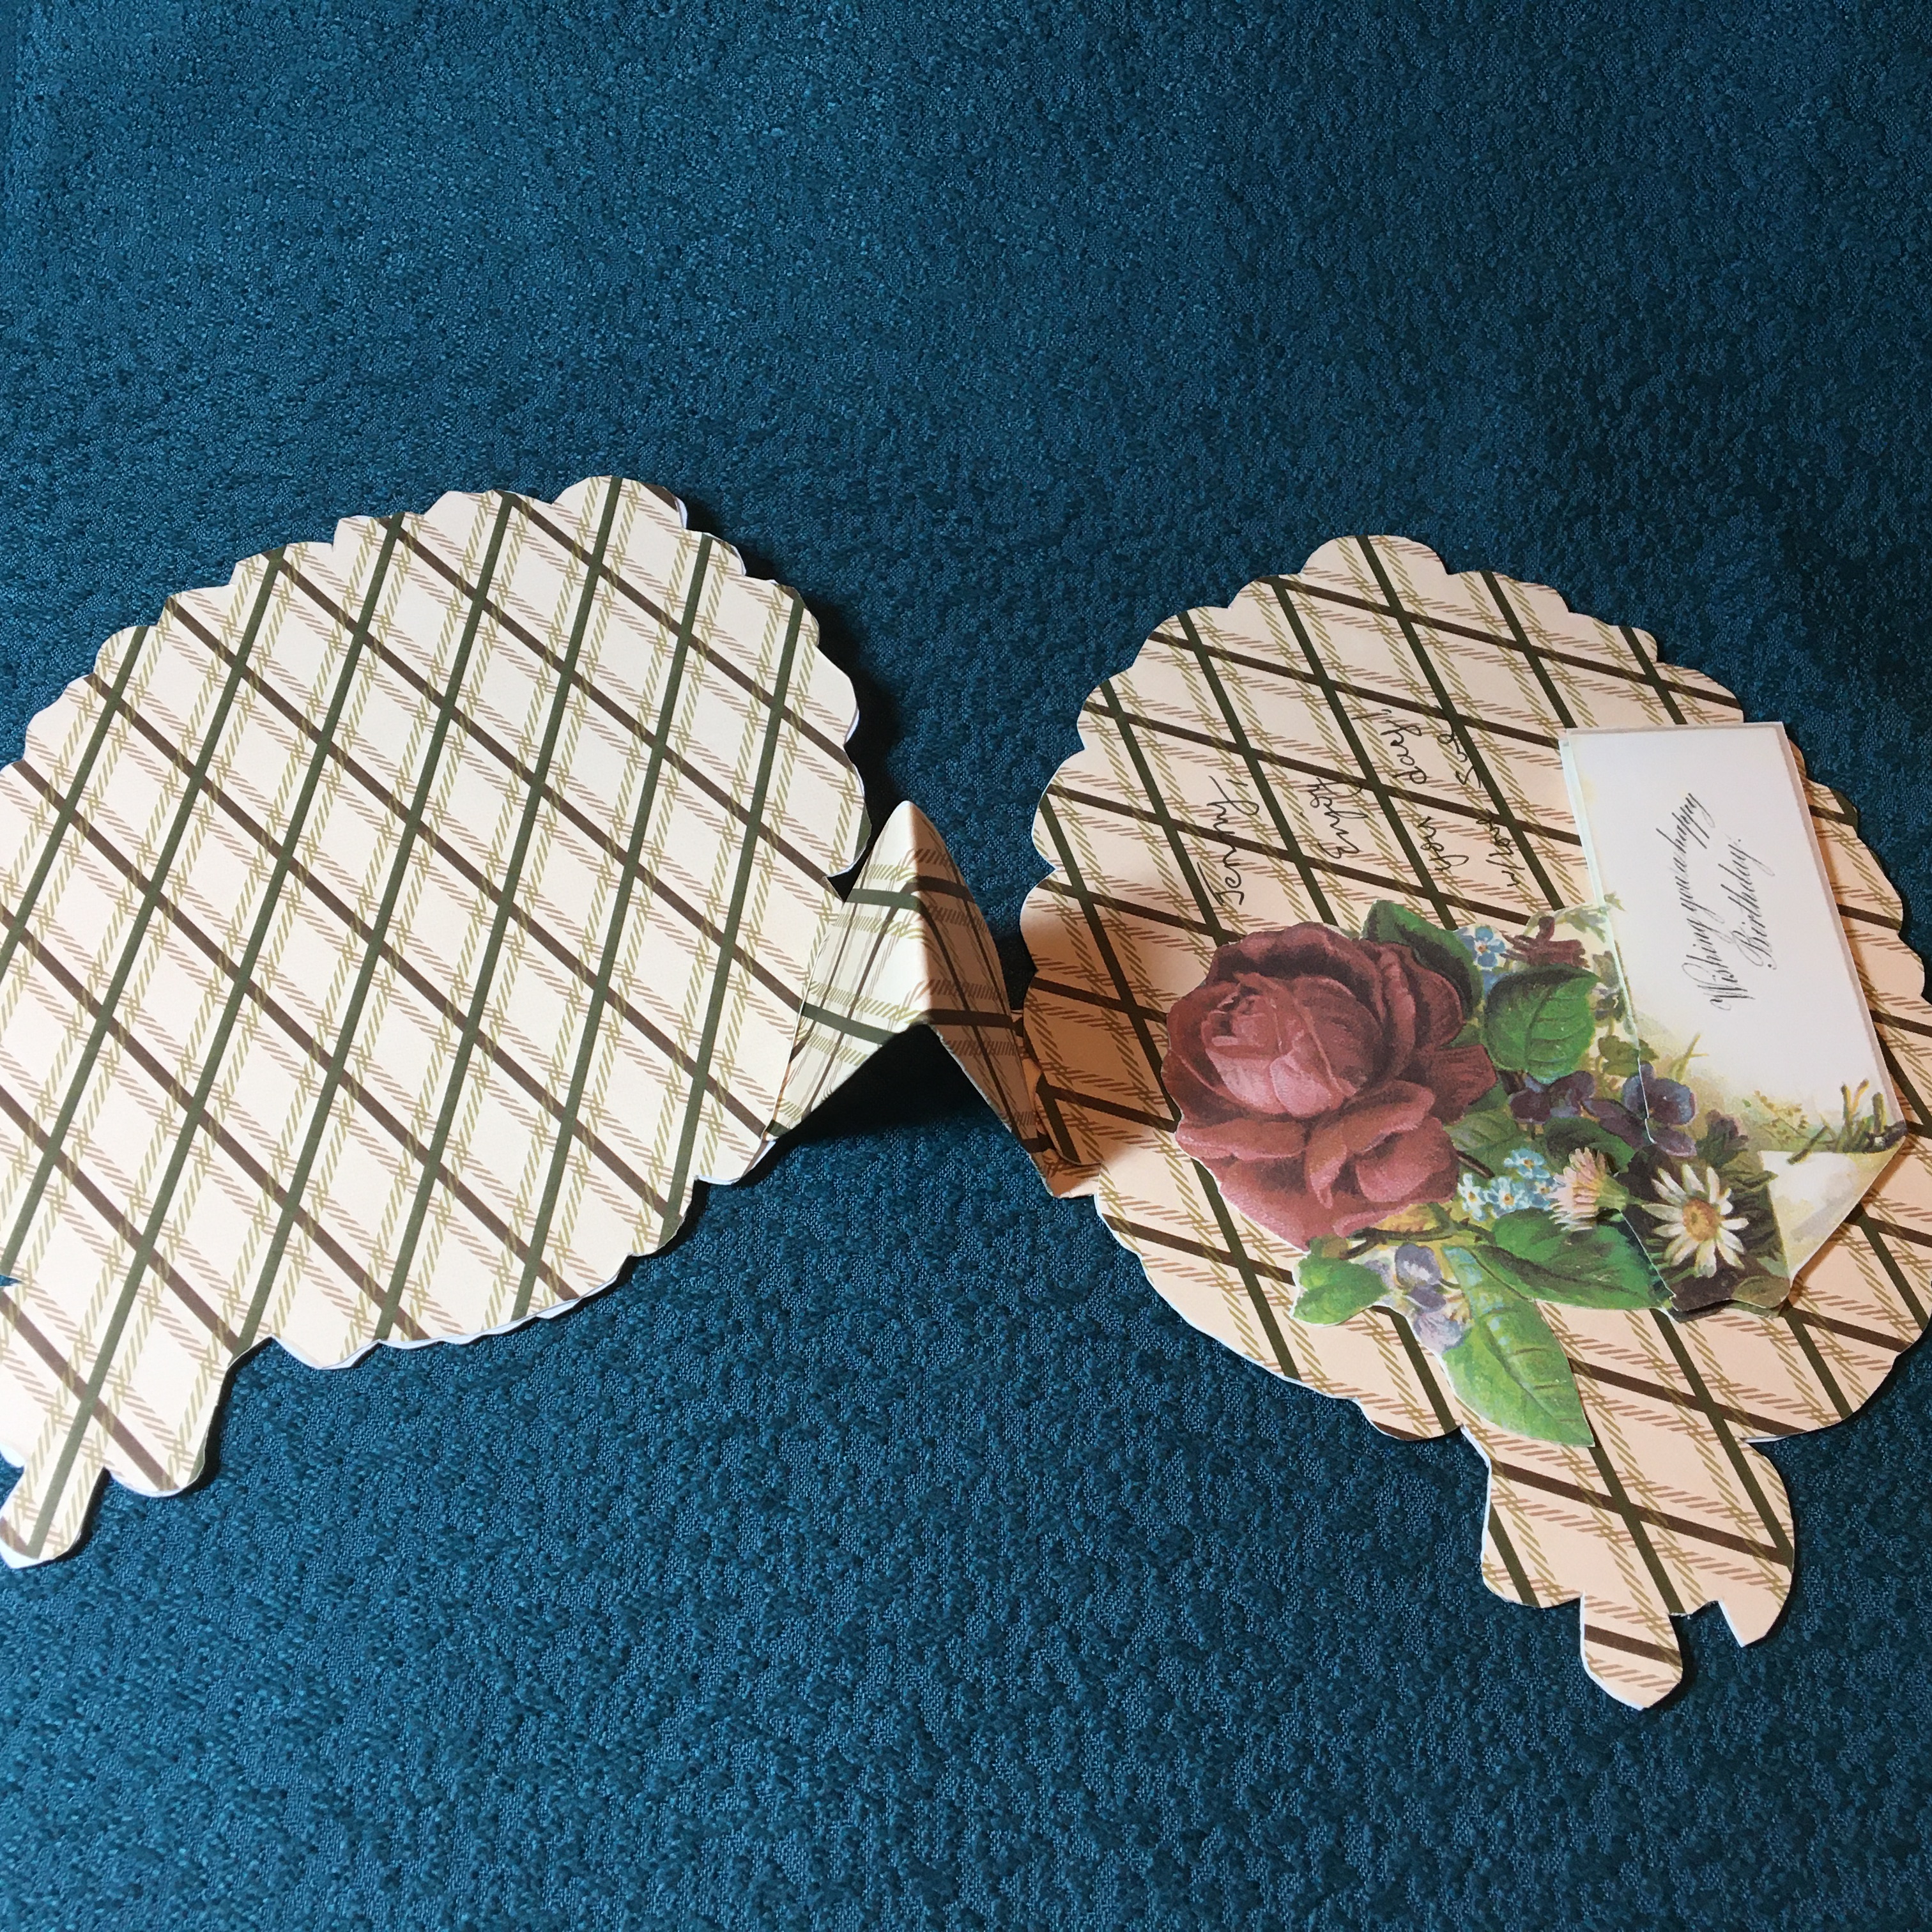
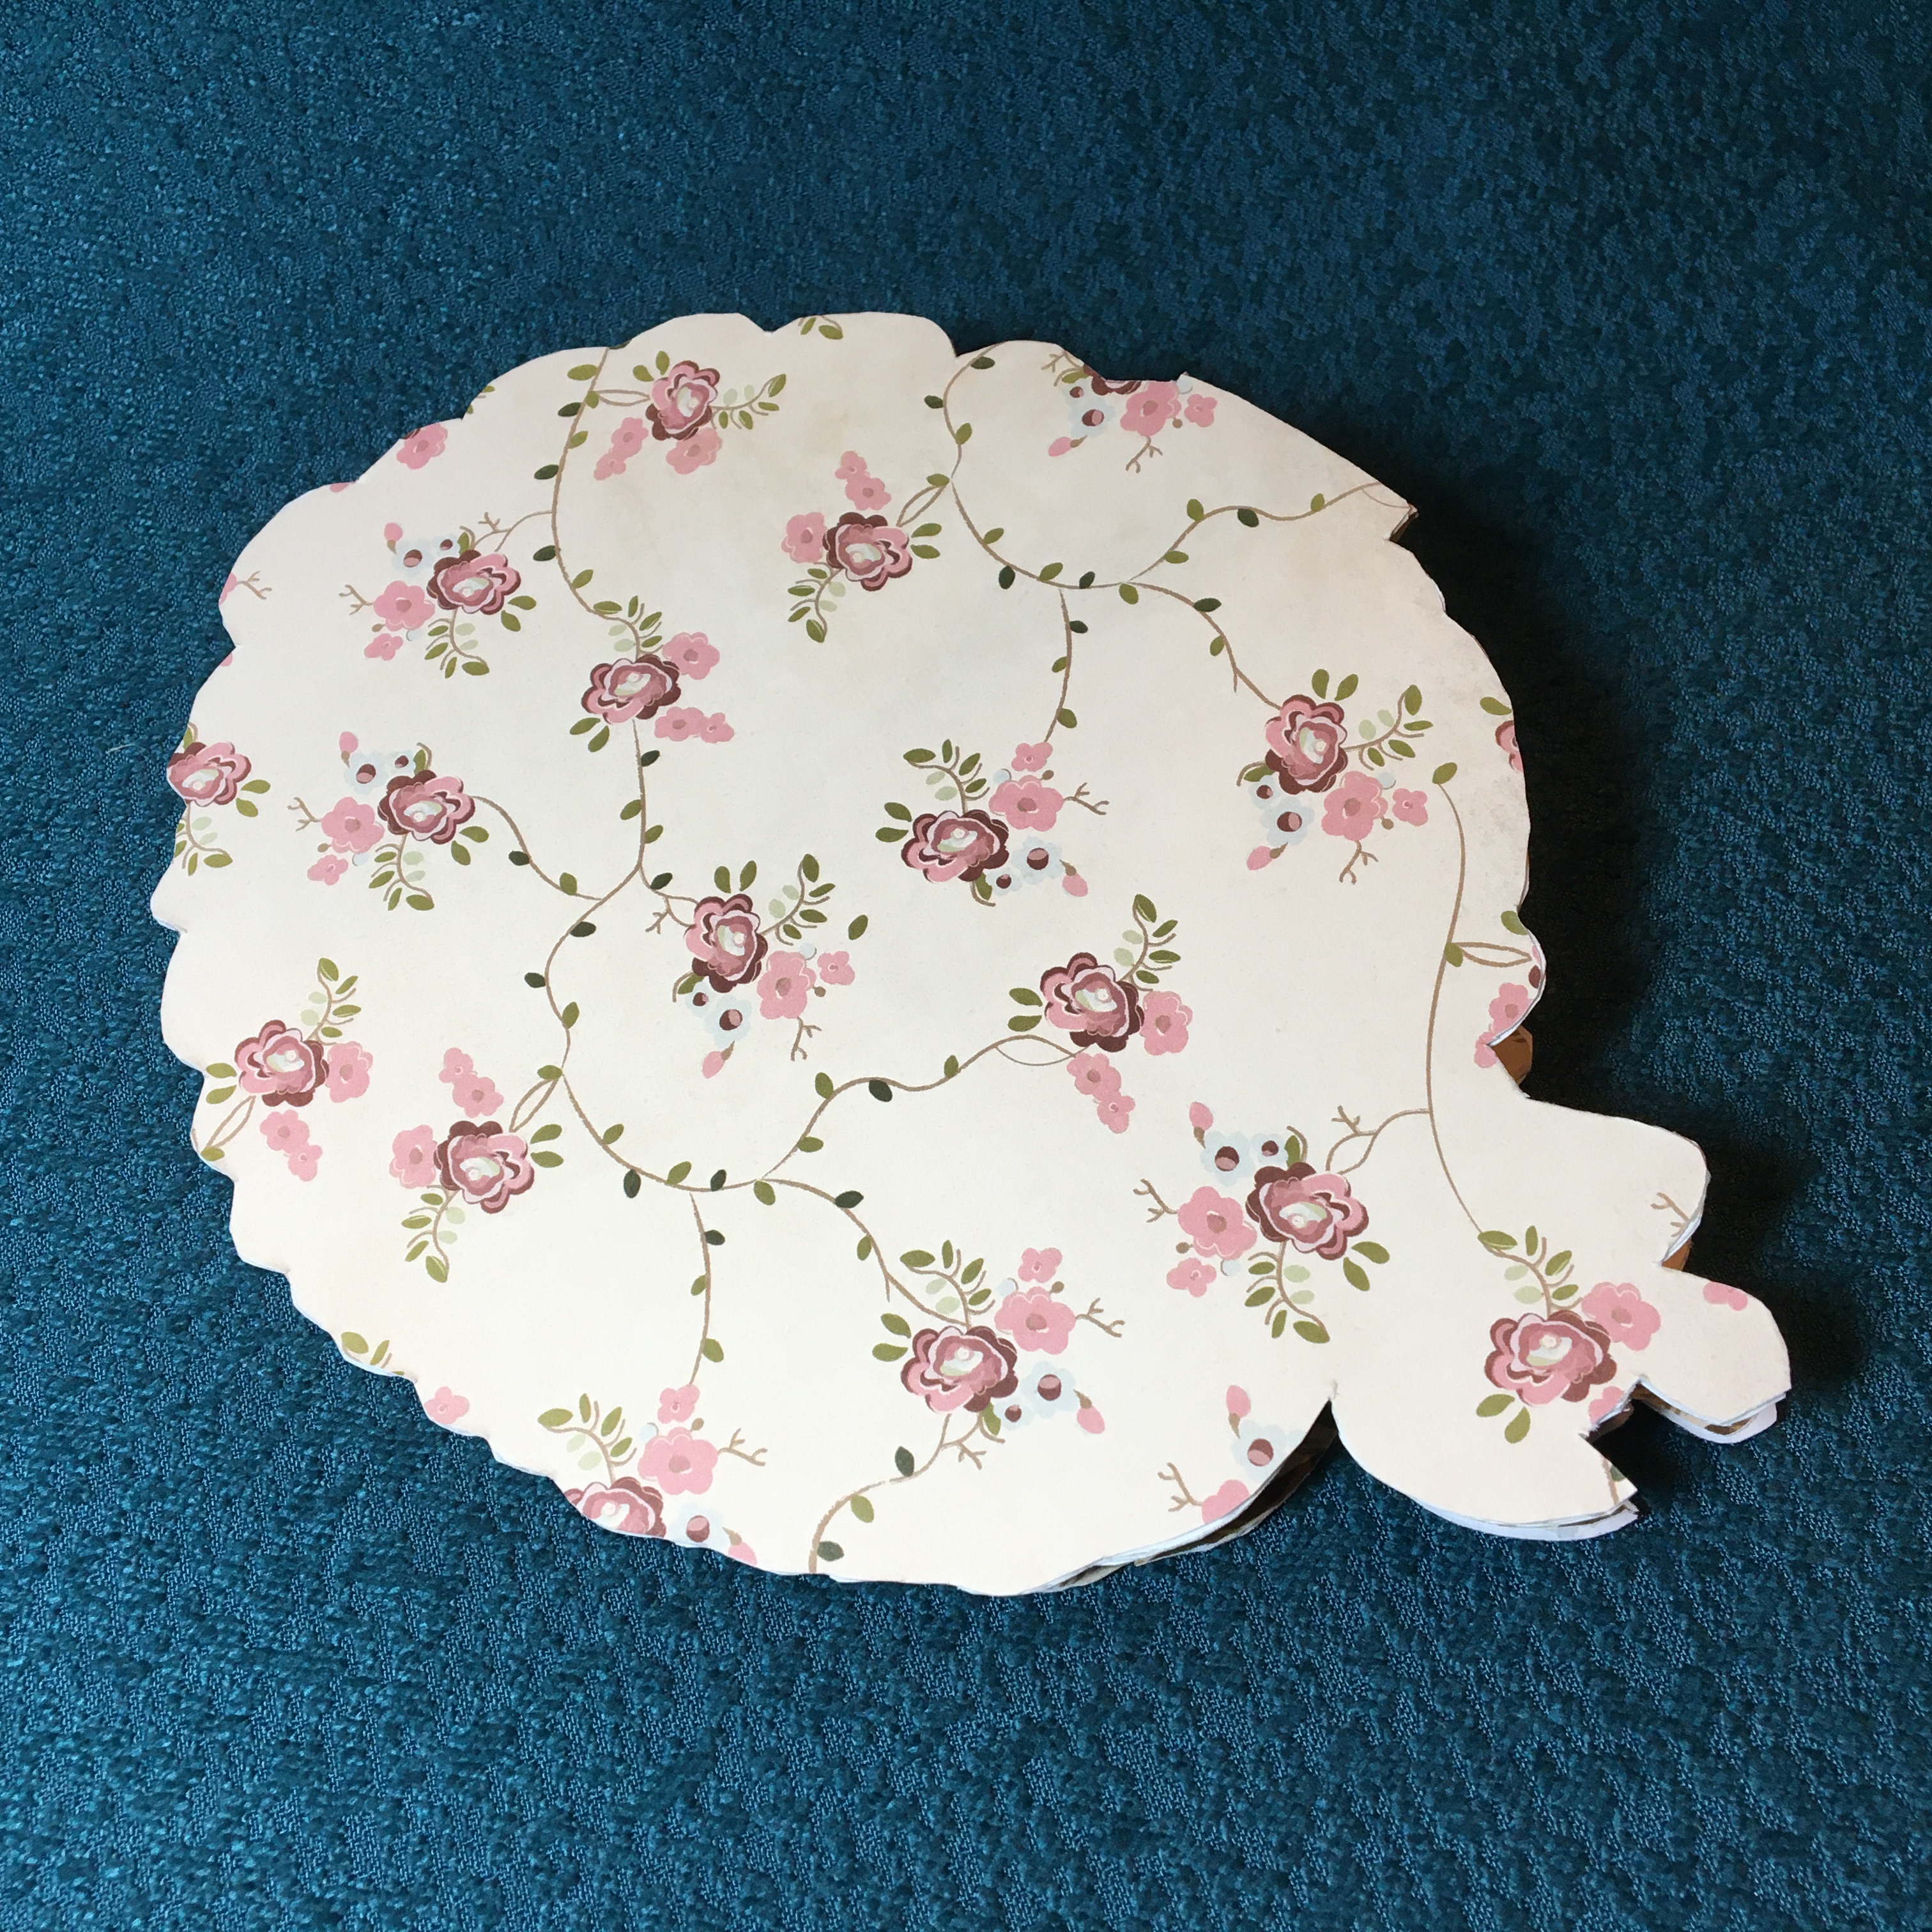
This card was made for Craft Roulette #217 whose parameters included for A2 Project, French cafe colors, June element and polka dots.
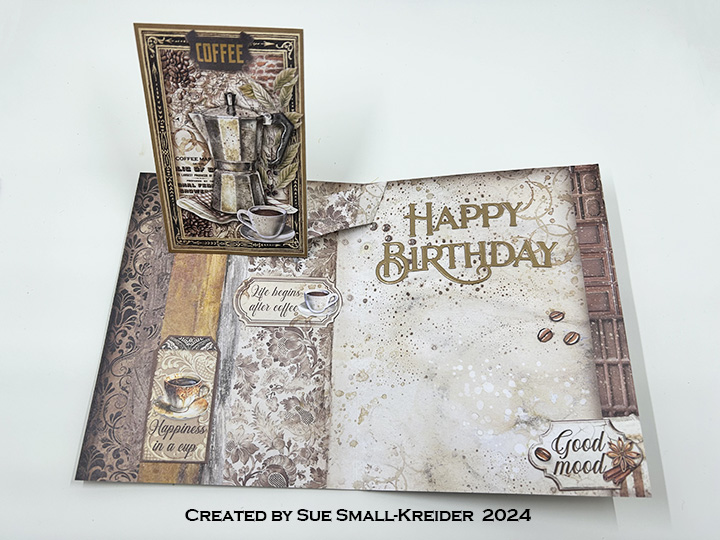
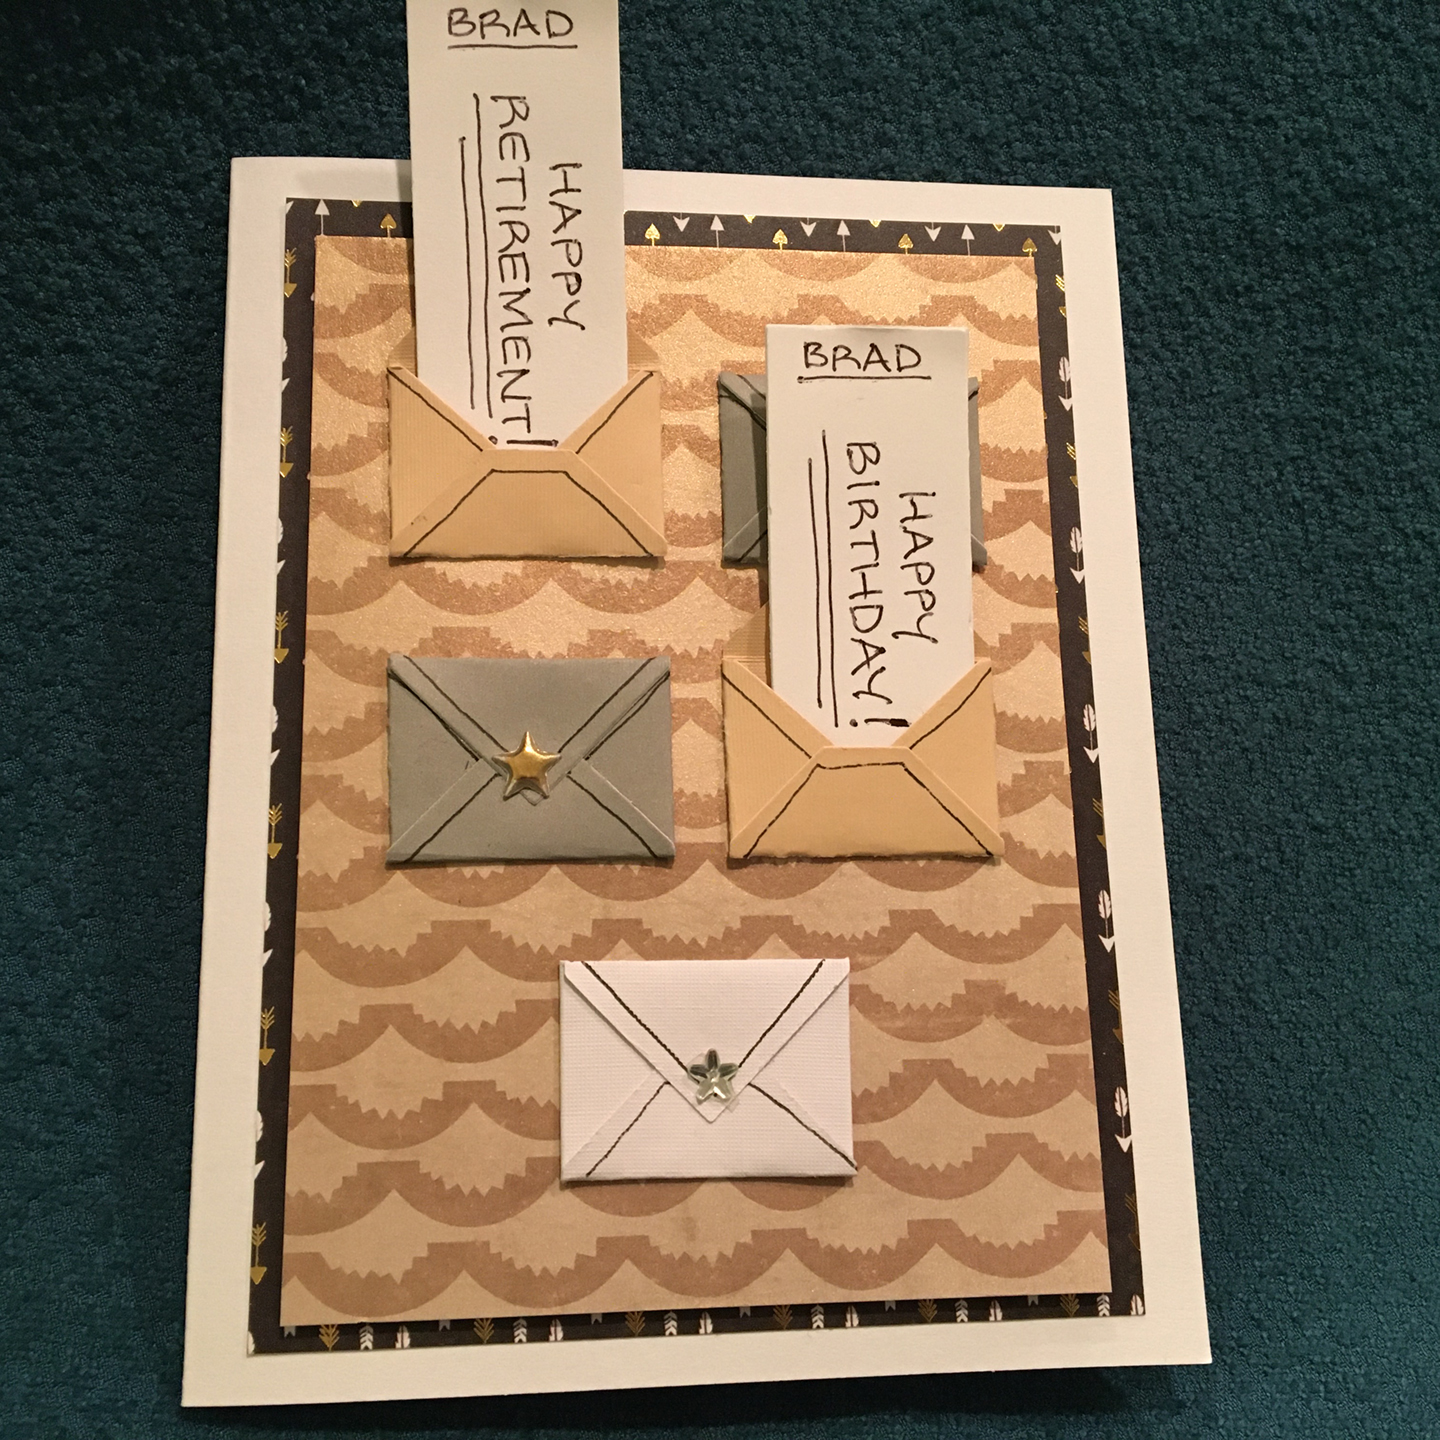
This is a card for a coffee lover with a June birthday and also celebrates the USA Flag Day on 14th of June.
Watch the process video for how it was assembled.


Cardbase: The paper pad is 8 x8-inches, so the base piece was trimmed to 5 1/2 x 8-inches and scored 4 1/4-inches from the left edge.

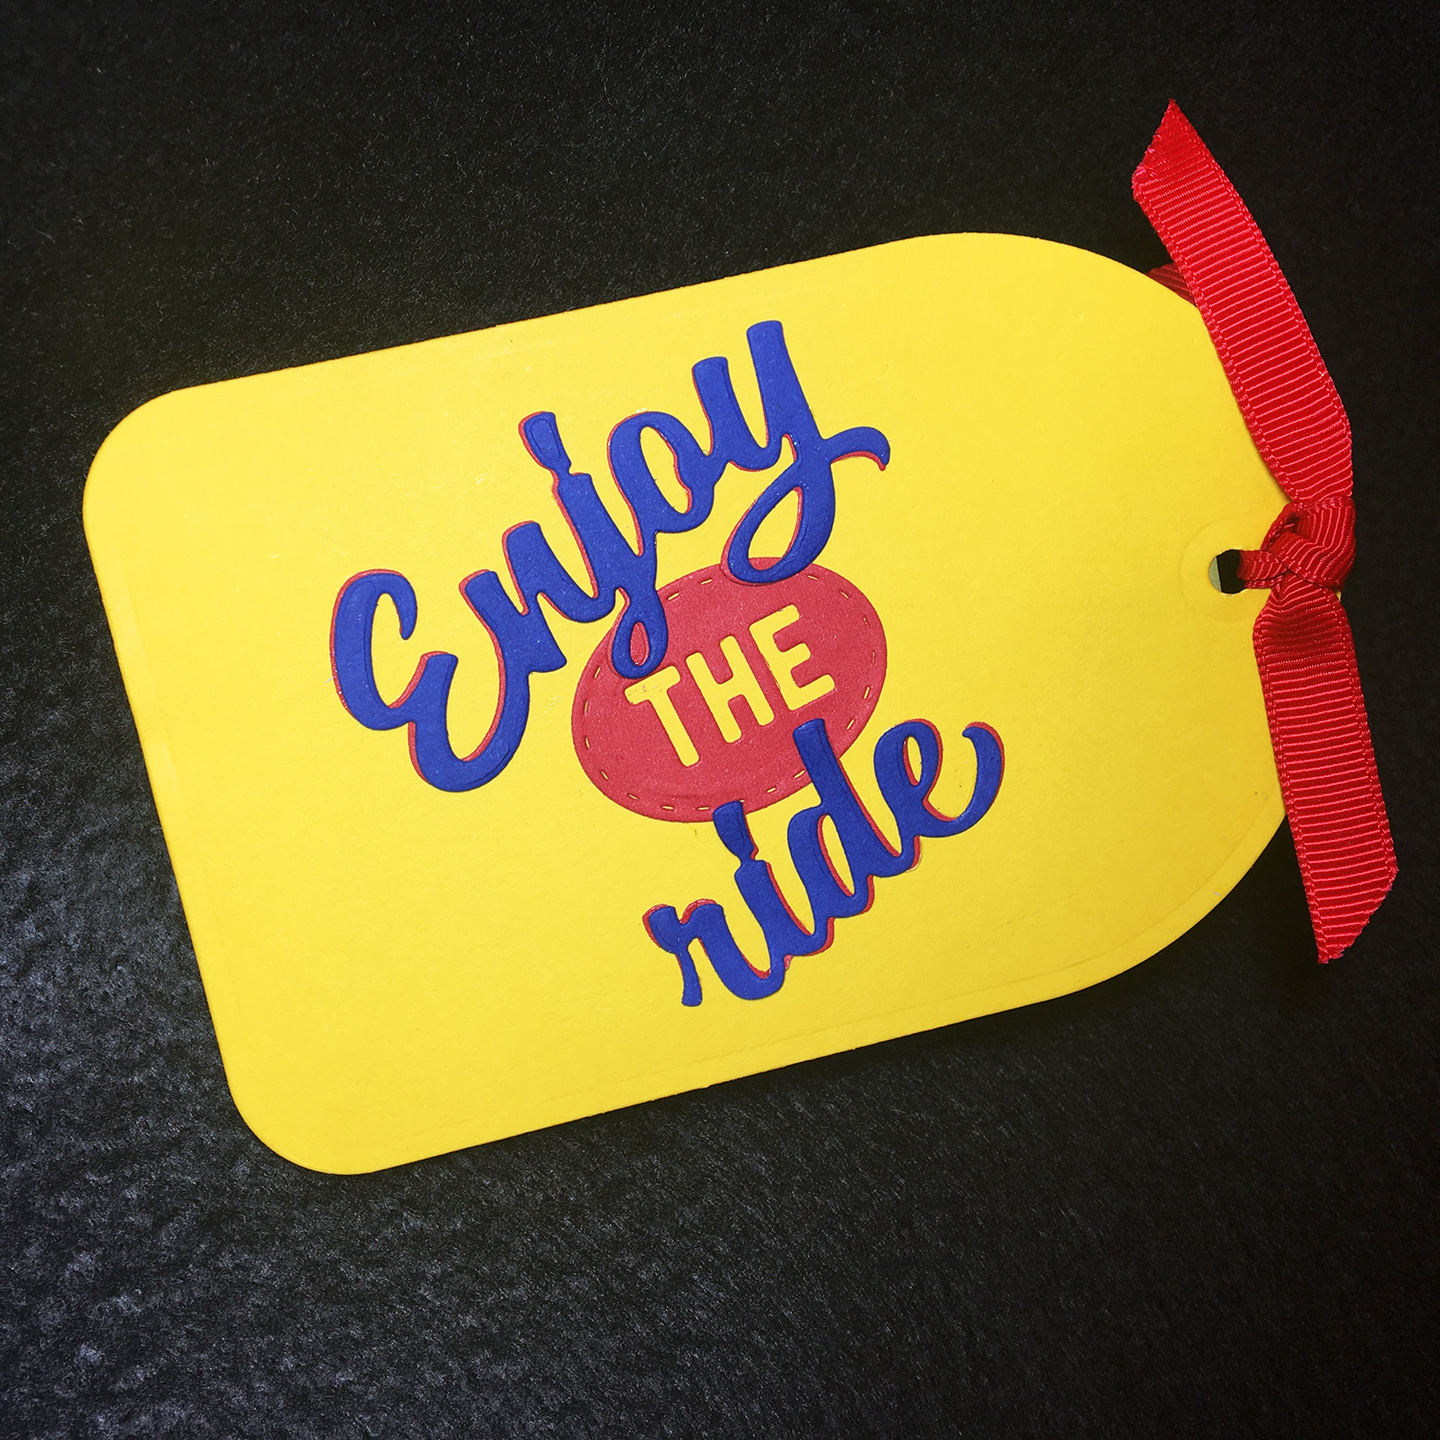
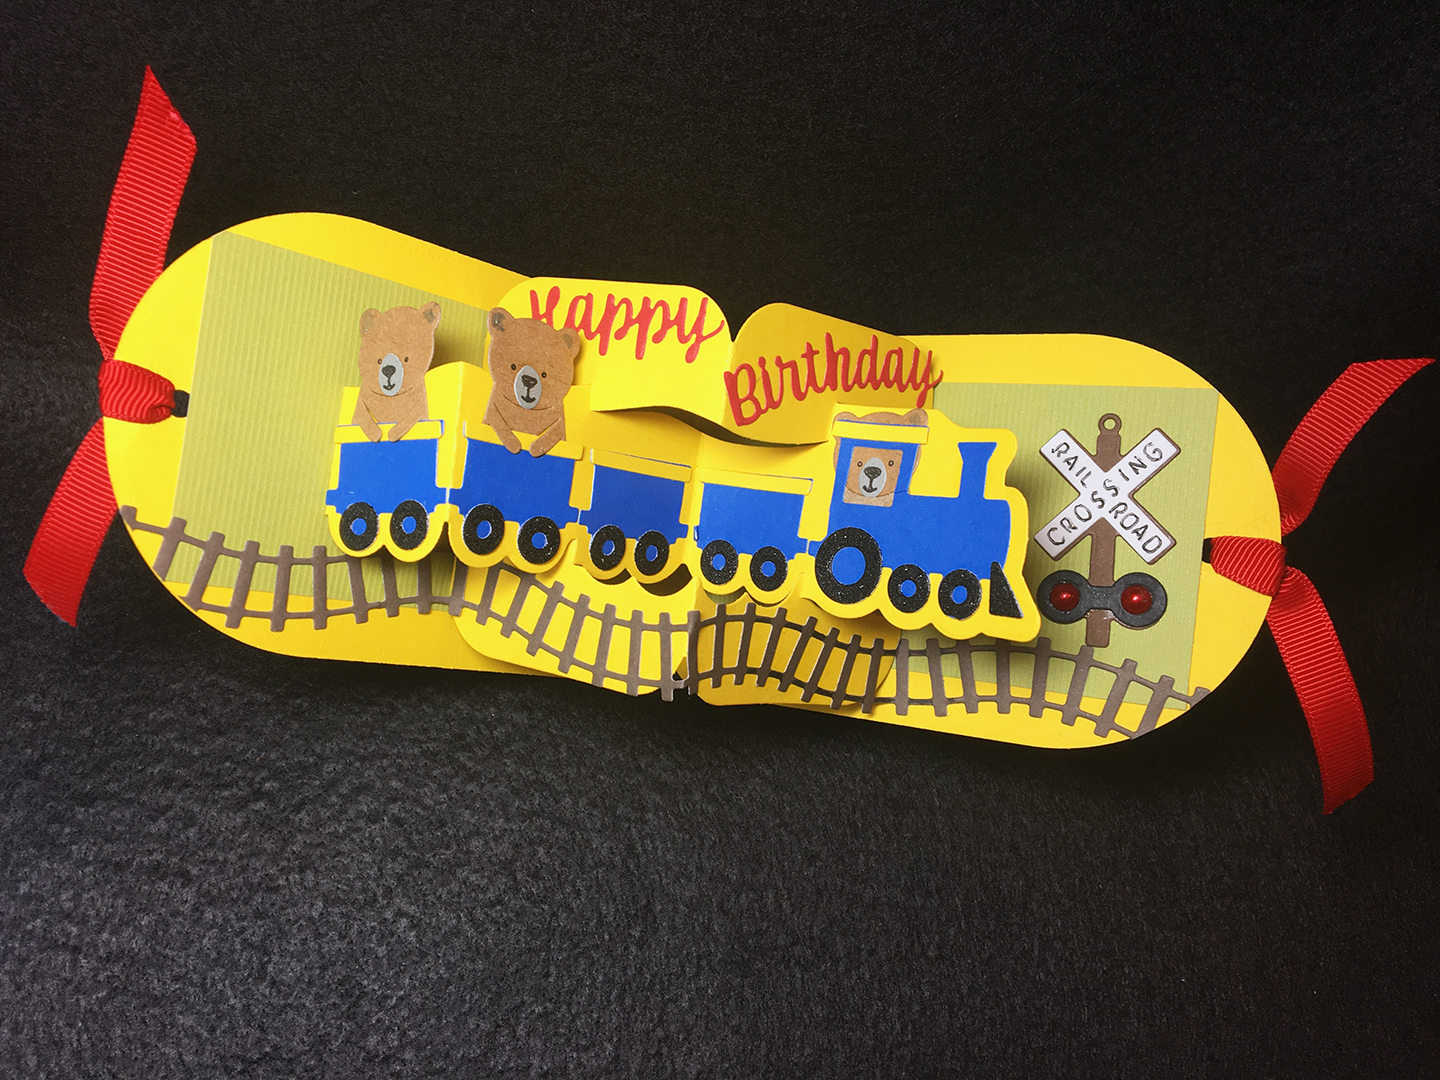
Sentiments: The tag sentiments were cut from the paper collection. Gold junk mail was used to cut the “Happy Birthday.”
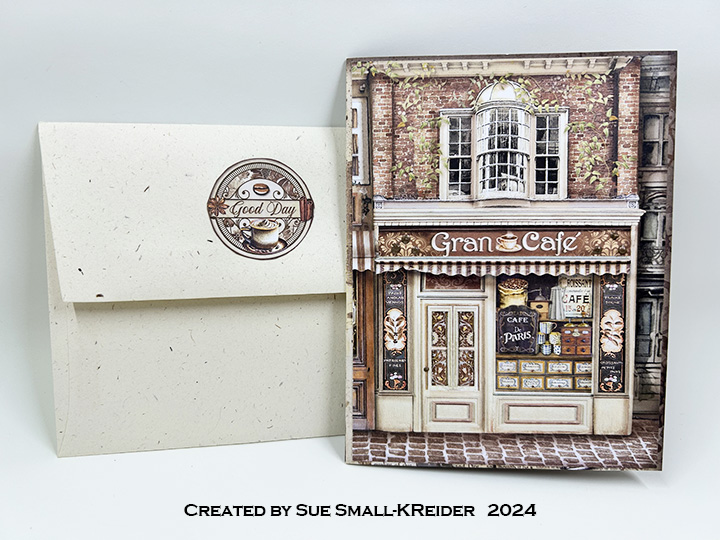
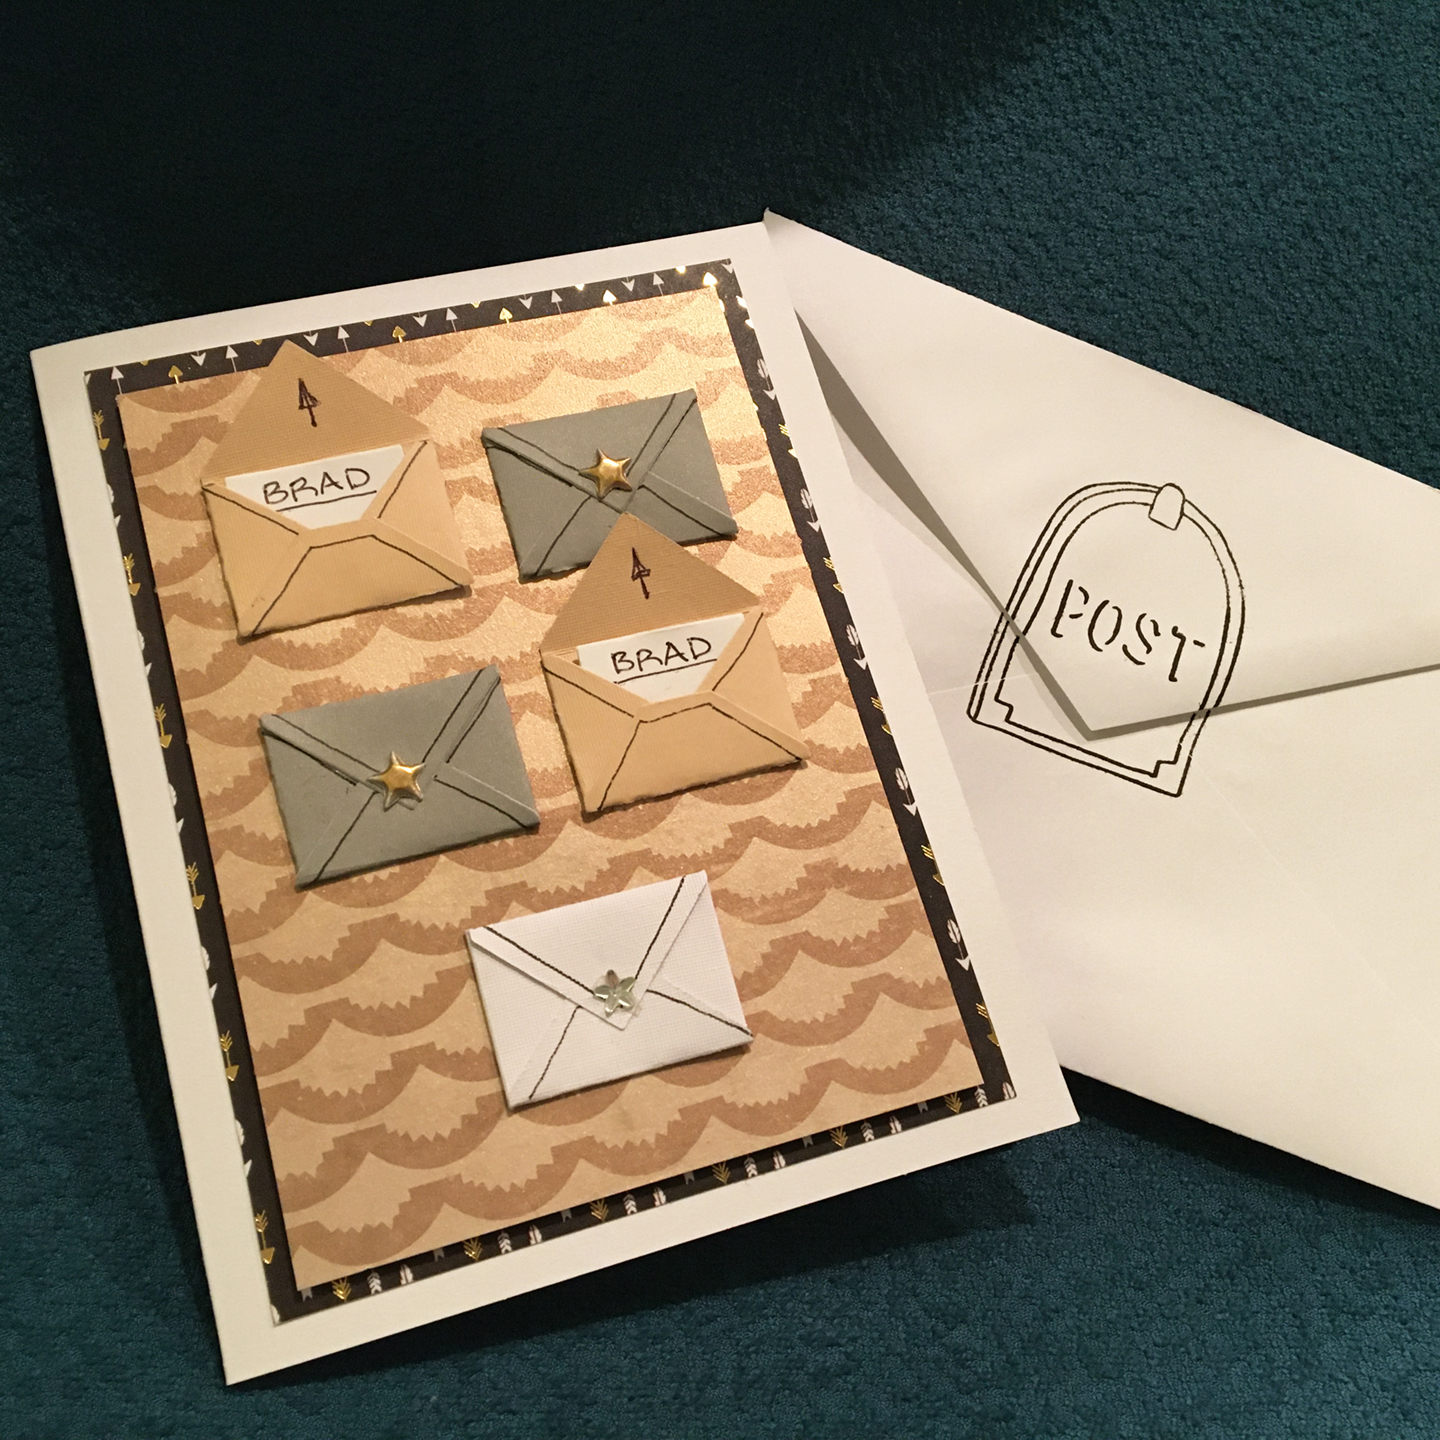
Envelope: A tag sentiment was glued to the back flap of the A2 envelope.
___________________________________
Thank you for experiencing this blog post.
I hope this inspires you and makes you smile.
Please like and leave comments 😊
___________________________________
Materials Used:
Dies
- Karen Burniston in cahoots with Riley and Company – Flip Frame Pop-Up – 1134
- PoppyStamps -Happy Birthday Poe Script
Papers
- Stamperia – 8×8 Double-Sided Paper – Coffee and Chocolate Scrapbooking by Caistina Aaddvan
- Gold Junk Mail
- Fraser Papers for William House – A2 Envelope – Genesis Text Milkweed Smooth
Ink
- Pigma – Mircon 01 Fine Tip Pen – Black
Adhesives
Tools
- Die Cutting Machine
- Bone Folder
- Stamping Blocks used as paperweights
- Scissors
- We R Memories – QuickStick
Miscellaneous
- Nuvo – Crystal Drops – Metallic – Dirty Bronze

 I was so excited when I received the


 The chair is made from