Snowy Christmas Globe

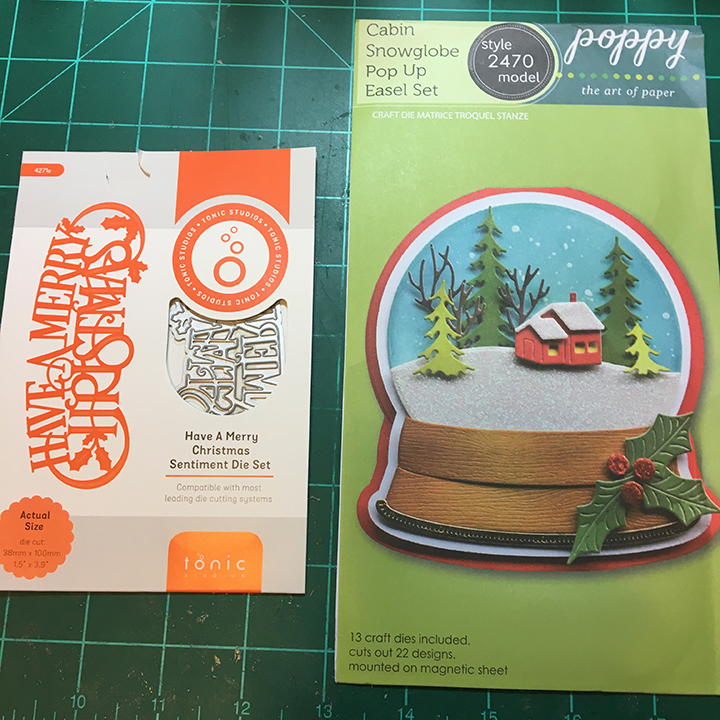
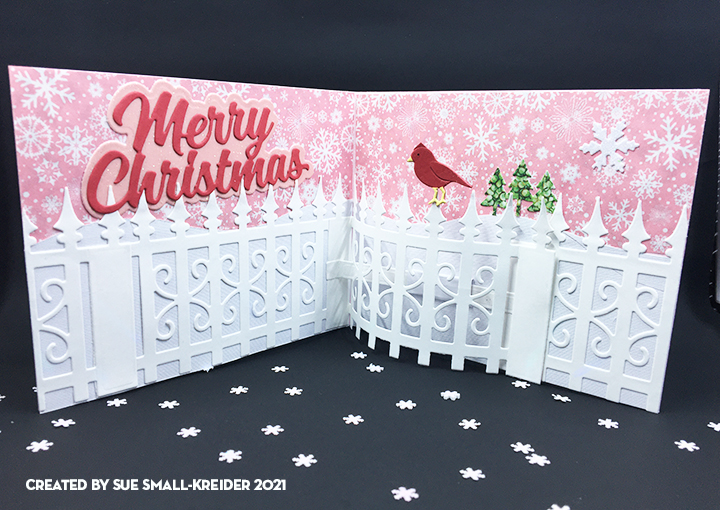
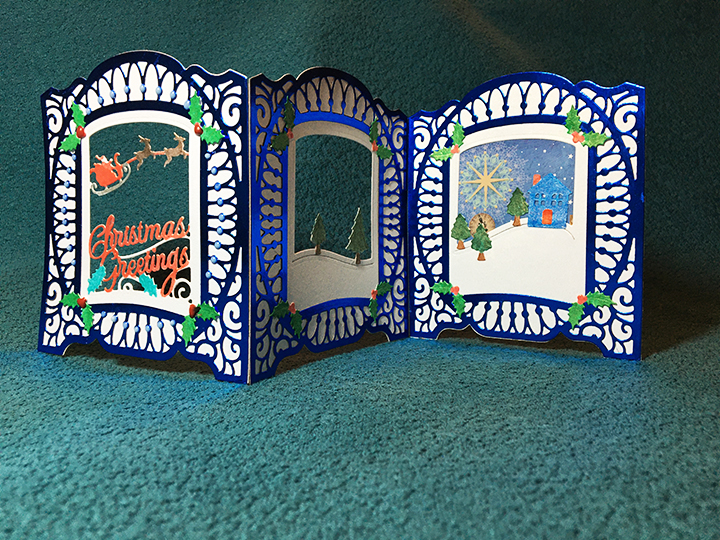
All is calm, all is bright until you shake-up the snow globe. This traditional style snow globe easel card is made with PoppyStamps/Memory Box die set with the sentiment coming from a Tonic Studios die.

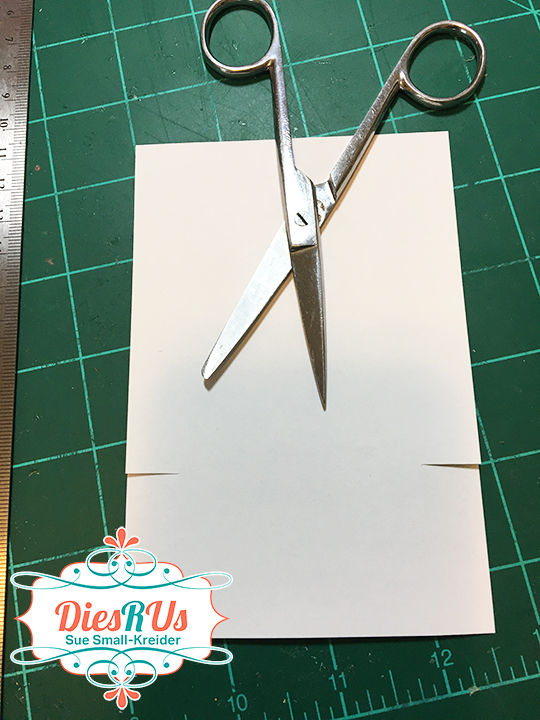
This was my first go at using these dies, so I followed the package example for the assembly and easel stopper (three holly berries placed on top of tiny foam circles with holly leaves cut from thin paper.) My green base card stock was lightweight, so I double cut the base and glued together before burnishing the fold lines.

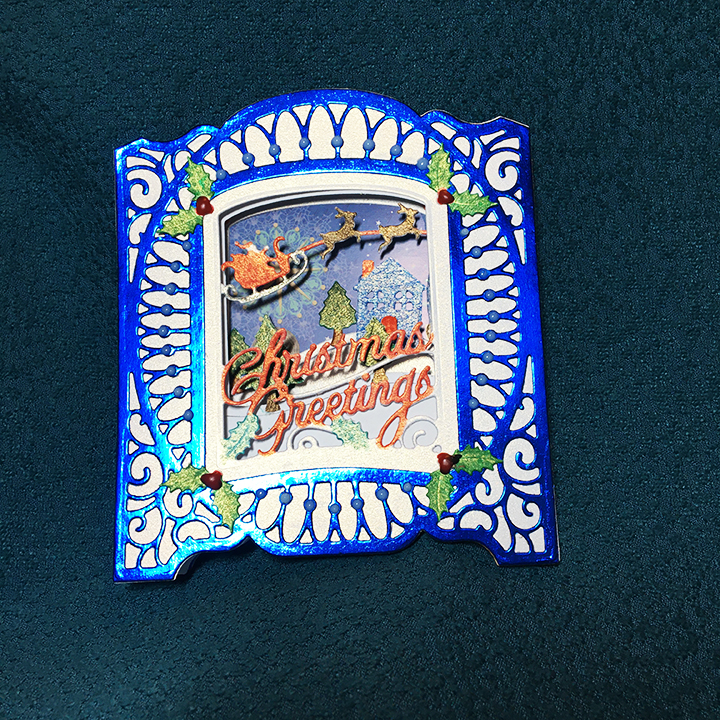
The background white circle was ink blended use a sky-blue ink and a large blending brush. Next, I spritzed with circle once with a white ink spray. The snowy ground is a specialty handmade paper I’ve had for a while. For the cabin, I used a yellow scrap for the house outline/windows. Its roof is more of the specialty textured paper. I like the variety of fir and hardwood trees in this set which can easily be cut from various shades of green and brown scraps. The scene was laid-out and then glued to together before spraying the whole scene with white ink spray a few times.

For the woodgrain globe base, I used some heat embossed stamped woodgrain paper I had made for another project. (Click here to learn more about the paper.) I cut two of the thin trim piece from gold foil cardstock and trimmed one piece to fit the top of the woodgrain base.

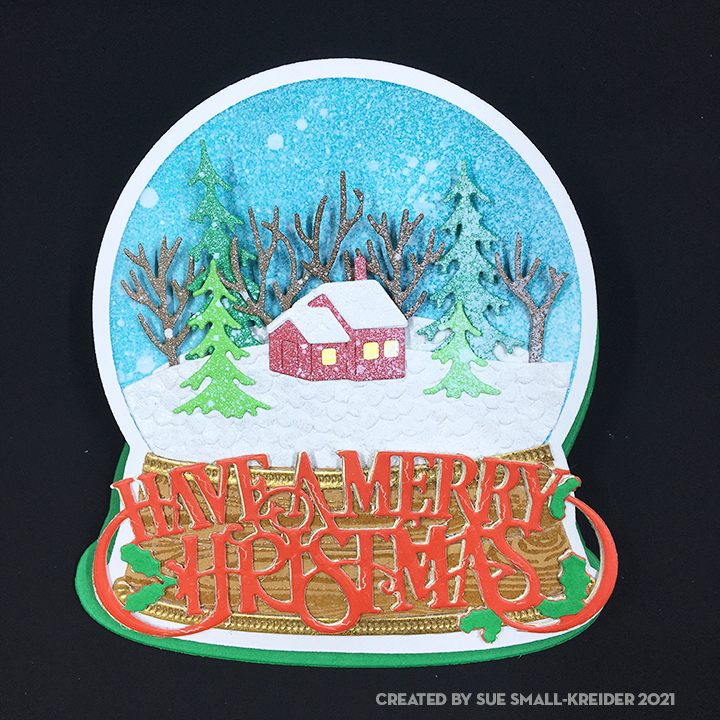
To assemble the snow globe, there is a white globe outline die-cut that the assembled globe is glued onto and then the woodgrain base followed by the two gold trim pieces.

The sentiment was cut three times using the Tonic Studios die. The base layer is gold foil while the top layer is a thick red cardstock that was from some packaging that I had saved. I cut the tiny green holly leaves from a green paper.

Foam circles topped with the holly berries are used as the easel stop on the bottom card base with the holly leaves cut from thin dark green paper.

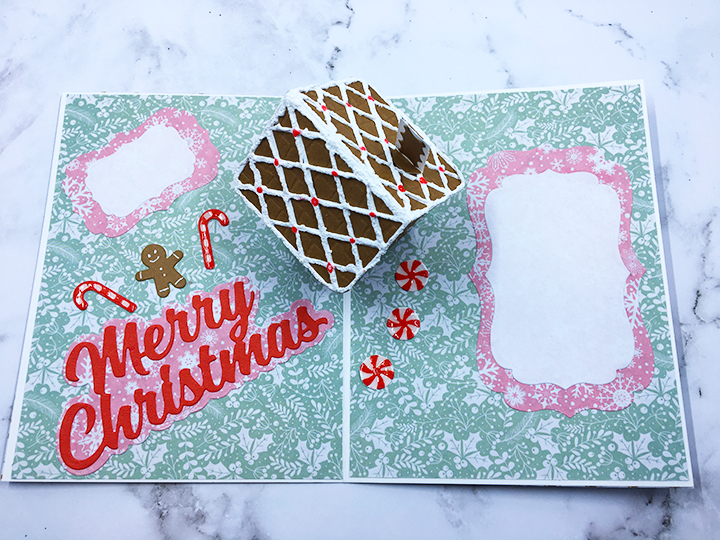
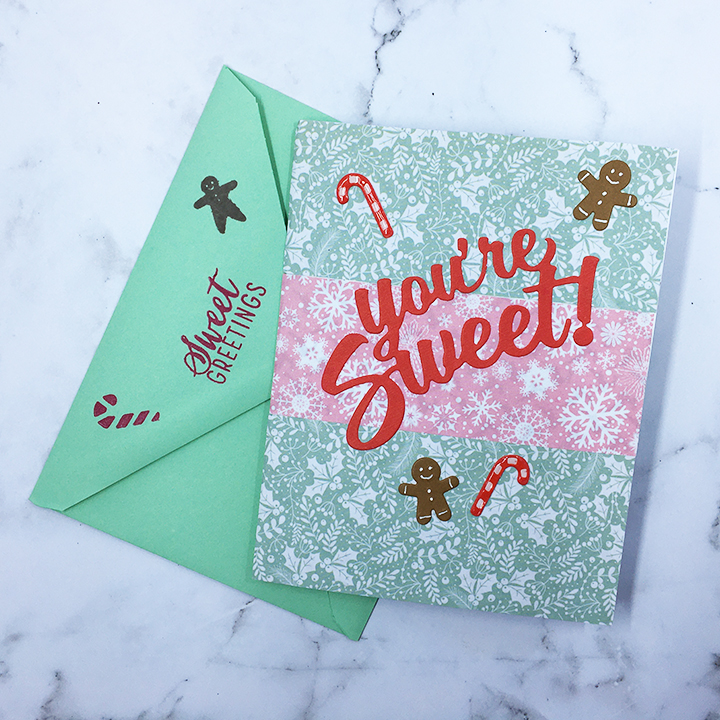
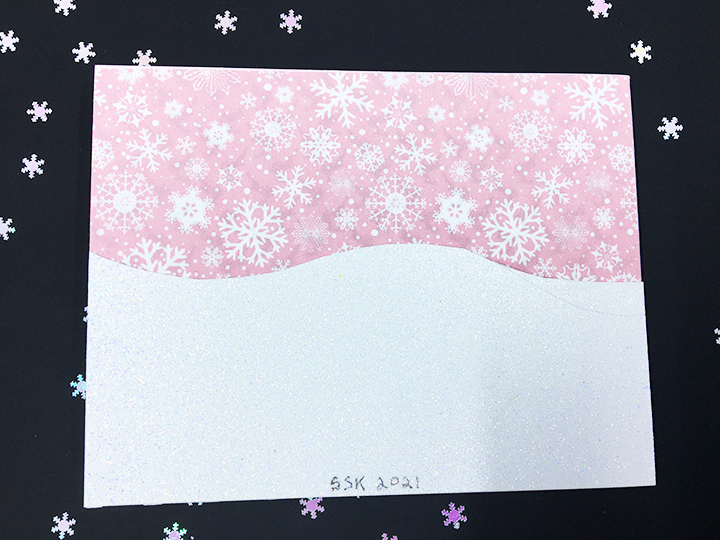
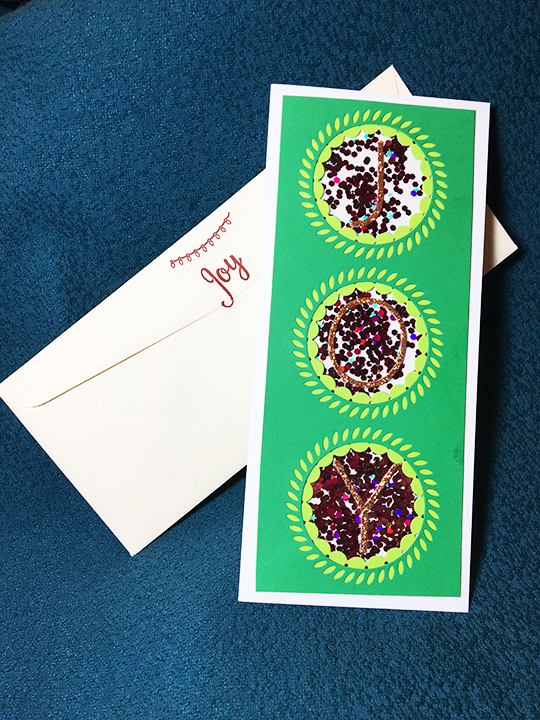
A personalized message can be written inside the card base. The card fits inside an A2 envelope (4 3/8 x 5 3/4 inches.) with its back flap stamped with stamps from the Winter Stags set by Stampendous! in a dark green ink.

Thank you for reading. If you enjoyed this blog post, please like it and follow the blog. 😊

Dies & Embossing Folder:

Stamps & Ink

  • Winter Stags stamp set by Stampendous! – free gift in Creative Stamping, issue 90, Nov. 2020.
  • Stampin’ Up – Classic Stampin’ Pad – Tranquil Tide
  • Catherine Pooler – Premium Dye Ink – Party Collection – All That Jazz
  • Avey Elle White Ink Spray
  • Simon Says Stamp Large Blending Brush
  • VersaMark – Watermark Stamp Pad
  • Stampin’ Pad – Rubber Stamp – Hardwood
  • Recollections – Detail Embossing Powder – Clear

Papers

  • White and green card stock
  • Gold foil card stock
  • White textured specialty handmade paper
  • Kraft card stock
  • Colored card stock scraps
  • A2 envelope

Additional Supplies:

Sweet Christmas Greetings

Can you smell the fresh baked gingerbread straight from the oven?  This card is made for a child’s Christmas and depicts a gingerbread house complete with white sugar icing, cinnamon drops, peppermint drops and candy canes.

This was my first attempt making Karen Burniston’s Tiny House Pop-Up and I made some mistakes that created a catch point on a roof corner. (I highly recommend watching the assembly video to avoid some of my mistakes such as making the front door of the house on the end with the bottom attachment flaps and gluing the roof unevenly on top of the house.)

Overall, the Gingerbread Tiny House Add-ons set is easy to use with the Tiny House set. The cane canes and peppermint drops are tiny and may require tweezers to assemble. (I added Glossy Accents to the tops of the candy canes and peppermint drops to give them a shiny coating.) There are other decorative die pieces for gum drops and tiny dots in the set, but I opted to use some Nellie’s Effect Snow media for dimensional icing and Nuvo Drops for red cinnamon drops. (The Effect Snow made the roof curl up some creating more of a catchpoint on the roof corner.)

The card base is an A2 size card (5 Β½ x 4 ΒΌ inches) made of heavy white cardstock and covered with patterned papers for smooth surfaces for the house to slide over. The sweets decorations are placed so that they don’t hinder the house mechanism opening.

Merry Christmas has a shadow die cut background of patterned paper and all the sentiments are cut from red paper so there are less chances of creating catchpoints. (I used some fancy nested label dies to create areas for a personal message.)

As is my style, I stamped the back of the envelope with hints of what’s inside using two colors of ink and a gingerbread house stamp set from Hero Arts.

Thank you for reading. If you enjoyed this blog post, please like it and follow the blog. 😊

Other cards that use the Tiny House Pop-up die Set

Dies:

Stamps & Ink

  • Memento -Fade-resistant Dye Ink – Rich Cocoa
  • Stampin’ Up Classic Stampin’ Pad – Melon Mambo
  • Hero Arts – Clear Stamp Set – Color Layering Gingerbread House -CM462

Papers

  • Heavy white card stock
  • Brown cardstock
  • Patterned papers from Carnation Crafts – Merry & Bright
  • Colored papers from my stash
  • A2 green envelope

Additional Supplies Used:

Snowy Good Morning

I love a crisp winter morning where tiny snow crystals fill the air and sparkle in the sunlight.  This is a card celebrating such a morning in lighthearted pastels. Karen Burniston dies are used for the card focusing on the Iron Fence Pop-Up die set.

To make this A2 size card, cut a rectangle 4 1/4 x 11 inches of pink heavy cardstock and fold in in the middle to make a 4 Β½ inches tall by 5 1/2 inches wide card base.  Cut four decorative snowflake paper panels at 2 1/4 x 5 1/4 inches. Adhere these panels to the top of front, back and insides of the card base. Using one of the hillside edging dies, cut four hills that are 5 1/2 inches long and the lowest point is 2 1/4 inches tall. (I used white glitter card stock on the front and back sides and a textured white inside.) Glue the snowy hills to bottom of each panel of card base.

It is easiest to die cut all the pieces you will need to make both the inside and outside fences at the same time so that they are similar in colors and papers used. (I cut four fences, but I really should have cut six fences so I could have finished the back of the card with a fence too.) Cut one of the slider fence arm and one of the arm sleeve from the same paper you used for the inside snowy hills.  Cut at least six green fir trees from the Long Nature Edges set to decorate in odd numbers on the front and inside of the card.

After watching the assembly video on the re-released inside pop-up fence, assemble as directed. (I found that the best way to decorate the hills and fence is to not glue the fence tops down. You can do this latter if needed using a fine tipped glue bottle.)

The birds in the fence die set are designed as crows so they are larger than a cardinal would be. There are smaller birds in the Frame Pull Pop-Up die set that are better sized as songbirds. This assembly video also has a tip on how to make the cardinal or chickadee crest on the head of the birds.

There are different snowflakes in the three snowmen die sets by Karen Burniston. They make wonderful filler decorations for the card.

Decorate card as desired, lifting fence pikes up to slide trees under or sandwich two bird die cuts around the fence top.

The Merry Christmas inside sentiment has a shadow cut from pink glitter card which adds to the crisp sparkling snow crystals effect.

I stamped the back of the envelope with a hint as to the card’s theme using one of by favorite winter themed stamp sets designed by Sheena Douglass.

Thank you for reading. If you enjoyed this blog post, please like it and follow the blog. 😊

Dies:

Stamps & Ink

Papers

  • Carnation Crafts – Merry and Bright from PaperCrafter issue 40
  • Pink card base – Bazzill -Pink Icing – PS1 – 102
  • DCWV – The Spooky Time cardstock matstack – white glitter and textured white
  • Glitter paper – pink from my stash
  • Colored cardstock from my stash
  • A2 Envelope

Additional Supplies Used:

Snow Days

What North American children hasn’t hoped for a school closing day due to a snowstorm.Β  This is a card celebrating a snowy day in lighthearted pastels. Karen Burniston dies are used for the card.

To make this A2 size card, cut a rectangle 4 ΒΌ x 11 inches of pink heavy cardstock and fold in in the middle to make a 4 Β½ inches tall by 5 Β½ inches wide card base.  Cut four decorative paper panels at 4 x 5 ΒΌ inches. Adhere these panels to front, back and insides of the card base.

It is easiest to die cut all the pieces you will need to make both the inside and outside snowmen at the same time so that they are similar in colors and papers used. Also cut three circles or other label shapes on which to mount your sentiments. (For the personalized message circle, I added a smaller white circle.) Think about using contrasting colors for your words and their backgrounds. (I used blue to make the mostly white with snowflake paper I used for the words standout.)

After watching the assembly video on the inside snowman assemble as directed. Once the snowman is adhered to the card base, you can begin to decorate the card. (I used a sled die-cut from Memory Box to add to the snow time activities.) Remember to balance out the position of decorations from one side of the card to the other. There are two different snowflakes in the two snowmen die sets by Karen Burniston. They make wonderful filler decorations for the card.

Because I could not make up my mind on which stamp to use on the back of the envelope, I stamped two envelopes with hints as to the card’s theme. The word cloud is from Stampendous while the snowman is from Art Impressions.

Thank you for reading. If you enjoyed this blog post, please like it and follow the blog. 😊

Dies:

Stamps & Ink

  • Stampin’ Up Classic Stampin’ Pad – Dapper Denim
  • Stampendous – Winter Stags stamp set from Creative Stamping issue 90, Dec 2020
  • Art Impressions – Unmounted Rubber Stamp – Scrapbook.com exclusive Snowman – 5084

Papers

  • American Crafts – 348953
  • Pink card base – Bazzill -Pink Icing – PS1 – 102
  • Glitter paper – white from my stash
  • Colored cardstock from my stash
  • A2 Envelope

Additional Supplies Used:

Fineline 20 Gauge Applicator & Bottle

Winter Is In The Air

Hello, it’s Sue of the Dies R Us Design Team and today we are making a Christmas pop-up card with a Charlie Brown Christmas tree using Karen Burniston dies.


The chair die just fits in a 3 Β½ inch x 6-inch mini slimline card. I started by cutting a 3 Β½ inch by 11-inch piece of lightweight white card stock and folded it in half. Next, I cut piece of patterned background paper slightly larger than 3 Β½ inch by 5 Β½ inch and marked with a pencil where the chair arms connect with the card back on the patterned paper and cut slits so that the printed paper could be slid into place behind the chair. Using the same technique, I cut a piece of white glitter card stock 3 Β½ inch by 6-inch for the ground, cutting slots for the chair feet. Glue both decorative papers to card base.

Cut chair, arms and seat from woodgrain paper. (I made my own woodgrain paper using a woodgrain stamp that I heat embossed with watermark ink and snow embossing powder.)

Fold woodgrain chair folds as shown on packaging. Glue wood grain chair to patterned paper chair matching up the seat, back, arms and leg pieces. Train the chair to pop-up by opening and closing card a few times.

Decorate card with the Holiday Charm set cutting off the charm loops. To make the tiny potted fir tree, use the pine branch from the charm set and the sand pail from the chair set.

I used Cosmic Shimer Fluffy Stuff to create the little piles of snow around the base of the chair. Read the directions on the bottle before using! (You need to be careful when you heat the fluffy stuff up so as not to burn your card with your heat tool.)

Last, I sprayed the inside of the card with a white spray paint for a soft snow fall effect.

For the card front I cut a 3 Β½ inch by 5 Β½ inch piece of white glitter card stock and glued it onto the card base. On the card back I cut a textured piece of white card stock 3 Β½ inch by 6-inch and glued to the card base. Next taped the top seam of the front and back with a red plaid washi tape and continued down the back of the card for added decoration. On the front the Merry Christmas sentiment is an old die I’ve had in my stash for many years. The snowflakes are from the charm set. (I used a fine-tipped glue bottle for adding glue to the sentiment and snowflakes that made it so easy to glue without a big mess.)

The back of the mini slimline envelope is stamped with fir trees in a dark green ink.

Hope this fun card has put a smile on your face and provided some inspiration for your crafting. 😊

See more chair cards below:

Cat In The Window

Fall Is In the Air

Spring Is In The Air

Summer Is In The Air

*Β·  Winter Is In The Air

* Happy Hour at the Beach

Dies from Dies R Us:

Additional Supplies Used from Dies R Us:

Don’t forget to come join in the fun at the Dies R Us Challenge Blog. There’s a new challenge theme offered on the 1st and 15th of each month and one lucky randomly drawn winner will receive a gift voucher prize to the Dies R Us Store.  

 For your convenience, all the important Dies R Us links are provided below.

click below for:

STORE

CHALLENGE BLOG

FACEBOOK

INSPIRATION BLOG

FRIENDS OF DIES R US PINTEREST PAGE

Festive Foliage and Hearts – Trifold card

I love the sentiment β€œThe holidays are a time to open our hearts” that is at the center of this card.  The card was stamped with the Alte New stamp set Festive Foliage which allows you to stamp a fir tree with two to four colors.

I stamped this card from a piece of heavy white cardstock 5 Β½ inches x 11 inches using a stamping platform so that I could position the stamps easily. I used a different green ink for the tree and the heart foliage stamps. The tree is Tranquil Tide, and the heart is Pear Pizzazz. The sentiments were stamped with VersaMark-Watermark ink and heat embossed with a gold embossing powder. The red heart is stamped using Real Red ink.

To create the tri-fold base I scored and fold the longest edge at 4 ΒΌ inches and 2 Β½ inches. Once the tree was stamped on the front, I opened the card out flat and using a craft knife cut the heart out of the card front. Next, I refold the card and placed the cutout heat back in place and stamped the heart foliage. I also opened the card front, slipped a scrap piece of paper in and stamped the inside flap with the heart in green as well.  I then put glue on the inside stamped heart section and with the cut-out heart in the tree front, closed the card and adhered the cut-out heart to inside flap. Once the glue had dried, I also stamped the back side of the flap and heat with green foliage stamp. With the inside flap unfold, but the front fold shut I positioned the solid heart stamp to be stamped directly behind the foliage hearts.

To finish the card, I folded the card and taped the front tightly shut to spray some gold mica mist over the front of the card for added interest and glued a small red ribbon to the top of the tree.

See the gift tags I stamped using the same stamp set by clicking here.

If you enjoyed this tri-fold card, check out some of my other trifolds:

One In A Melon

Shabby Chic Trifold Card

Santa Vintage Trifold

Sleepytime Dreams

Supplies:

Stamps

Papers

Inks/Embossing Powder

Miscellaneous

A Joy Shaker

Everyone needs some joy around the end of the year holiday season.  This contemporary slimline card wishes the recipient that the simple joys of the season are theirs.

I used two of Pink Fresh Studio’s Essential Slimline Cuts dies to make the trio of circles in two shades of green that form the main design element of this card. Pink and magenta halo glitter were sandwiched between two sheets of acetate using double sided tape. San serif letters cut from a bronze glitter sheet spell out β€œJOY” and are glued to the acetate windows.

Inside the card is stamped with a string of lights and the main sentiment. The same cherry red ink is used to stamp the string of lights and the word β€œJoy” on the back envelop flap hinting what’s to come.

Hoping you enjoyed seeing this card. Thank you for reading. Please like and leave a comment.

Materials Used:

Dies

Stamps

Inks

Papers

Miscellaneous

Santa Vintage Trifold

Sometimes we just need to believe that there once was a perfect Christmas Eve with Santa flying through the starry night.

This shimmering trifold Christmas card delivers on that idea. Based on the Spellbinders’ Christmas village vignette frame die set, the scene is set with Santa flying his sleigh through the air, over the tops of fir trees to the next house. Each screen frame holds another layer of the snowy scene.

To make this card, I cut three of the lacy frames from bright blue foil cardstock and three backing panels from shimmer cardstock. I waited to cut the center openings in each back panel knowing that they had to line up for the scene to work. To cut the front panel opening I place the blue frame over the back panel and lined-up the β€œChristmas Greetings” die based off the blue frame center. To cut the lower hill window from the center panel, I use the front panel to line up the lower hill die on to the shimmer side of the cardstock. Using the first two panels to position the back panel’s higher hill die, I used the same technique to cut the final window.

Assembling the card was easy, gluing the blue frames to the white shimmer side panels and using clear removable tape to join or hinge the panels together on the back side.

To decorate the scene, I die cut two large fir trees, five small fir trees, 12 holly springs, one house and one Santa’s sleigh from the scrap shimmer cardstock left from cutting the windows. (Hint: Always make sure you are cutting with the shimmer side of the cardstock up.) The shimmer card takes the water-soluble markers well giving the images a nice texture. Color can be layered-on allowing some shading. The trees on the center panel are glued with a tree on both front and backsides of the panel so that when folded shut they are visible. The back panel has a single layer of trees and house. I used a paper scrap from a Hunydory paper pad that had a starry night sky to be the backdrop for the final panel’s window.

Holly springs were colored and glued to the frame inside corners of all the panels, but only the top panel had red Nuvo drops added to the berries. Nuvo drops were also added to the circle parts of the blue frame on the top panel only.

Finished card when folded shut measures 5 x 4.5 inches (127 x 113 mm).

Thank you for reading about this card. Please like and leave a comment. 😊

If you enjoyed this tri-fold card, check out some of my other trifolds:

One In A Melon

Shabby Chic Trifold Card

Festive Foliage and Hearts – Trifold card

Sleepytime Dreams

SUPPLIES

Dies/Punches

Ink

Paper

Miscellaneous

Nativity Card with a Surprise

The Miracle of Christmas papers by Hunkydory have some amazing collages of the advent story in them. My inspiration for this slimline card front came from the collage and blending of two images from the Bitesize Book.

This is the third in a series of blogs about Christmas cards made from the 2020 Hunkydory paper collection entitled The Miracle of Christmas.

The inside of the card has insert paper from the Miracle of Christmas collection glued in two sections so that the card base center fold is left uncovered.

When the card is opened, a fussy cut image of Mary and Joseph with the Christ child in a manger pop-up. The stable from the image has also been cut out and glued to the inside. To make the image pop-up, tabs were cut out at the feet of each of the adult figures and folded back. Next the couple was folded in half as close to their center as possible. With the card half opened I laid-out the position of the figures so that their heads were in the bottom corner of the card making sure they would not be visible when the card was closed. Next, I put glue on one tab and pressed in place and them glued the other tab to the other side of card.

A greeting will be handwritten below the figures inside the card.

The envelope is stamped with a coordinating stamp to hint at what is inside.

Thank you for reading about this simple pop-up card using the Hunkdory papers. Click the like button at the bottom of the page if you like the card or leave me a comment.

You can view more cards in The Miracle of Christmas Papers Series by clinking the links below.

Post 1 The Miracle of Christmas Papers

Post 2A Small Triptych Card

Post 3 – Nativity Card with a Surprise

SUPPLIES

Paper

Stamps

Ink

Miscellaneous

Β© Sue Small-Kreider 2020