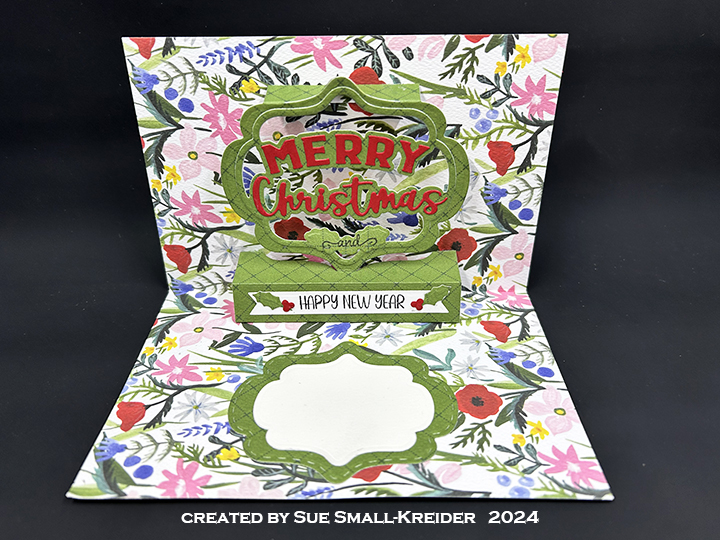
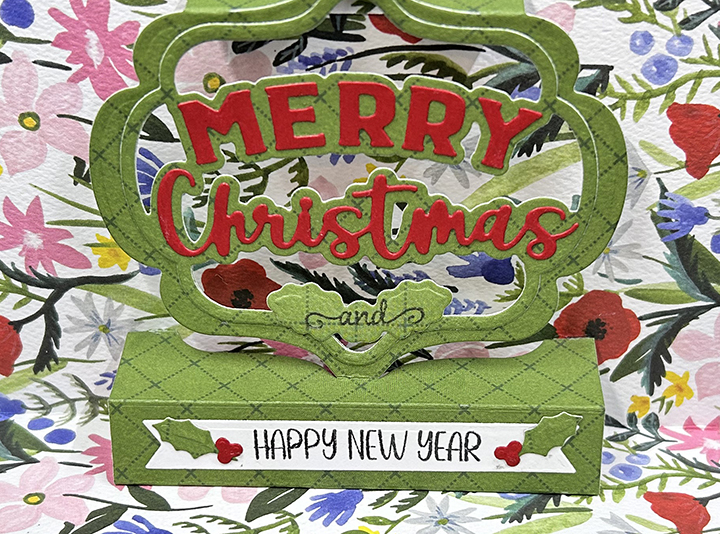
I had a rare Sunday afternoon to just play in my craft room and I made four of the same card, but each with a different version of the word “merry.” These cards were inspired by a card class that Meghann Andrew taught during the Scrapbook and Cards Today‘s Christmas in July – Jolly Holiday 2024 event.
Leave a comment letting me know which version of “merry” you like best.
I also stamped envelopes for the cards.
All cards and envelopes used stamps, stencils and dies from the event kit. I used the Stampin’ Up – Tranquil Tide and Simon Says Stamp – Surf Blue ink pads, Spectrum Noir Tri-Blend – Green Turquoise Blend Light, red and gold gel pens, gold metallic marker, Nuvo Glitter Paste – Moonstone, Nuvo- Glitter Gloss and some tiny gold gems and puff star stickers from my stash.
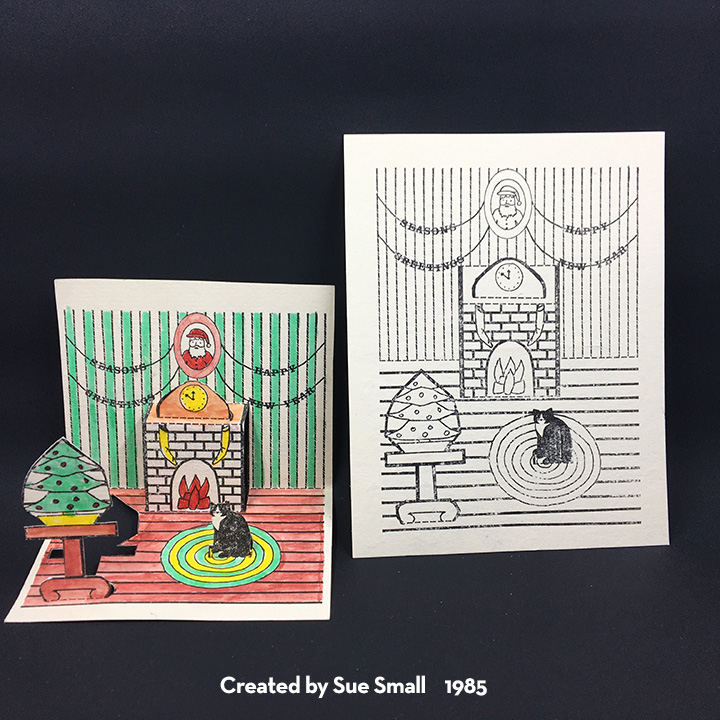
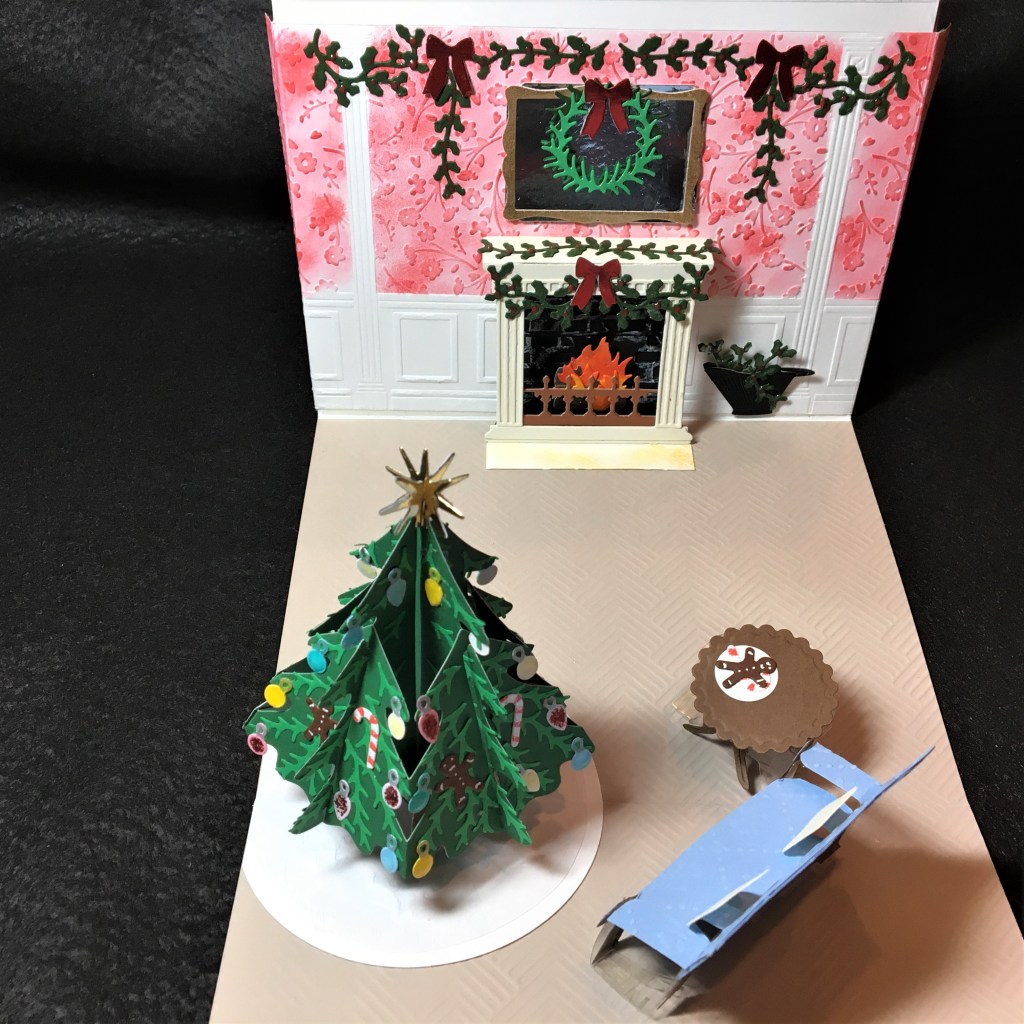
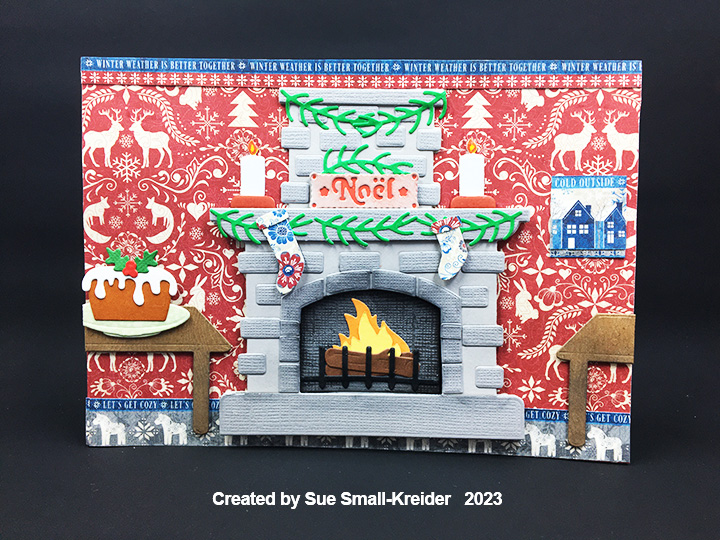
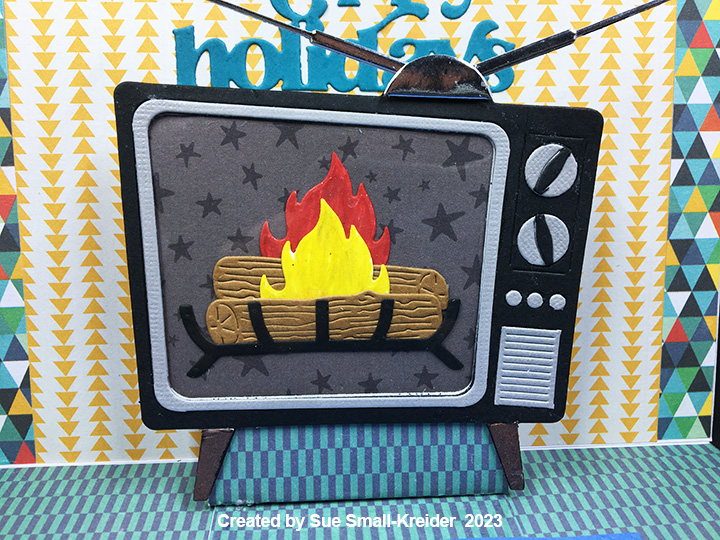
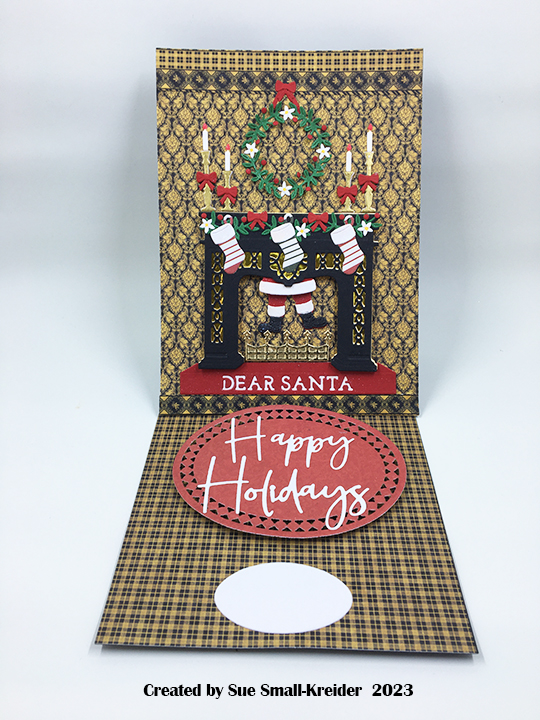
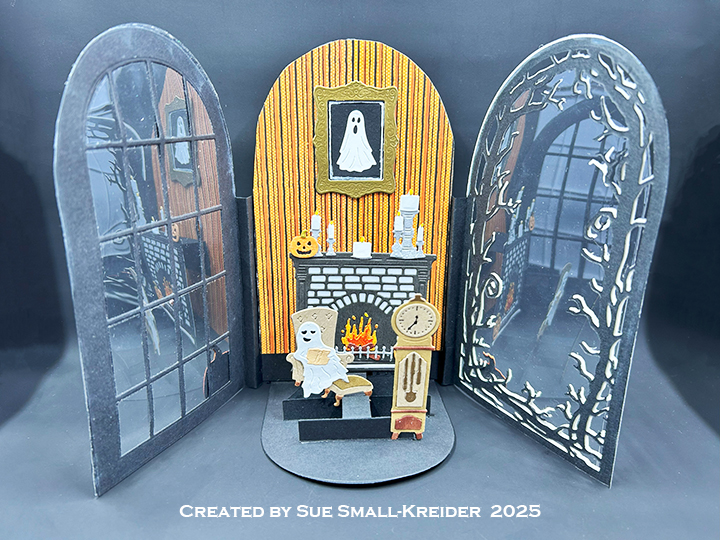
I have been collecting and making fireplace cards for several years now. Here is a collection of all my fireplace blog posts. Click on an image to see details of the fireplace.
___________________________________
Thank you for experiencing this blog post.
I hope this inspires you and makes you smile.
Please like and leave comments π
___________________________________
Disclaimer: Karen Burniston products are provided free of charge by the manufacturer for review and use. All other items were personally purchased. Compensated affiliate links used where or when possible, meaning I will receive a small percentage commission from these manufacturers at no cost to you. This will allow me to add more content to my YouTube channel and help out a lot. Thank you.
I have been collecting and making oven cards for several years now. Here is a collection of all my ovens blog posts. Click on an image to see details of the oven.
(Images are posted from the earliest release of dies/stamps/kits 2016 to newest 2023.)
____________________________
Thank you for experiencing this blog post.
I hope this inspires you and makes you smile.
Please like and leave comments π
___________________________________
Disclaimer: Karen Burniston products are provided free of charge by the manufacturer for review and use. All other items were personally purchased. Compensated affiliate links used where or when possible, meaning I will receive a small percentage commission from these manufacturers at no cost to you. This will allow me to add more content to my YouTube channel and help out a lot. Thank you.
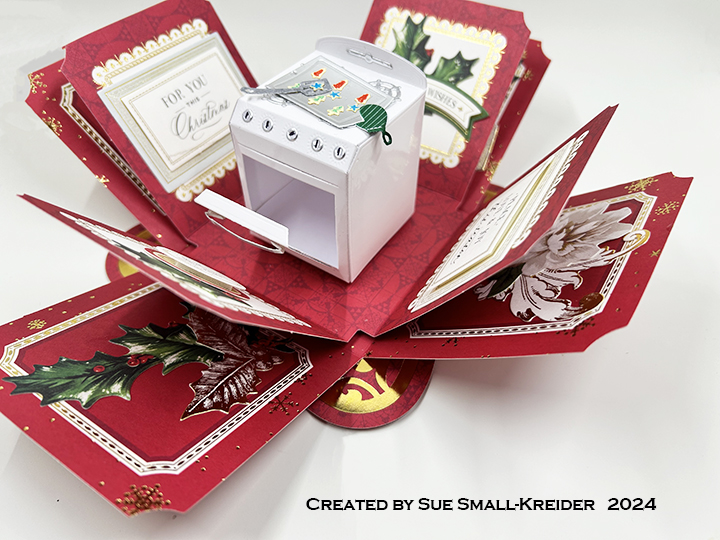
Iβm using Spellbinders’ APG Die of the Month for May 2022 – Pop-Up 3D Vignette – What’s Bakin’ Oven and a Pear Blossom Press One Light to create this light-up oven.
Watch video above for a tutorial on how to make the card.
Sentiments: The banner greeting of “Happy Christmas” was made using a BetterPress plate and die set.
Envelope: The card fits into an A7 envelope stamped with a sentiment “Warm Wishes” from Hero Arts.
___________________________________
Thank you for experiencing this blog post.
I hope this inspires you and makes you smile.
Please like and leave comments π
___________________________________
Disclaimer: Karen Burniston products are provided free of charge by the manufacturer for review and use. All other items were personally purchased. Compensated affiliate links used where or when possible, meaning I will receive a small percentage commission from these manufacturers at no cost to you. This will allow me to add more content to my YouTube channel and help out a lot. Thank you.
Materials Used:
Dies
Elizabeth Craft Designs β Metal Dies β Letβs Bake β 1994
Hero Arts β My Monthly Hero Kit β May 2022 β Kitchen Dies
Spellbinders – APG Die of the Month -May 2022-Pop-Up 3D Vignette – What’s Bakin’ Oven
Spellbinders – BetterPress Press Plate & Die Set – Mistletoe Greetings
Stamps
Hero Arts β My Monthly Hero Kit β May 2022 β Clear Stamps
Pear Blossom Press – Clear Stamps – PBP-01
Spellbinders – BetterPress Press Plate & Die Set – Mistletoe Greetings
Papers
Bazzill β 8.5×11 Cardstock β Tiara -18-1002
Bazzill β 12×12 inch Solid Cardstock – Nautral
Grafix – 8.5×11 Dura-Lar Acetate .005 β Clear Film
Iβm using Lawn Fawn’s 2016 Sprinkled with Joy stamps and dies for this slimline Christmas oven card.
Watch video above for a tutorial on how to make the card.
Card FrontCard Back
Cardbase: The card base is 8 1/2-inches tall and 3 7/8-inches wide when folded closed.
Oven: Watch my YouTube video above for how the oven was assembled.
Sentiments: Outside I used “Sweet” stamped on a green scrap strip. Inside the oven I used “Christmas Wishes” both from the Lawn Fawn Sprinkled With Joy stamp set. Inside the card I used a stamp from Scrapbook and Cards Todayβs Jolly Holiday workshop kit.
Envelope: The card fits into an A2 envelope.
___________________________________
Thank you for experiencing this blog post.
I hope this inspires you and makes you smile.
Please like and leave comments π
___________________________________
Disclaimer: Karen Burniston products are provided free of charge by the manufacturer for review and use. All other items were personally purchased. Compensated affiliate links used where or when possible, meaning I will receive a small percentage commission from these manufacturers at no cost to you. This will allow me to add more content to my YouTube channel and help out a lot. Thank you.
Materials Used:
Dies
Lawn Fawn – Custom Craft Dies – Sprinkled With Joy-LF1271
Stamps
Lawn Fawn – Clear Stamps – Sprinkled With Joy-LF1214
Scrapbook and Cards Todayβs Jolly Holiday workshop kit.
Embossing Folder
Stampin’ Up – Cut & Emboss Folder – Dotted Circles 3D
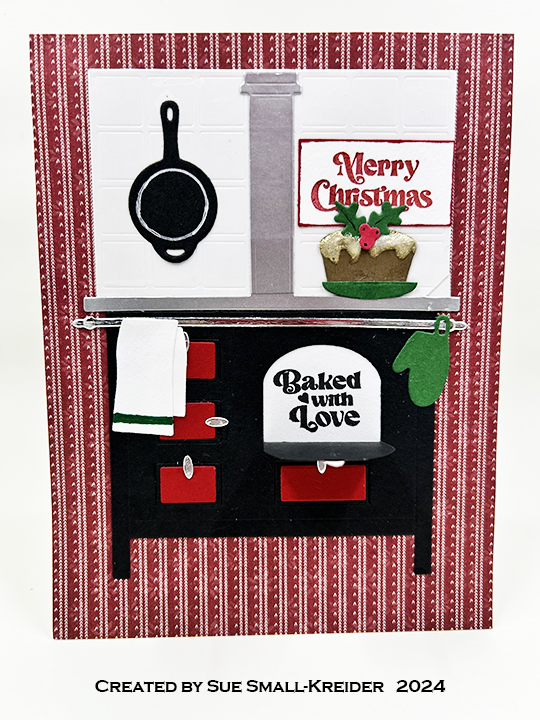
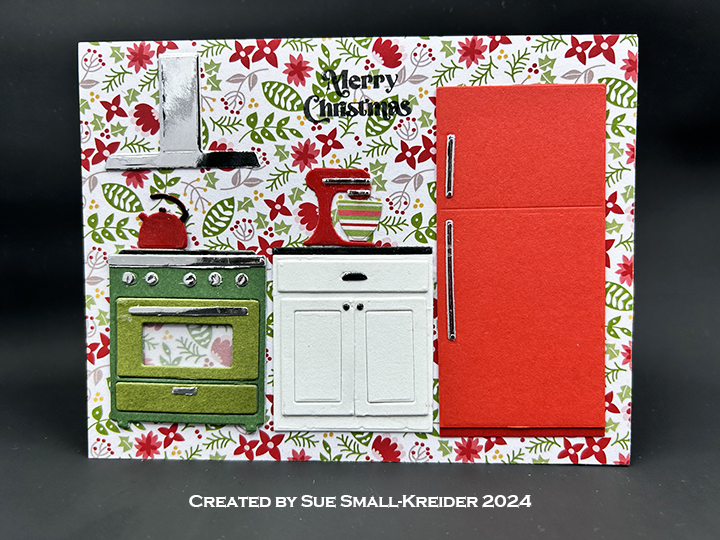
Iβm using My Favorite Things What’s Cooking kitchen dies for this A2 (4.25×5.5-inch) card.
Watch video above for a tutorial on how to make the card.
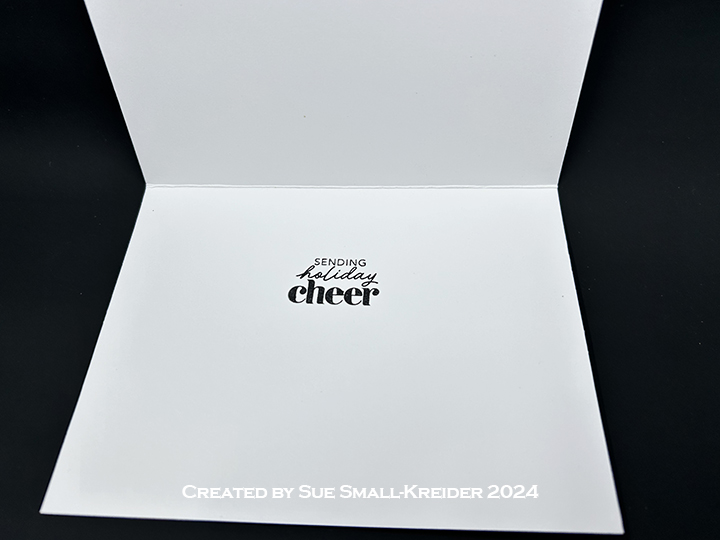
Sentiments: While the My Favorite Thing’s What’s Cooking collection comes with a stamp set, none of the sentiments fit the Christmas theme. So I used a “Merry Christmas” from The Greetery and two stamp sentiments from the Scrapbook and Cards Todayβs Jolly Holiday kit for the card inside and envelope flap.
Envelope: The card fits into an A2 envelope.
___________________________________
Thank you for experiencing this blog post.
I hope this inspires you and makes you smile.
Please like and leave comments π
___________________________________
Disclaimer: Karen Burniston products are provided free of charge by the manufacturer for review and use. All other items were personally purchased. Compensated affiliate links used where or when possible, meaning I will receive a small percentage commission from these manufacturers at no cost to you. This will allow me to add more content to my YouTube channel and help out a lot. Thank you.
Materials Used:
Dies
My Favorite Things – Die-namics – Everything And The Kitchen Sink
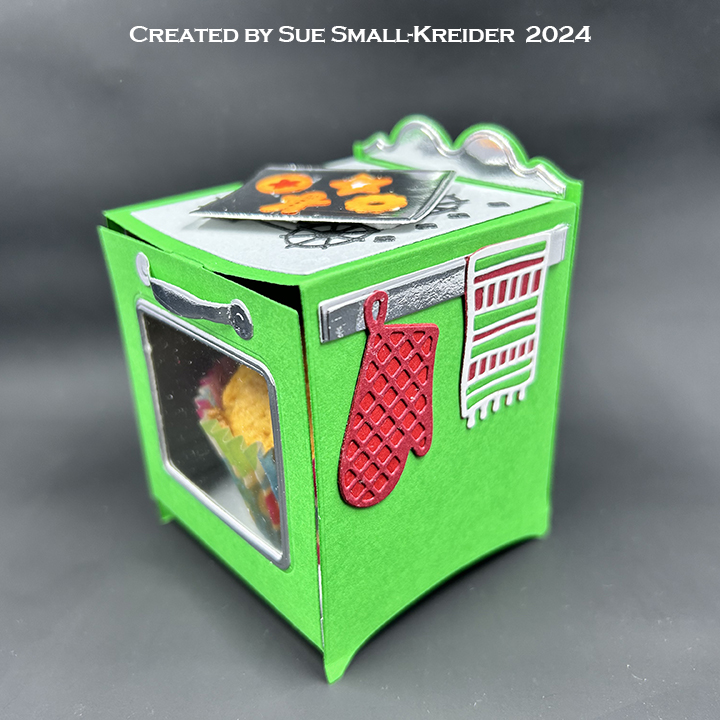
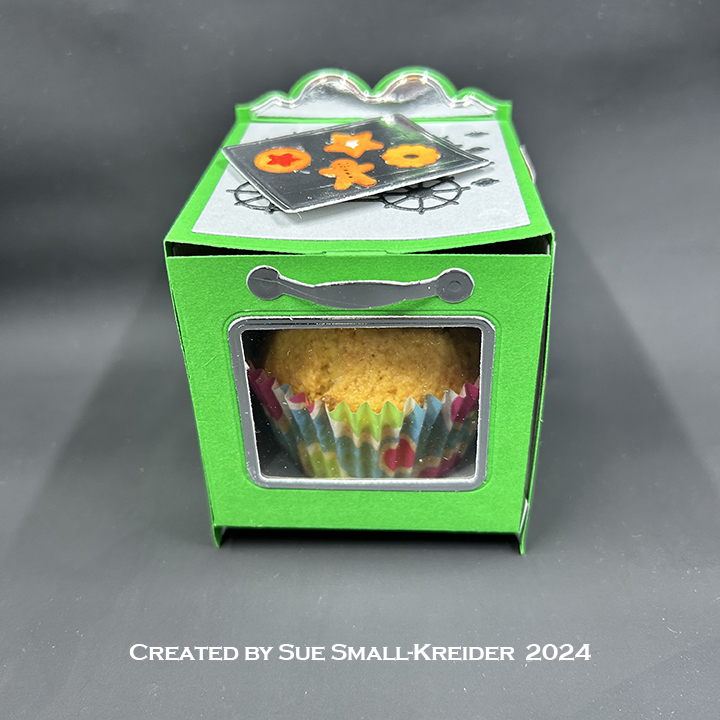
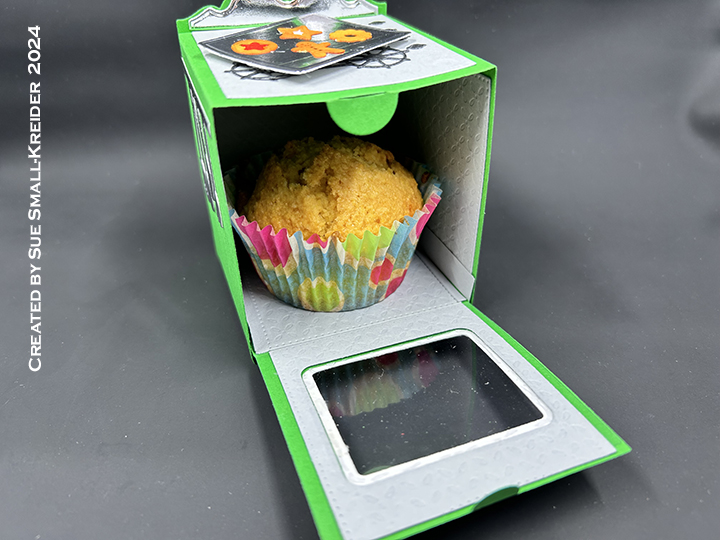
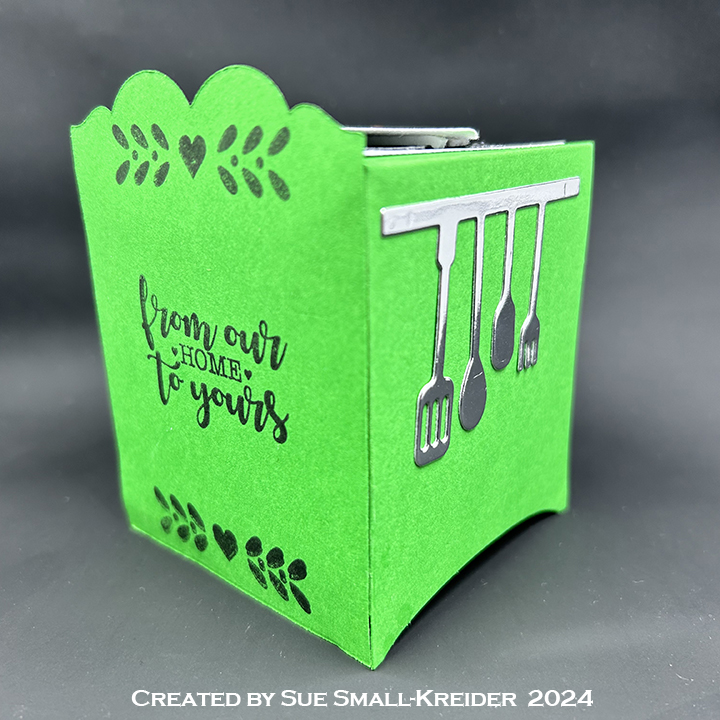
Iβm using Tonic Studios showcase set Baked with Love that includes dies and stamps to make this Christmas oven treat box..
Watch video above for a tutorial on how to make the card.
___________________________________
Thank you for experiencing this blog post.
I hope this inspires you and makes you smile.
Please like and leave comments π
___________________________________
Disclaimer: Karen Burniston products are provided free of charge by the manufacturer for review and use. All other items were personally purchased. Compensated affiliate links used where or when possible, meaning I will receive a small percentage commission from these manufacturers at no cost to you. This will allow me to add more content to my YouTube channel and help out a lot. Thank you.
Materials Used:
Dies
Tonic Studios β Die Set β Baked With Love
Stamps
Tonic Studios β Clear Stamp Set β Baked With Love
Papers
Silver Foil Cardstock
Acetate/Clear Plastic
Black, Gray, Green and White Cardstock
Ink
Hero Arts β Alcohol-Marker Friendly Ink Pad – Intense Black
Mont Marte β Dual Tip Art marker β E2 Raw Sienna
Pigma β Mircon 01 Fine Tip Pen β Black
Sharpie β Permanent Marker β Ultra Fine Tip β Red
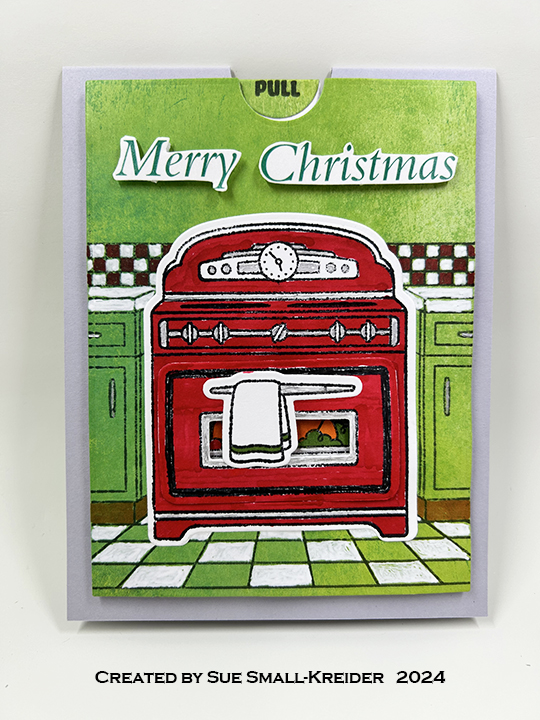
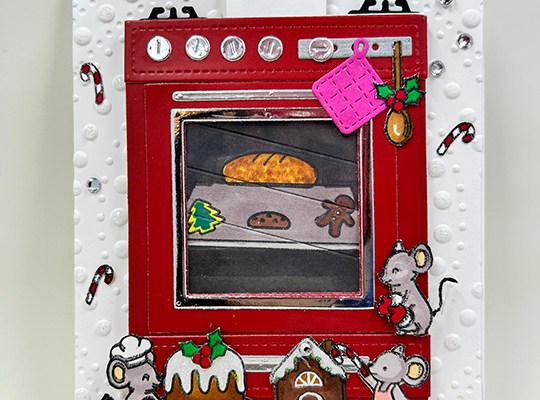
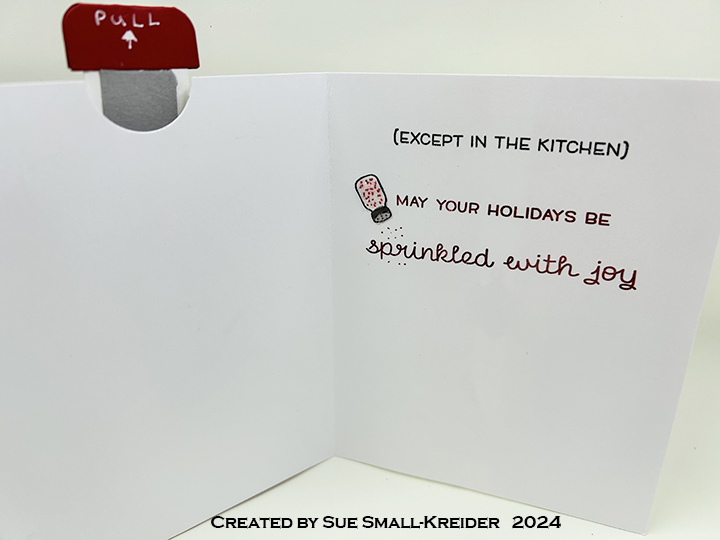
Iβm using Lawn Fawn’s Magic Picture Changer with its Oven Add-On dies along with two Lawn Fawn stamp sets – Sprinkled with Joy and A Creature Was Stirring.
Watch video above for a tutorial on how to make the card.
Cardbase: I used a side-fold A2 (4.25 x 5.5-inches) made of white cardstock.
Oven: I highly recommend googling “Lawn Fawn Magic Picture Changer Oven video” to watch assembly videos for this die set. There are lots of creative ways to assemble it.
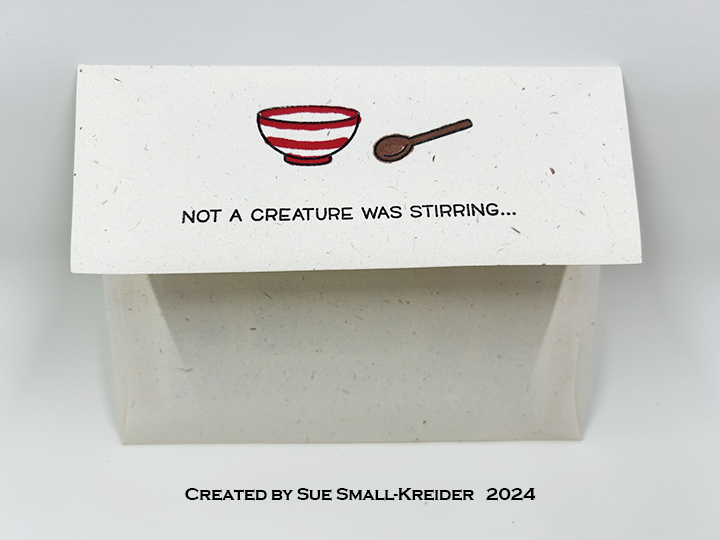
Sentiments: Card front “Not a creature was stirring…” inside “(except in the kitchen).” are from the A Creature Was Stirring stamp set. “May your holidays be sprinkled with joy” is from the Sprinkled with Joy set.
Envelope: The card fits into an A2 envelope.
___________________________________
Thank you for experiencing this blog post.
I hope this inspires you and makes you smile.
Please like and leave comments π
___________________________________
Disclaimer: Karen Burniston products are provided free of charge by the manufacturer for review and use. All other items were personally purchased. Compensated affiliate links used where or when possible, meaning I will receive a small percentage commission from these manufacturers at no cost to you. This will allow me to add more content to my YouTube channel and help out a lot. Thank you.
Materials Used:
Dies
i-crafter β Dies by Lynda Kanase – Classic Squares
Iβm using Paper Discovery’s Cosy Kitchen dies and stamp sets for todayβs Christmas oven card. Olga Direktorenko is the designer behind Paper Discovery, a Craftstash/Practical Publishing brand.
Watch video above for a tutorial on how to make the card.
Cardbase: I started with a 5 3/4 x 10 1/2-inch rectangle of white cardstock that was scored and folded at 2 5/8-inches, 3 5/8-inches, 6 7/8-inches and 7 7/8-inches.
Decorations: The copper kettle and utensils are stamped on orange foil cardstock with StazOn ink using the Paper Discovery Cooking Up A Storm set and fussy cut. The trolley tables are made with a die from Paper Discovery Cosy Kitchen -Baking Fun die set. The gingerbread house, Christmas pudding and bowls are from the Lawn Fawn A Creature Was Stirring stamp set. The wallpapers, borders and picture stamps are from Graphic 45’s T’was The Night Before Christmas paper collection.
Sentiments: I used sentiment stamps from three sets. On the back of the card – “This kitchen is seasoned with love” and “Eat, Drink & be merry” are from Paper Discovery’s Simply Food set. Heat embossed in white behind the oven doors are “Merry Christmas” and “Baked with Love” from the Greetery’s Bake Someone Happy set. Also behind an oven door is “Warm Wishes” from the My Hero Monthly kitchen kit. The “NOEL” banner is a shape die set by Scrapbook.com.
Envelope: The card fits into a 6×9 catalog envelope. The back flap are stamped with an Hero Arts sentiment and images from Lawn Fawn.
___________________________________
Thank you for experiencing this blog post.
I hope this inspires you and makes you smile.
Please like and leave comments π
___________________________________
Disclaimer: Karen Burniston products are provided free of charge by the manufacturer for review and use. All other items were personally purchased. Compensated affiliate links used where or when possible, meaning I will receive a small percentage commission from these manufacturers at no cost to you. This will allow me to add more content to my YouTube channel and help out a lot. Thank you.
Materials Used:
Dies
Paper Discovery – Dies – Cosy Kitchen – 2D Perfect Kitchen
Paper Discovery – Dies – Cosy Kitchen – Baking Fun
Scrapbook.com – Shape Dies – Holiday Banners
Stamps
Hero Arts – My Monthly Hero Kit β May 2022 β Clear Sentiment Stamps
Lawn Fawn – Clear Stamps – A Creature Was Stirring
Paper Discovery – Clear Stamps – Cosy Kitchen – Cooking Up A Storm