Day 6 of 12 Days of Christmas Ovens

It’s Day 6 of my 12 Days of Christmas Ovens.

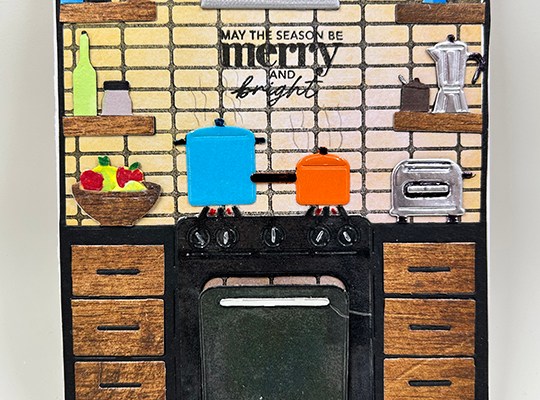
I’m using Hero Arts May 2022 My Monthly Hero Kit for this non-traditional colors holiday card.

Watch video above for a tutorial on how to make the card.

Cardbase: This card uses a side-fold A2 (4.25×5.5-inch) cardbase.

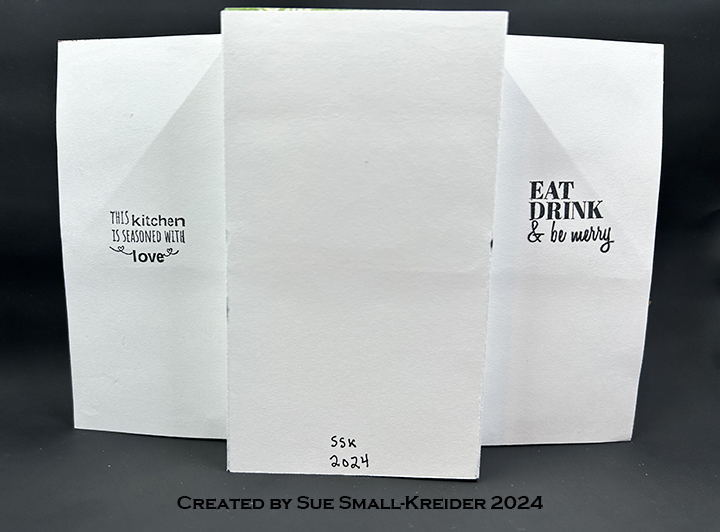
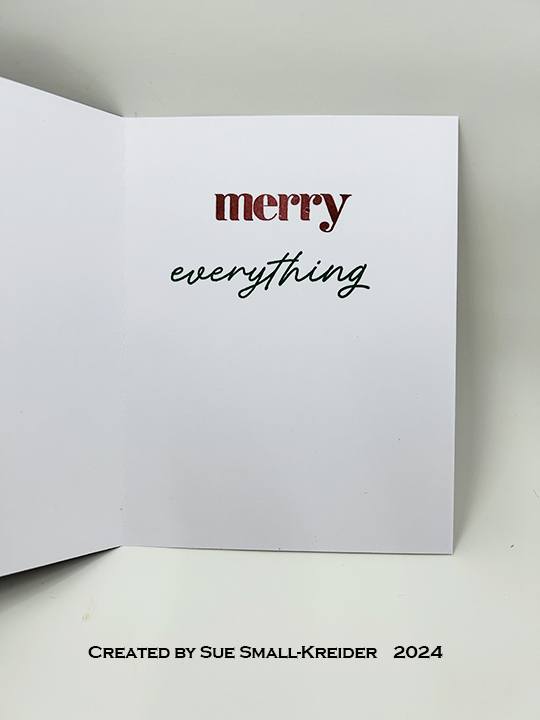
Sentiments: For the card front’s “May the season be merry & bright” and inside’s “merry everything” I used stamps from Scrapbook and Cards Today’s Jolly Holiday workshop kit. For the back of the card, Used the Hero Arts – My Monthly Hero Kit’s “Just something I whipped up.” The envelope’s “Cooking with Love” is from Paper Discovery.

Envelope: The card fits into an A2 envelope.

___________________________________

Thank you for experiencing this blog post.

I hope this inspires you and makes you smile.

Please like and leave comments 😊

___________________________________

Disclaimer: Karen Burniston products are provided free of charge by the manufacturer for review and use. All other items were personally purchased. Compensated affiliate links used where or when possible, meaning I will receive a small percentage commission from these manufacturers at no cost to you. This will allow me to add more content to my YouTube channel and help out a lot. Thank you.

Materials Used:

Dies

  • Hero Arts – My Monthly Hero Kit – May 2022 – Kitchen Dies

Stamps

  • Hero Arts – My Monthly Hero Kit – May 2022 – Clear Sentiment Stamps & Rubber Background Stamp
  • Paper Discovery – A5 Stamp Set – Cosy Kitchen – Simple Food
  • Scrapbook and Cards Today’s Jolly Holiday workshop kit – Clear Stamps

Papers

  • Bazzill – 8.5×11 Cardstock – Tiara -18-1002
  • Craft Consortium – 6×6 Double-Sided Cardstock – Over The Rainbow
  • Graphic 45 – 8×8 inch Double-Sided Papers – β€˜Twas The night Before Christmas
  • Honey Bee Stamps – 6 x 8.5 inch Double-Sided Papers – Grain and Grunge
  • Silver Foil Cardstock
  • Black, Blue, Orange and White Cardstock
  • Fraser Papers for William House – A2 Envelope – Genesis Text Milkweed Smooth

Ink

  • Hero Arts – Alcohol-Marker Friendly Ink Pad – Intense Black
  • Ranger – Tim Holtz – Distress Ink- Vintage Photo
  • Stampin’ Up – Classic Ink Pad – Cherry Coble & Shaded Spruce
  • Creative Craft Products – Alcohol Markers – Dual Tipped – 33 Meion Yellow, 38 Pale Yellow, 52 Deep Green, 59 Pale Green, 76 Sky Pale, & WG1 Warm Grey
  • Gel Pens – Silver
  • Sharpie – Permanent Marker – Chisel Tip – Black
  • Sharpie – Permanent Marker – Ultra Fine Tip – Black & Red
  • Sakura – Gelly Roll Pen – Medium – White

Adhesives

Tools

  • Die Cutting Machine
  • Bone Folder
  • Stamping Platform
  • Brutus Monroe – Stick & Stamp Mat
  • LDRS – Stampendable Stamping Tool
  • Stamping Blocks used as paperweights
  • Scissors
  • We R Memories – QuickStick
  • Tweezers
  • Altenew – Detail Blending Brush- 5
  • Paper Masking Tape

Day 5 of 12 Days of Christmas Ovens

It’s Day 5 of my 12 Days of Christmas Ovens.

I’m using Tim Holtz’s Retro Oven to create this tri-fold shaker card.

Watch video above for a tutorial on how to make the card.

Cardbase: Start with a 9 x 5-inches rectangle of white 65lb. cardstock. Score and fold at 3-inches and 6-inches.

Oven: Cut out two oven base piece from red cardstock covered with clear packing tape. Cut decorative oven pieces for each stove from silver, white and black. (I used cardboard packaging from some Tim Holtz protucts for the white and black pieces.)

Sentiments: Stamp the Paper Discovery β€œEat Drink & be merry” inside the last oven window panel. Use other sentiment stamps on other middle panels. (I used β€œFill your heart with joy” from Scrapbook and Cards Today’s Jolly Holiday workshop kit.)

Envelope: The card fits into an A2 envelope.

___________________________________

Thank you for experiencing this blog post.

I hope this inspires you and makes you smile.

Please like and leave comments 😊

___________________________________

Disclaimer: Karen Burniston products are provided free of charge by the manufacturer for review and use. All other items were personally purchased. Compensated affiliate links used where or when possible, meaning I will receive a small percentage commission from these manufacturers at no cost to you. This will allow me to add more content to my YouTube channel and help out a lot. Thank you.

Materials Used:

Dies

  • Sizzix – Thinlits by Tim Holtz – Retro Oven

Stamps

  • Paper Discovery – A5 Stamp Set – Cosy Kitchen – Simple Food
  • Scrapbook and Cards Today’s Jolly Holiday workshop kit – Clear Stamps

Papers

  • Bazzill – 8.5×11 Cardstock – Tiara -18-1002
  • Silver Foil Cardstock
  • Coated Spackled Black & White Cardboard Packaging
  • Acetate 3×3 inches
  • Black, BrownsRed and White Cardstock
  • Fraser Papers for William House – A2 Envelope – Genesis Text Milkweed Smooth

Ink

Adhesives

Tools

  • Die Cutting Machine
  • Bone Folder
  • Stamping Platform
  • LDRS – Stampendable Stamping Tool
  • This Calls For Confetti – It’s No Secret Anti-Static Powder Tool
  • Stamping Blocks used as paperweights
  • Scissors
  • We R Memories – QuickStick
  • Tweezers
  • Glue Eraser
  • Paper Masking Tape

Day 4 of 12 Days of Christmas Ovens

It’s Day 4 of my 12 Days of Christmas Ovens.

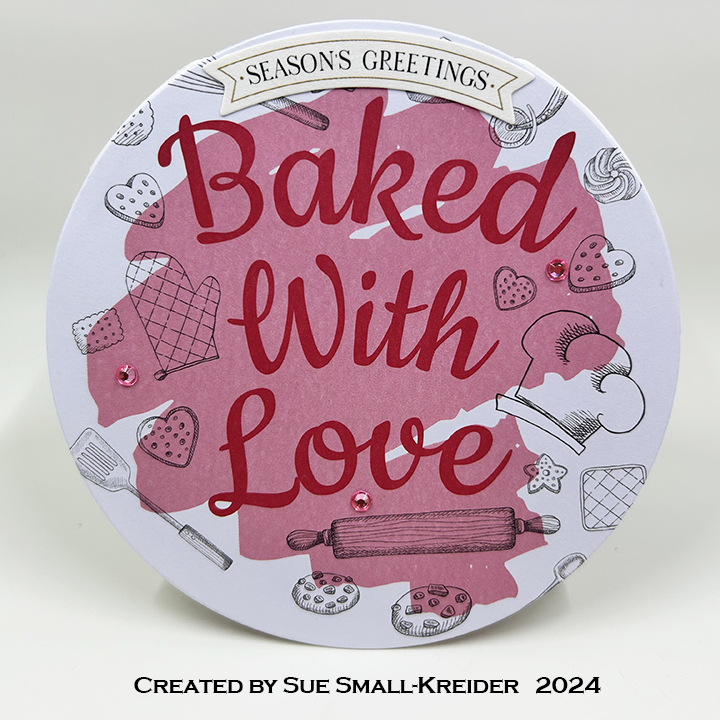
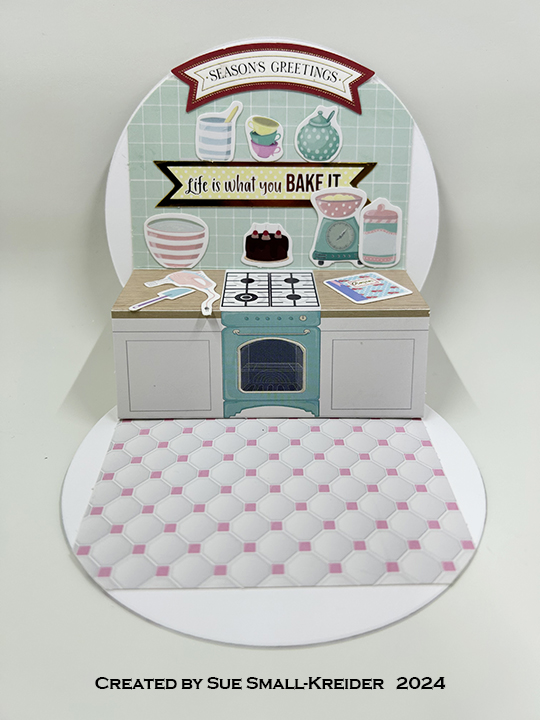
I’m using a card kit from Papercraft Essentials Magazine, issue 197, April 2021.

Watch video above for a tutorial on how to make the card.

Cardbase: I cut a cardbase using a folded over piece of 8.5×11-inch white 65 lb. cardstock and a 4.5-inch circle die.

Sentiments: Sentiments came from the kit and the arched banner “Season’s Greetings” is an Anna Griffin sticker that I separated into two banners.

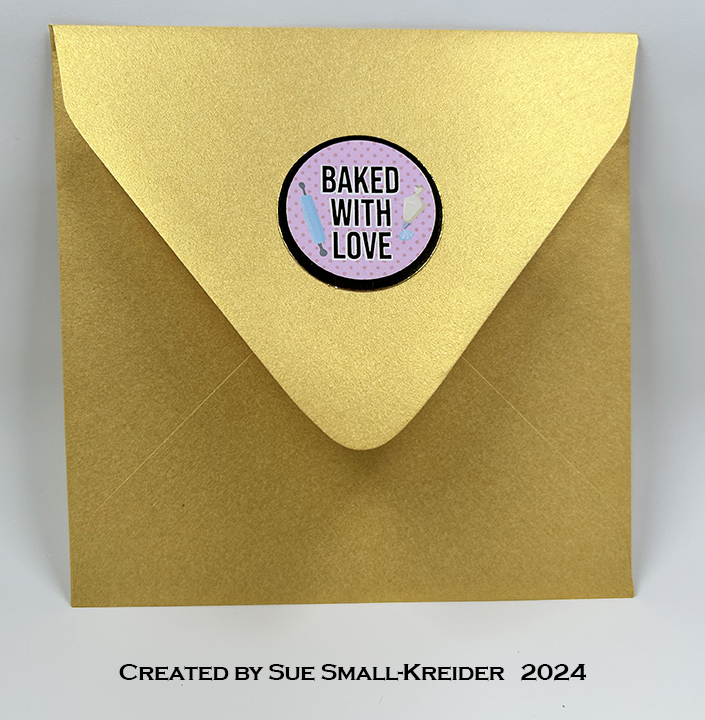
Envelope: The envelope is a 6-inch square envelope from my stash.

___________________________________

Thank you for experiencing this blog post.

I hope this inspires you and makes you smile.

Please like and leave comments 😊

___________________________________

Disclaimer: Karen Burniston products are provided free of charge by the manufacturer for review and use. All other items were personally purchased. Compensated affiliate links used where or when possible, meaning I will receive a small percentage commission from these manufacturers at no cost to you. This will allow me to add more content to my YouTube channel and help out a lot. Thank you.

Materials Used:

Dies

  • Hero Arts – Infinity Dies – Circle

Papers

  • Papercrafts Essentials Magazine, issue 197, April 2021 – Baked With Love
  • White Cardstock
  • 6-inch Square Envelope – Golden
Adhesives

  • Neutral PH Adhesive by LINECO
  • Fine-Tip Glue Bottle

Tools

  • Die Cutting Machine
  • Scissors
  • Paper Masking Tape

Day 3 of 12 Days of Christmas Ovens

It’s Day 3 of my 12 Days of Christmas Ovens.

I’m using dies by Elizabeth Craft Designs to create this Christmas oven card.

Watch video above for a tutorial on how to make the card.

Cardbase: Cut a 4 1/4 x8 1/2-inch rectangle of white cardstock and fold in half to form a 4 1/4-inch wide by 5 1/2-inch tall top fold A2 size cardbase. Cover the outside panels with decorative paper.
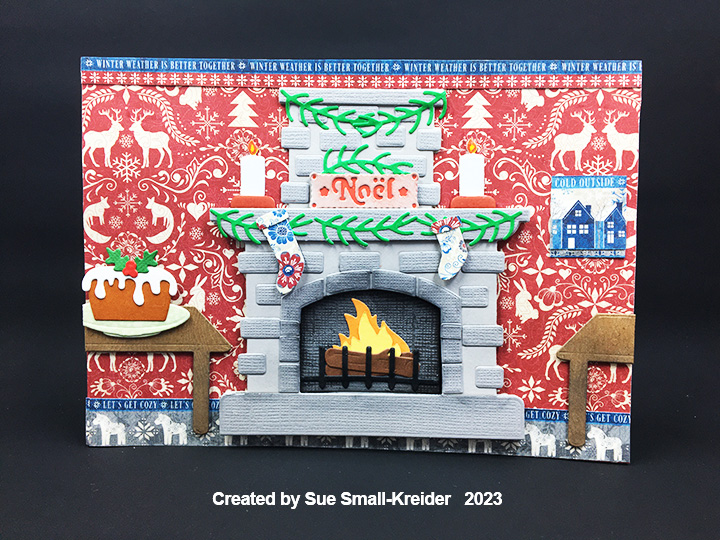
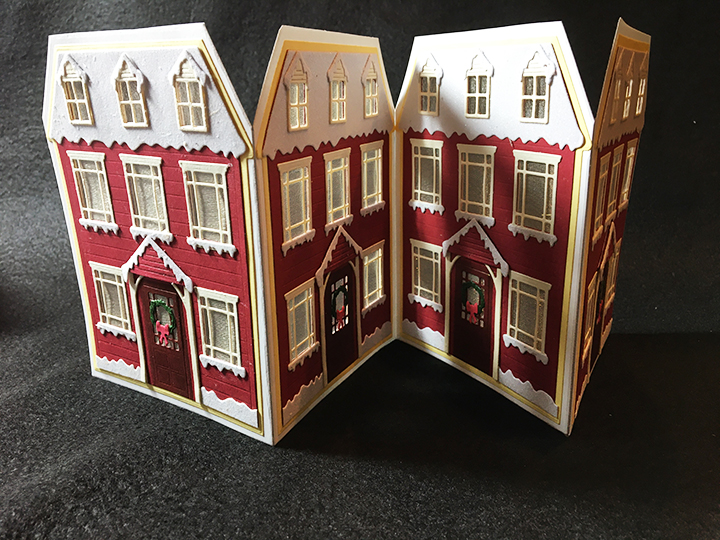
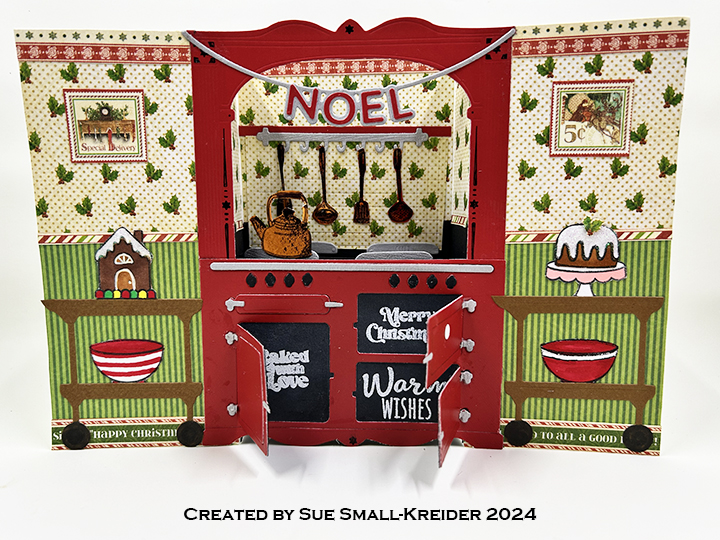
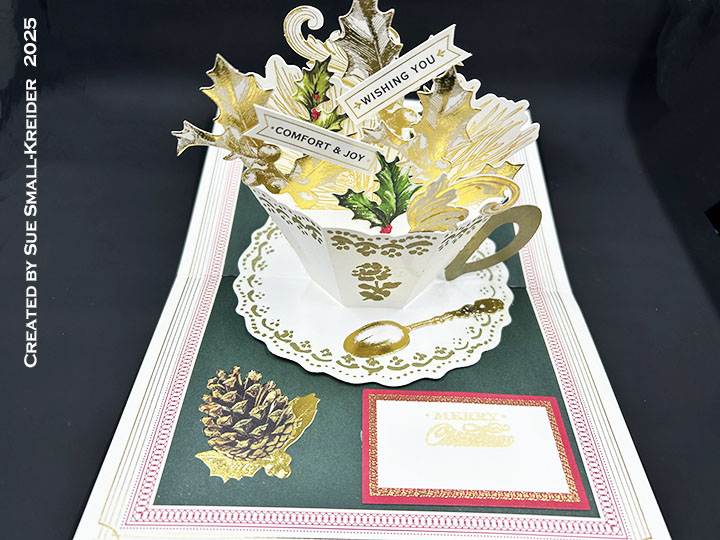
Oven: Use the Kitchen die set package image assemble the oven.

Cake: Cut one covered pot in brown and another in green. Cut off all the handles on each piece. Trim the lid off the green to make a plate for the cake to sit on. Add Nuvo drops for icing on cake top.

Sentiments: The sentiments on the front of the card are from The Greetery‘s Bake Someone Happy stamp set. The inside sentiment is from Scrapbook and Cards Today‘s Jolly Holiday workshop kit.

Envelope: The card fits into an A2 envelope. Its back flap is decorated with a Christmas cake made using the Let’s Bake die set.

___________________________________

Thank you for experiencing this blog post.

I hope this inspires you and makes you smile.

Please like and leave comments 😊

___________________________________

Disclaimer: Karen Burniston products are provided free of charge by the manufacturer for review and use. All other items were personally purchased. Compensated affiliate links used where or when possible, meaning I will receive a small percentage commission from these manufacturers at no cost to you. This will allow me to add more content to my YouTube channel and help out a lot. Thank you.

Materials Used:

Dies

  • Elizabeth Craft Designs – Metal Dies – Kitchen – 1993
  • Elizabeth Craft Designs – Metal Dies – Let’s Bake – 1994

Stamps

  • The Greetery – Clear Stamps – Bake Someone Happy
  • Scrapbook and Cards Today’s Jolly Holiday workshop kit – Clear Stamps

Papers

  • Graphic 45 – 8×8 Double-Sided Cardstock – Let’s Get Cozy
  • Silver Foil Cardstock
  • White, Red, Green, Brown and Black Cardstock
  • Fraser Papers for William House – A2 Envelope – Genesis Text Milkweed Smooth

Ink

  • Hero Arts – Alcohol-Marker Friendly Ink Pad – Intense Black
  • Stampin’ Up – Classic Ink Pad – Cherry Cobbler
  • Sharpie – Permanent Marker – Fine Tip – Red
  • Sharpie – Permanent Marker – Ultra Fine Tip – Black & Green
  • Sakura – Gelly Roll Pen – Medium – White

Adhesives

  • Neutral PH Adhesive by LINECO
  • Fine-Tip Glue Bottle

Tools

  • Die Cutting Machine
  • Stamping Platform
  • Brutus Monroe – Stick & Stamp Mat
  • LDRS – Stampendable Stamping Tool
  • Stamping Blocks used as paperweights
  • Scissors
  • Paper Masking Tape

Miscellaneous

  • Nuvo Dream Drops – Golden Shimmer

Day 2 of 12 Days of Christmas Ovens

It’s Day 2 of my 12 Days of Christmas Ovens.

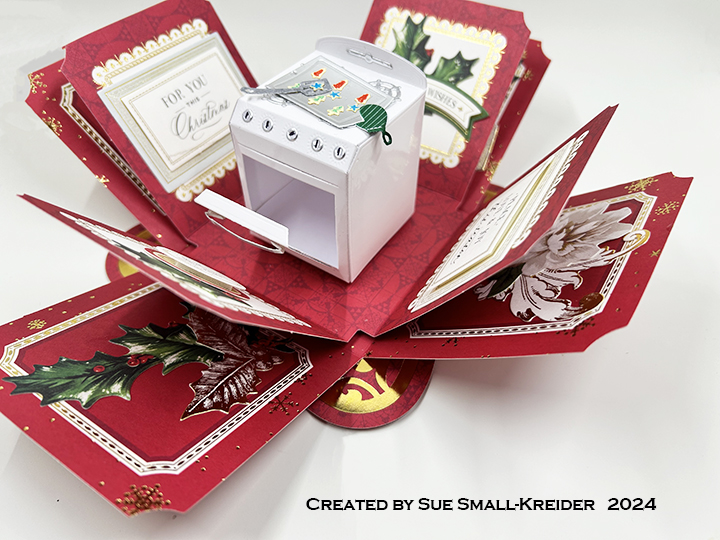
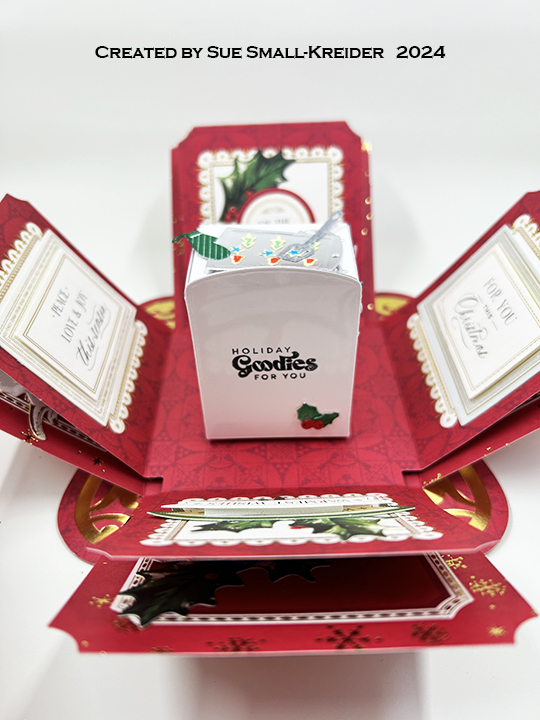
I’m using a Gingerbread House Explosion Box kit by Anna Griffin and dies and stamps by The Greetery to make this special treat box and Christmas decoration.

Watch video above for a tutorial on how I made the Box.

___________________________________

Thank you for experiencing this blog post.

I hope this inspires you and makes you smile.

Please like and leave comments 😊

___________________________________

Disclaimer: Karen Burniston products are provided free of charge by the manufacturer for review and use. All other items were personally purchased. Compensated affiliate links used where or when possible, meaning I will receive a small percentage commission from these manufacturers at no cost to you. This will allow me to add more content to my YouTube channel and help out a lot. Thank you.

Materials Used:

Dies

  • The Greetery – Wafer Thin Steel Dies – Bake Someone Happy

Stamps

  • The Greetery – Clear Stamps – Bake Someone Happy

Papers

  • Anna Griffin – Gingerbread House Explosion Box
  • Anna Griffin – Present Pop-Up Card making Kit – Ephemera & Sentiment Stickers
  • Anna Griffin – Carte Noel – Sentiment Stickers
  • The Paper Cut – 8.5×11 Glossy 10 PT Kromekote Cardstock – White
  • Silver Foil Cardstock
  • Acetate/Clear Plastic

Ink

  • Stampin’ Up – Classic Ink Pad – Real Red & Shaded Spruce
  • StazOn – Solvent Ink – Jet Black
  • American Crafts – Metallic Marker – Silver
  • Gel Pens – Blue, Green and Red
  • Mont Marte – Dual Tip Art marker – E2 Raw Sienna
  • Sharpie – Permanent Marker – Ultra Fine Tip – Black, Green & Red

Adhesives

  • Neutral PH Adhesive by LINECO
  • Fine-Tip Glue Bottle
  • Double-Sided Tape – 1/8-inch wide
  • Foam Squares

Tools

  • Die Cutting Machine
  • Heat Tool
  • Stamping Blocks
  • Scissors
  • We R Memories – QuickStick
  • Paper Masking Tape

Miscellaneous

  • Candy or Small Baked Treat

Day 1 of 12 Days of Christmas Ovens

It’s Day 1 of my 12 Days of Christmas Ovens.

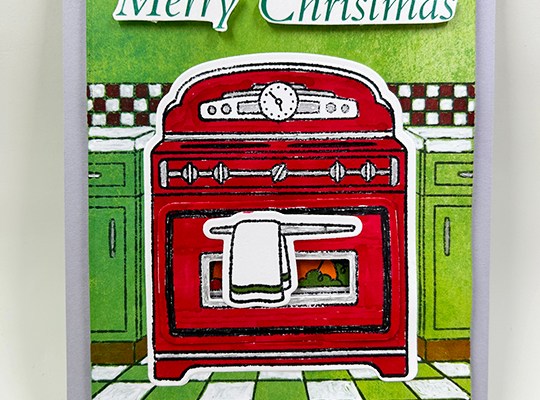
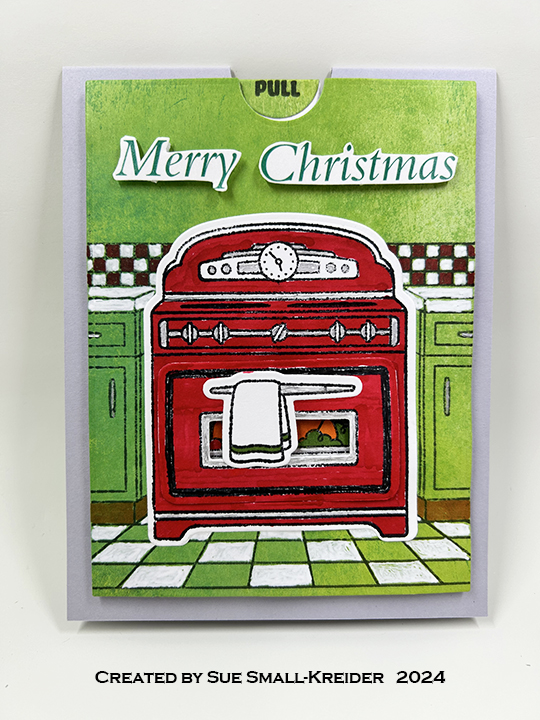
I’m using a stamp and die set by Diamond Press to create this interactive card that lets you pull the tab to open the oven door and reveal a Christmas turkey. (Because this kit doesn’t include any holiday sentiments, I had to use ones by other sources.)

Watch video above for a tutorial on how to make the card.

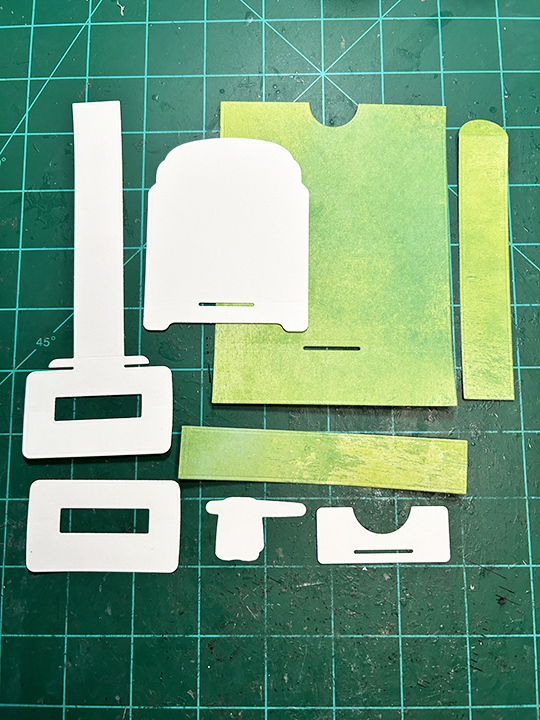
Cardbase: I used a purchased top-fold A2 size (2.25 x5.5-inch) gray cardbase and punched a half circle opening in the top center for a thumb hole to help with the pull tab. To help with the weight of the front, I added a 4×5.25-inch piece of the same green cardstock I had used for the front matching ups the thumb hole notches.

Oven: I watched an assembly video before I started my card. Then I cut the pieces I needed from green colored cardstock and white 65 lb. white cardstock.

Sentiments: For my original card, the outside β€œMerry Christmas” sentiment, I cut the words from a commercial Christmas card. For the card in my process video, I used stamps from the Greetery saying “Warmest Winter Wishes.” Inside both cards is β€œHappy Holidays, a die-cut sentiment by Karen Burniston in black.

Envelope: The card fits into an A2 envelope.

___________________________________

Thank you for experiencing this blog post.

I hope this inspires you and makes you smile.

Please like and leave comments 😊

___________________________________

Disclaimer: Karen Burniston products are provided free of charge by the manufacturer for review and use. All other items were personally purchased. Compensated affiliate links used where or when possible, meaning I will receive a small percentage commission from these manufacturers at no cost to you. This will allow me to add more content to my YouTube channel and help out a lot. Thank you.

Materials Used:

Dies, Punches & Stamps

Papers

  • Craft Consortium – 6×6 Double-Sided Cardstock – Over The Rainbow
  • Ranger – Perfect Cardstock – Wendy Vecchi Designer Series – Perfect Grey 4.25” x 5.5” top-Fold Cards
  • White and Black Cardstock
  • Fraser Papers for William House – A2 Envelope – Genesis Text Milkweed Smooth

Ink

  • Memento – Fade-Resistant Dye Ink – Tuxedo Black
  • Creative Craft Products – Alcohol Markers – Dual Tipped – 15 Geranium, GG3 Green Grey
  • Mont Marte – Dual Tip Art marker – E2 Raw Sienna
  • Gel Pen – Silver
  • Pigma – Mircon 01 Fine Tip Pen – Black
  • Sharpie – Permanent Marker – Fine Tip – Green
  • Sharpie – Permanent Marker – Ultra Fine Tip – Red
  • Sakura – Gelly Roll Pen – Medium – White

Adhesives

Tools

  • Die Cutting Machine
  • Stamping Platform
  • LDRS – Stampendable Stamping Tool
  • Stamping Blocks used as paperweights
  • Scissors
  • Pencil
  • Paper Masking Tape

Days of Christmas

In past years I have done Christmas card series. Here are links to some of my series.

ADVENT CALENDARS

12 Days of Christmas Trees

7 Days of Christmas Fireplaces

7 days of Christmas Houses

12 Days of Christmas Ovens

WEEK OF GOOD CHEER

Nutcrackers

___________________________________

Thank you for reading this blog post.

I hope this inspires you and makes you smile.

Please like and leave comments 😊

___________________________________

A Holly Jolly Christmas

I recently attended a virtual cardmaking workshop organized by Scrapbook and Cards Today. It was a delightful day of making Christmas cards using a kit which included 45 cutting dies, 6×8 set of stamps, cardstock, specialty papers and a packet of sequins. The instructors included: Cathy Zielske, Meghann Andrew, Carissa Wiley and a special appearance by Jennifer McGuire who all designed cards using the kit. Below are my nine cards that I made during the day.

___________________________________

Thank you for reading this blog post.

I hope this inspires you and makes you smile.

Please like and leave comments 😊

___________________________________

Gift Card Box with Three Mini Pop-Up Cards

This card was made for Craft Roulette #224 whose parameters included mini cards, β€œa pretty day” colors, scent(s)/nose(s) and packaging.

I chose to make a gift card box with three mini pop-up cards to celebrate Christmas. Karen Burniston Dies were used to create the box and pop-up mechanisms.

Cardbases: Mini cards are 2 x 7-inch rectangles of double-sided papers folded in half and trimmed to fit inside the box.

Box: Β Using Karen Burniston’s Candy Hearts Box die set, cut one of the box die. Assemble as shown in the video at the bottom of the linked page. Glue journaling cards to decorate the box.

___________________________________

Thank you for reading this blog post.

I hope this inspires you and makes you smile.

Please like and leave comments 😊

___________________________________

Materials Used:

Dies

Papers

  • Graphic 45 – 8×8 Double-Sided Cardstock – β€˜Twas The Night Before Christmas
  • Silver Foil Cardstock – Recycled Packaging
  • White, Green and Brown Cardstock

Ink

Adhesives

Tools

  • Die Cutting Machine
  • Stamping Blocks used as paperweights
  • Scissors
  • Paper Masking Tape