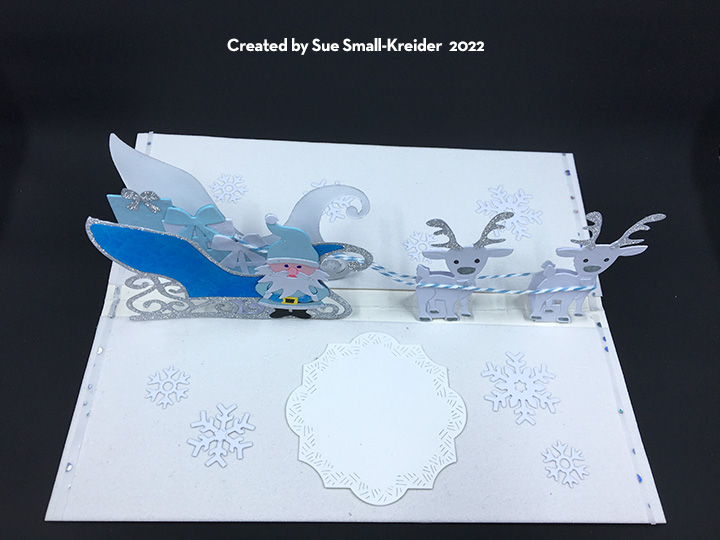
I had so much fun making a gingerbread house ornament for the Karen Burniston Design Team April 2026 Challenge using the Stage Pop-Up die set, that I made another Stage Pop-Up Christmas card with the Snowman Pop-Up and Penguin and Reindeer Snowman Add-Ons die sets. The twinkly lights sentiment from the Christmas Wishes stamp set made me think of adding Pear Blossom Press EZ Lights to the card.
Watch the process video to see how I made this card.
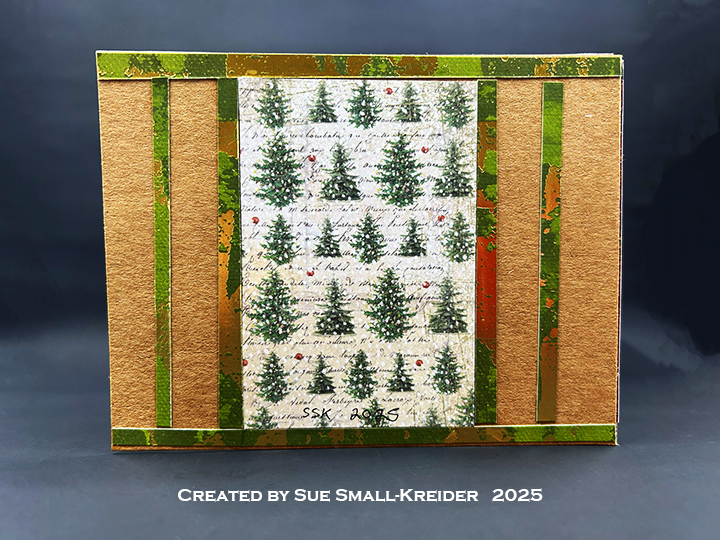
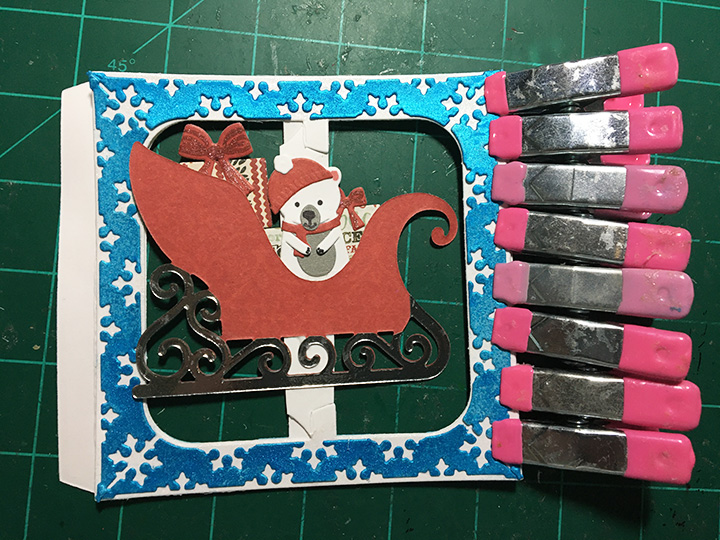
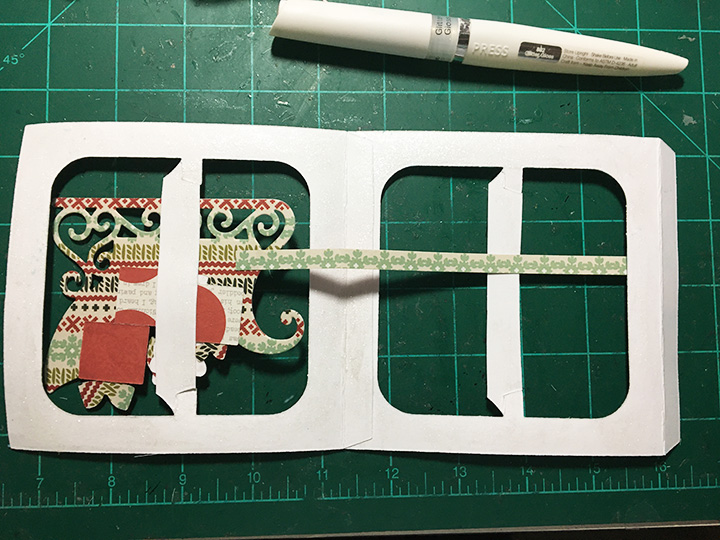
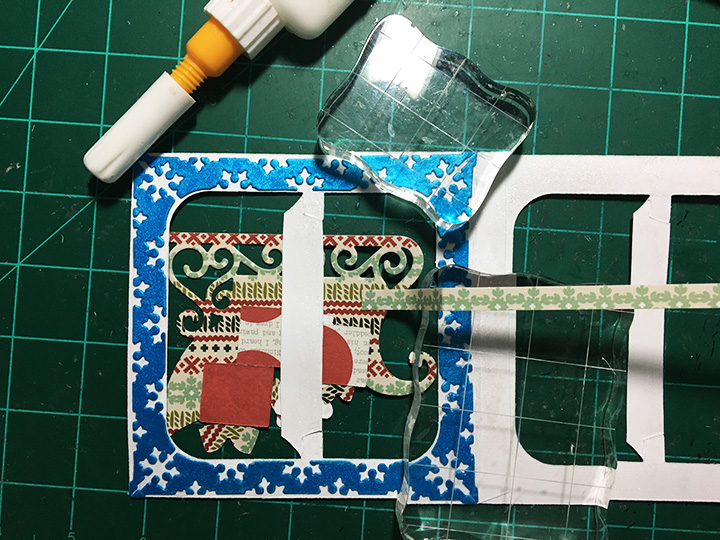
Pop-Up Stage Base: (Watch the assembly video at the bottom of the linked page for Stage Pop-Up.) Cut two base pieces and two side pieces from the Stage Pop-Up die set from decorative cardstock. Cut three decorative rectangles from the Stage Pop-Up set in white. Cut two of the base polygon decorative pieces from white cardstock and two decorative papers. Save the white pieces to be stamped with a sentiments before gluing to the bottom and side of the stage base.
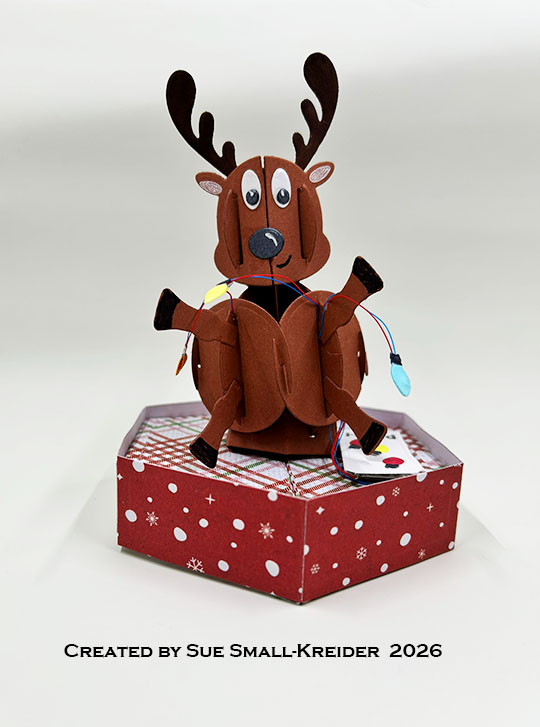

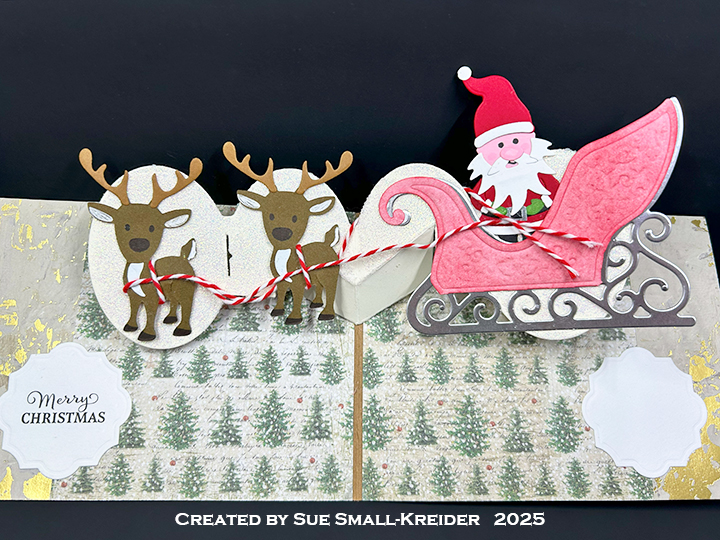
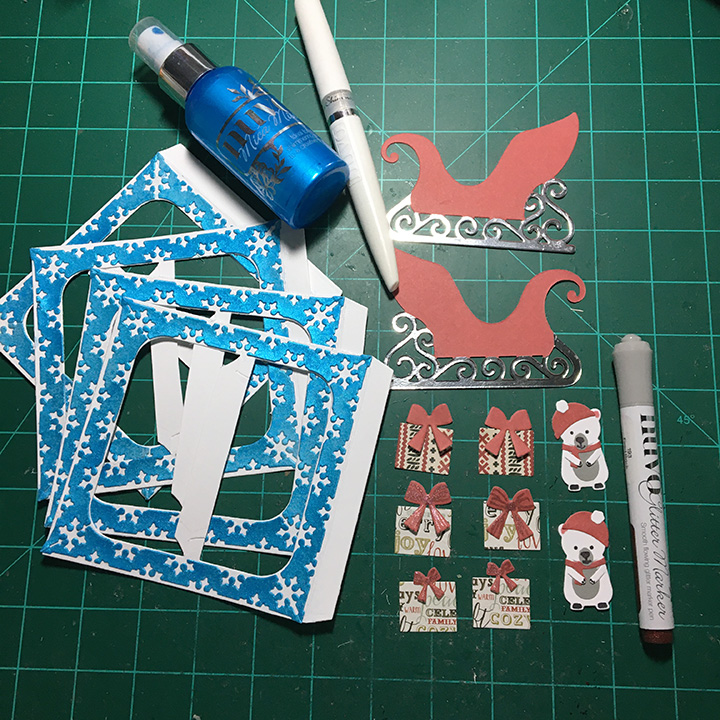
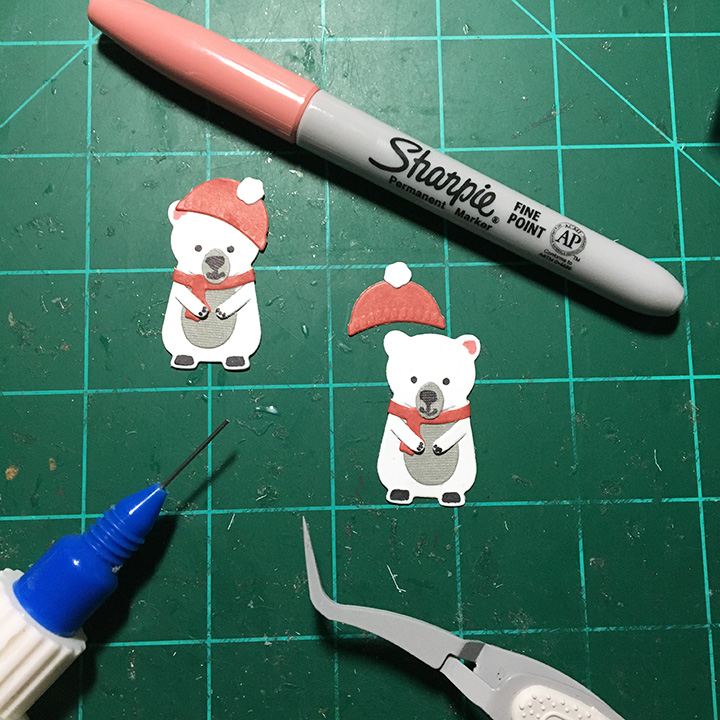
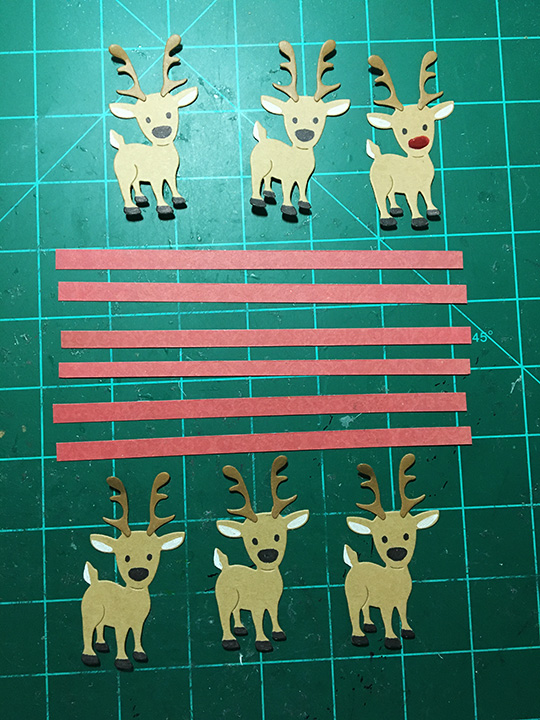
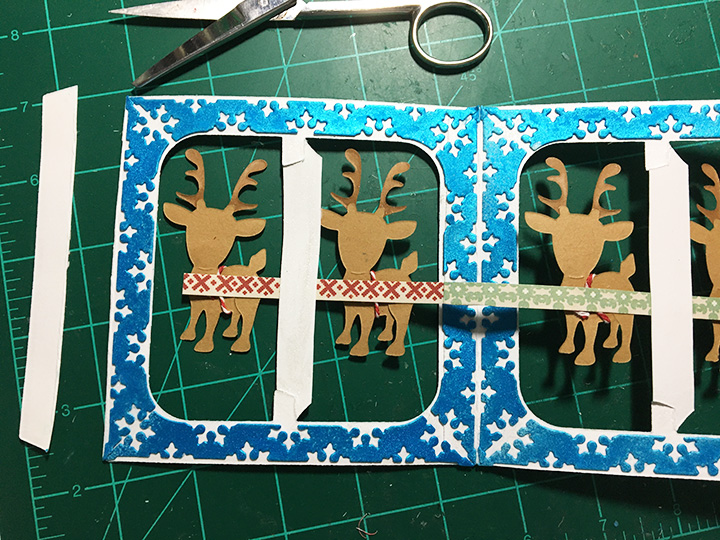
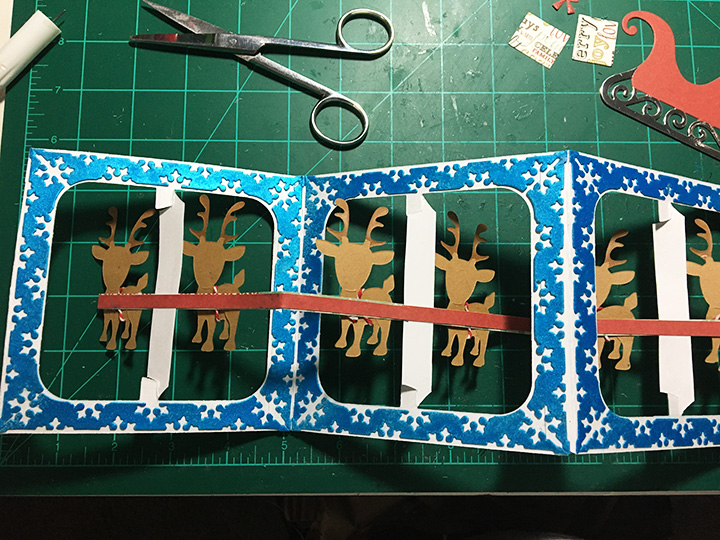
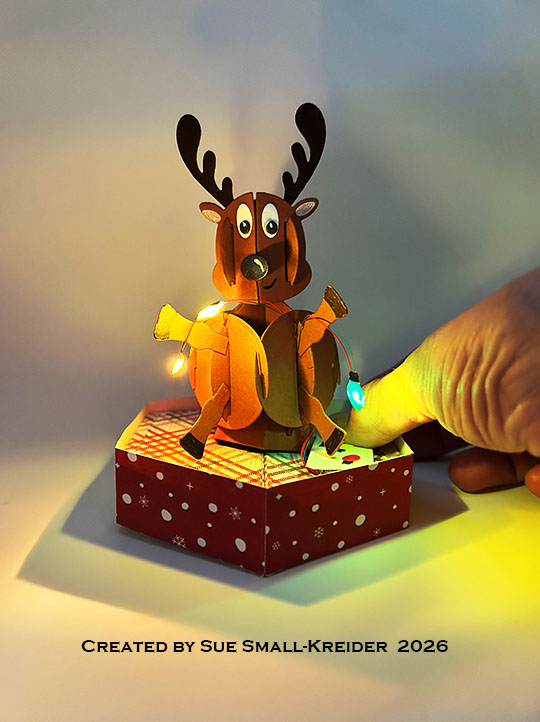
Reindeer Pop-Up: (Watch the assembly videos at the bottom of the linked pages for Snowman Pop-Up and Penguin and Reindeer Snowman Add-Ons and the video above for alterations to the installation of the reindeer.) Cut from brown cardstock two set of the circle sides, one set of snowman body pieces, and one base strip from the Snowman Pop-Up. From the Penguin and Reindeer Snowman Add-Ons set, cut one set of antlers, two sets of legs, one set of face pieces and one tail from brown cardstock. From white and black cardstock cut nose and eye pieces. Use the die stencil features to color leg hooves, and add highlights to eyes and nose. Assemble reindeer and add to stage base as shown in video above.
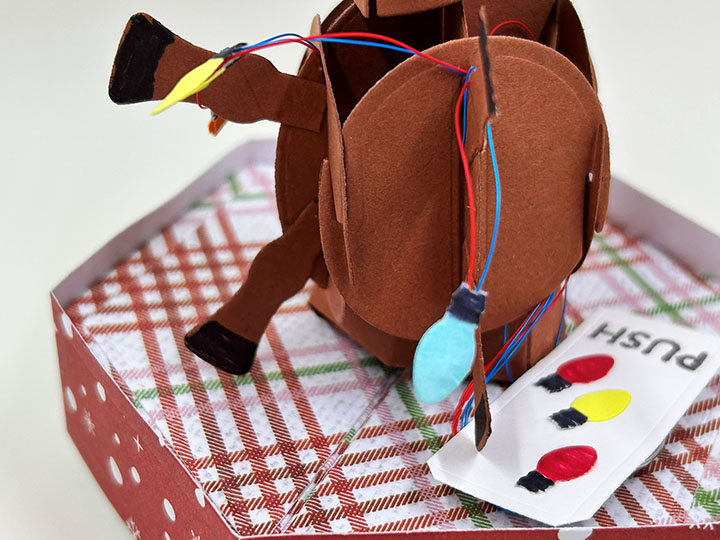
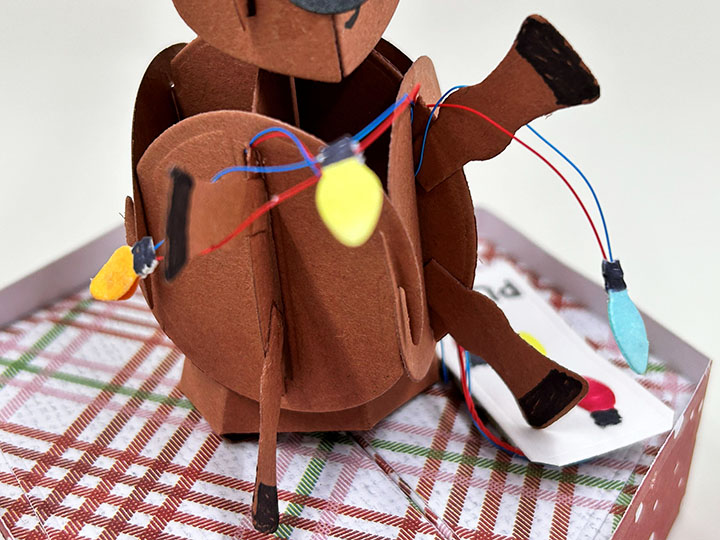
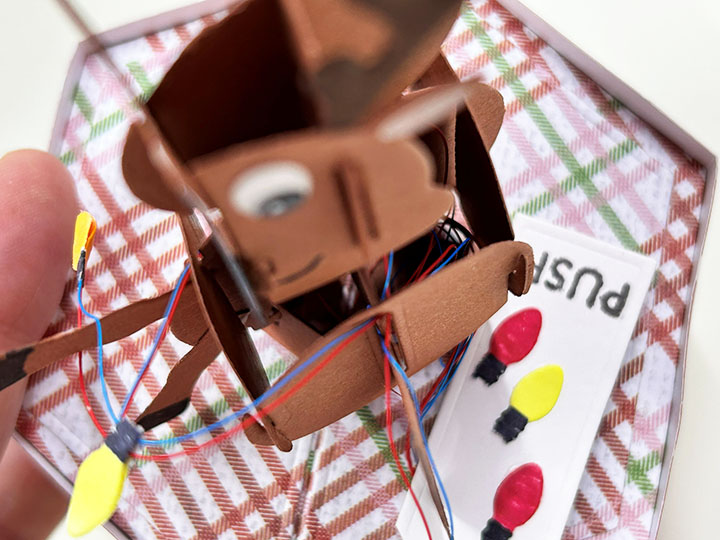
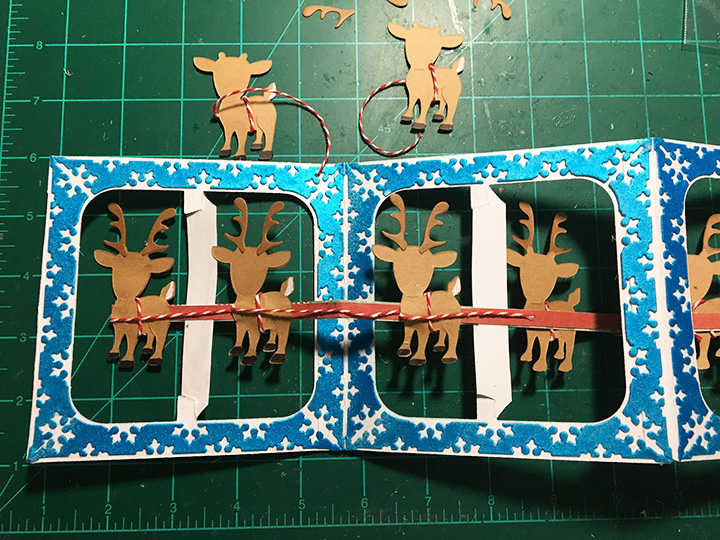
Lights: From the Penguin and Reindeer Snowman Add-Ons set, cut two sets of light bulbs from white and color with markers. Use one set of Pear Blossom Press EZ Lights which are available from the KB Riley on-line shop. (Watch the video above for how the lights were added to the reindeer.)
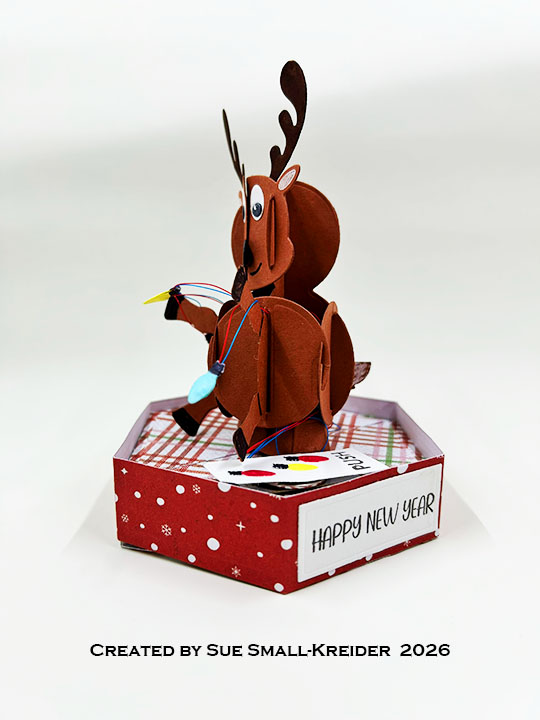
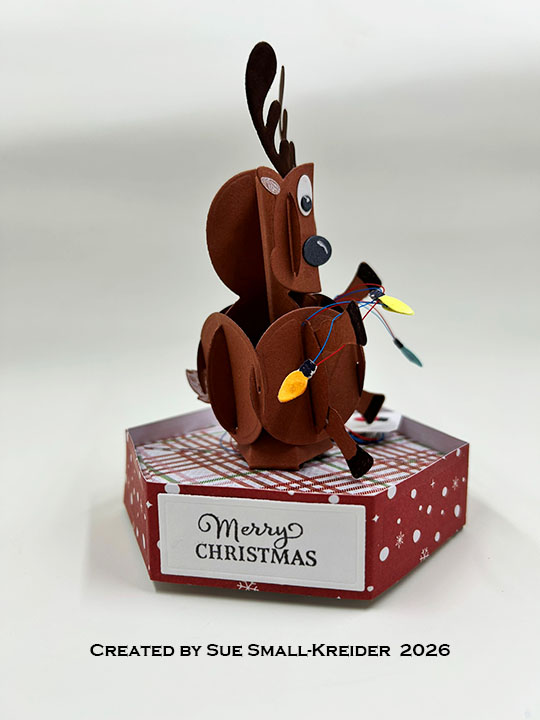
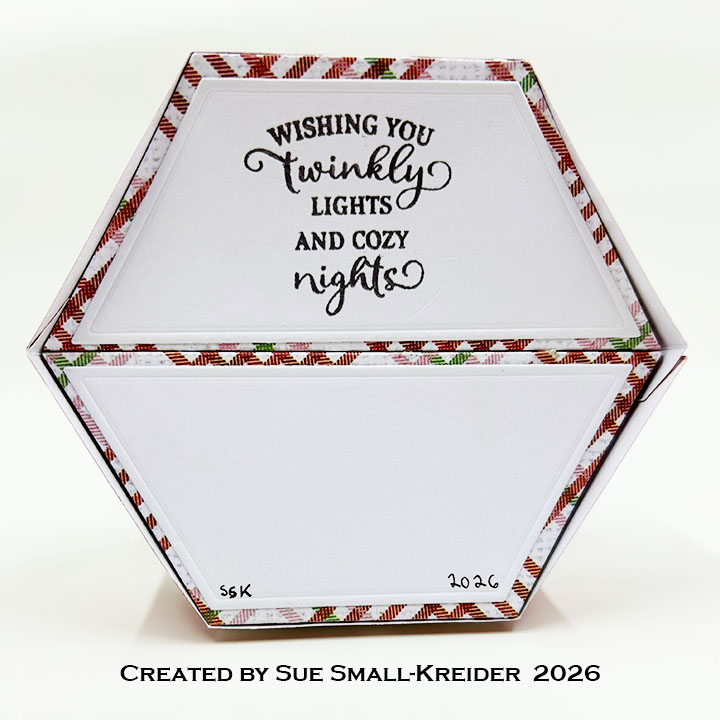
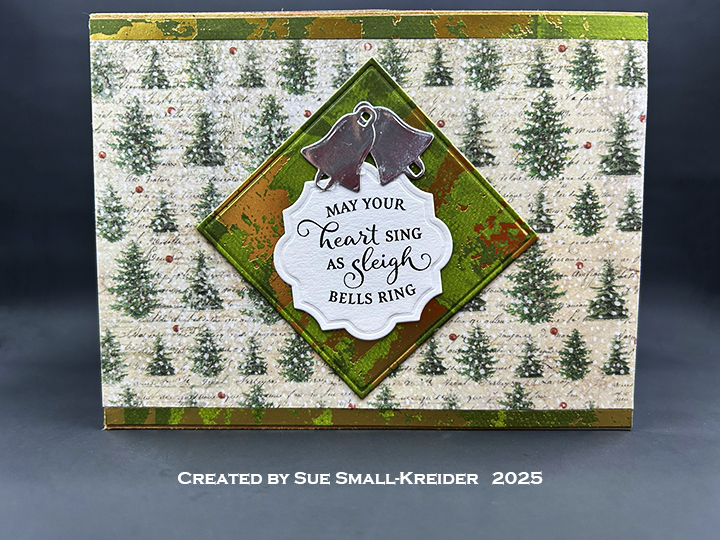
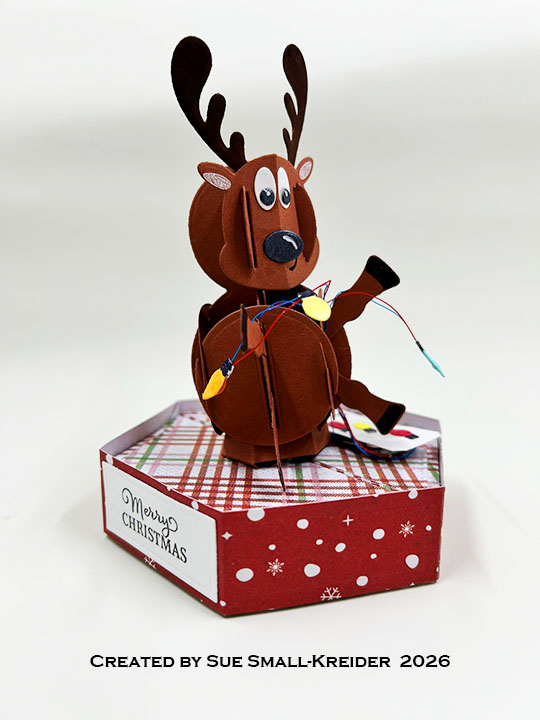
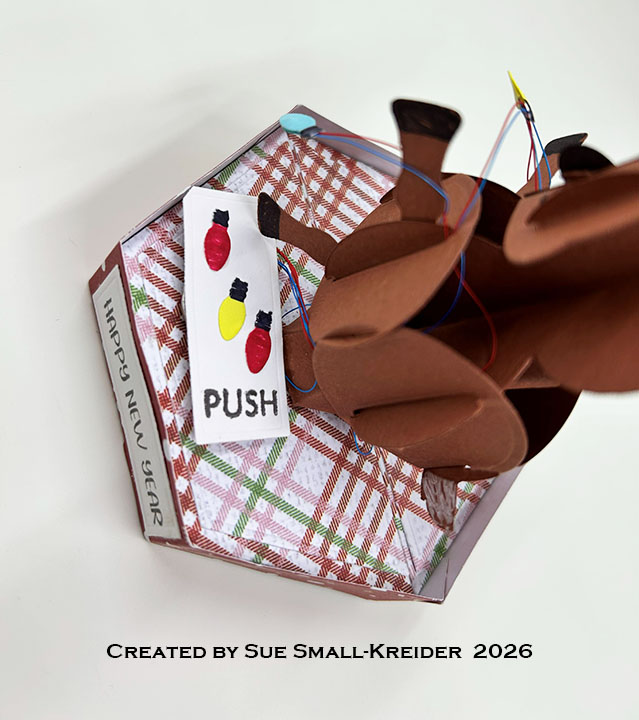
Sentiments: The bottom sentiment is stamped with brown ink and comes from Christmas Wishes as is the side “Merry Christmas.” the “Happy New Year” is from Season of Cheer.
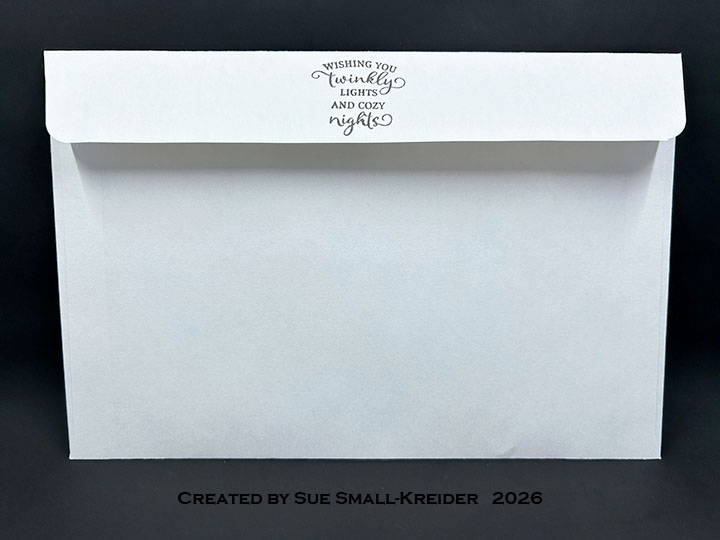
Envelope: The card is about 5 3/4 x 6 1/4-inches so it fits into a catalog envelope of 6×9-inches with the Twinkly Lights sentiment stamped on its back flap.
___________________________________
I hope this inspires you and makes you smile.
Please subscribe, like and leave comments 😊
Follow my YouTube channel, Instagram and Pinterest as well.
___________________________________
Disclaimer: Karen Burniston products are provided free of charge by the manufacturer for review and use. All other items were personally purchased. Compensated affiliate links used where or when possible, meaning I will receive a small percentage commission from these manufacturers at no cost to you. This will allow me to add more content to my YouTube channel and help out a lot. Thank you.
Materials Used:
Dies
- Karen Burniston in cahoots with Riley and Company – Stage Pop-Up – 1332
- Karen Burniston in cahoots with Riley and Company – Penguin and Reindeer Snowman Add-Ons – 1290
- Karen Burniston in cahoots with Riley and Company – Snowman Pop-Up – 1169
Stamps
- Karen Burniston in cahoots with Riley and Company – Clear Stamps – Christmas Wishes
- Karen Burniston in cahoots with Riley and Company – Clear Stamps – Season of Cheer
Papers
- Fun Stampers Journey – 8.5×11-inch Cardstock – Pumpkin Bread
- Recollections – 12×12 inch Single-Sided Cardstock – Christmas Noel
- Black and White Cardstock
- Catalog (6×9) Envelope – White
Ink
- Memento – Fade Resistant Dye ink – Espresso Truffle
- Pigma – Mircon 005 Fine Tip Pen – Black
- Sakura – Gelly Roll Pen – Medium – White
- OLO – Markers – Dragon Fruit, Ginger, Marigold & Sky
- Sharpie – Permanent Marker – Ultra Fine Tip – Black
- Stampin’Up – Stampin’ Write Marker – Chocolate Chip
Adhesives
- Neutral PH Adhesive by LINECO
- Fine-Tip Glue Bottle
- Pear Blossom Press – Sticky Spots (large glue dots)
Tools
- Spellbinders Platinum Die Cutting Machine
- Scrapbook.com – Magic Mat
- Scrapbook.com – Mint Tape
- Paper Trimmer
- Stamping Blocks used as paperweights
- Scissors
- Tweezers
- We R – Precision Press Mini – Stamping Platform
- We R Memories – QuickStick
- Microfiber Cloth
Miscellaneous