Happy Mail

happy Mail card envelop 1

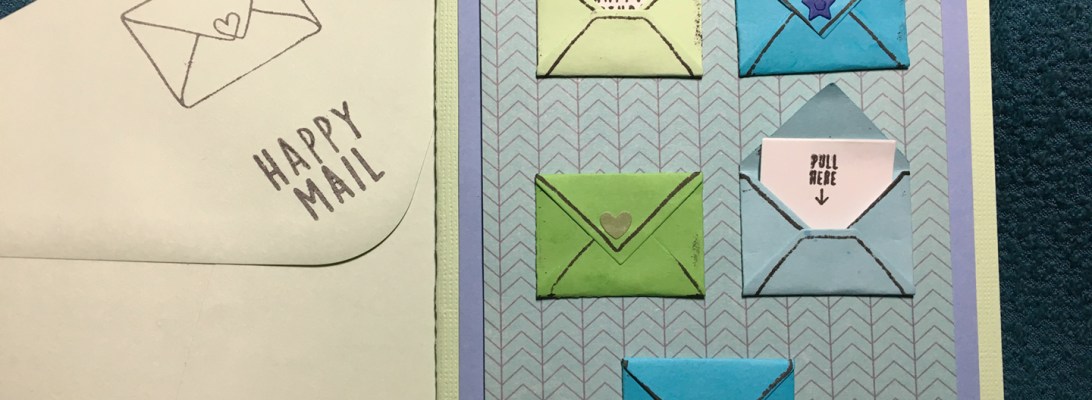
Happy mail is when you get note from someone you haven’t heard from in a while. Happy mail is opening an envelope and getting good news.  Happy mail makes you smile.

I love getting interactive cards. Not only do they stand out as different, but they make me think that someone went to a lot of trouble to design and get the mechanics right on how it works. Concord & 9th’s new Mail Drop stamp and coordinating dies are happy mail for me.

happy Mail card envelop 2

I made this test card from the set as a birthday card, but the other phrases in the set allow for creativity and customization.  Getting the slit in the correct spot on both the envelope and the backing panel took several tries.  I recommend watching this video to get it right the first time.

Long Live Snail Mail!

Cat in the Window

IMG_5625

Cats pop-up everywhere and this card is no exception. The inspiration for this card comes from Juliet and Romeo the two cats who live with the recipient of this card.  The overstuffed chair is one that has been passed down in her family and a favorite of Romeo to curl up and sleep.

IMG_5621The chair is made from Karen Burniston’s 1071-Adirondack Chair with a custom fit slipcover cut from paper inside a large business envelop. The round blue pillow is cut from the front of the envelope and adhered to chair with foam tape. Romeo’s picture was supplied by his human companion and has a tab running thru the chair and attached to the floor. The afghan throw is from Echo Park’s A Perfect Summer by Lori Whitlock and is also attached to chair with foam tape. Wallpaper is from Colorbők’s Brights Photo Mats. The flooring is from Ms. Sparkle & Co. Paperie’s Woodgrain Neutral paper pad. The “Happy Birthday” was cut from black cardstock using Momenta Firefly’s Celebrate Happy Birthday die set 35516 R7. The floorboard molding on wallpaper was a scrap piece of white cardstock scored at the top and bottom edge.

IMG_5615

Front of card has Juliet looking out a window. The window, shutters, flowers and flowerbox are from Poppy Stamps Small Madison Window set no. 1137 and decorated with white gel pen. The window glass is cut from the glassine window of the large business envelope that was upcycled to slipcover chair.  The cat is cut from white cardstock using Karen Burniston’s 1024 – Cat die and then ink blended to get Juliet’s wolf-like grey fur. The “popping up to say” lettering comes from Karen Burniston’s 1027-Word Set 4- Just a Note. The letters were dotted with a black fine point felt tip pen.

See more chair cards below:

Other supplies used:

It’s Baseball Season

IMG_4951

I have a Coach K in my life who has coach hundreds of young men to excel in the game of baseball from Little League through high school teams.  His baseball hero is Roberto Clemente. So when I saw the Carta Bella Paper’s Baseball series I immediately thought of Coach K.IMG_4945

I made an A2 size card with a fold-out shadow box inside including a dangling baseball made from two plastic baseball embellishment stickers stuck together encasing the thread. The batter was cut out as a rectangle with strips add to the sides to adhere using double-sided tape.  A circle die was used to cut the hole for the shadow box.

IMG_4946

I used the scoreboard card for the background of the batter. The Home Run hotdogs sign became the ads you often see around the fences and walls of baseball stadiums. The happy birthday sign was computer generated to match the style of the cards.

The concept of the open center box card was inspired by a MayMay Made it you tube video.


The Upside to Playing

IMG_4989

The upside to playing with new materials is you don’t have to perfect, just have fun with the materials and be creative.  This little pop-up box card has gotten embellished when I’ve gotten some new materials. First, the brown box was just to test out the Lawn Fawn Scalloped Box die set. I had a jar full of tiny rubber stamps I gotten from one of the big craft store chains and used the “Hi!” “celebrate” and “smile” stamps to decorate the side flaps. A new box of neon colored pencils came into play around the stamps.

I set the box on my Inspiration Shelf and forgot about for several months until I got a new box of Prima watercolor pencils (the kind you color and then go over with a wet brush to blend the colors.) I needed something to color and found the Lawn Fawn Little Town Hillside die cut in my bits and pieces stash to color.

Again the box went back on the Inspiration Shelf until I got a tiny snow fall stamp which I tried out on the hillside. (Not sure of the brand or where it is on my crafting desk at this point.)

IMG_5141

My Inspiration Shelf of cards people have sent me, purchased or test cards like the box.

IMG_4989

Lots of Love

IMG_3744

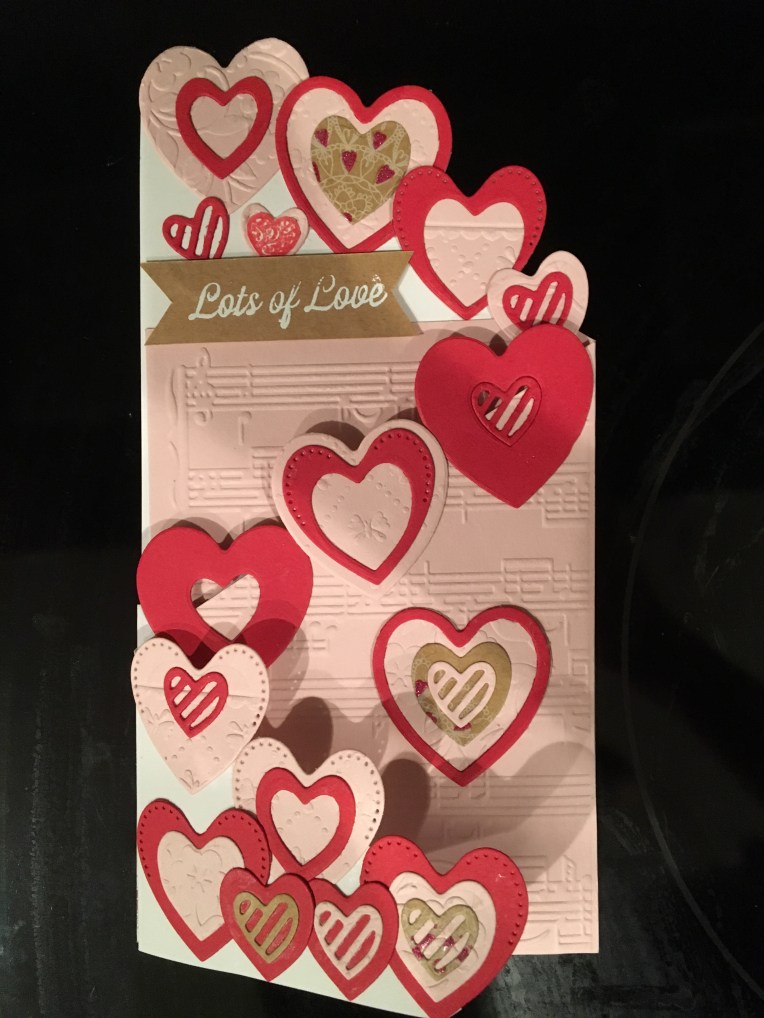
You can never send enough love.  This card was created to send to family far away.  The recipient is very musical so the musical score embossing folder was the basis for this z-fold card. I took the rest of my inspiration from the magazine that the dies came from Papercraft inspirations issue 176.

IMG_3742

I used the pink and red cardstock from my January 2019 Hero Arts kit and a white piece of cardstock cut diagonally from one corner to a point about 2 inches from the opposing corner. The pink hearts were cut from cardstock I had embossed with the folder from the Cardmaking & Papercraft issue 178 “Make an Impression” set. I used the “lots of love” stamp from the same set to stamp and then heat emboss with white embossing powder on to a brown craft paper. The heart stamps were from a  rubber Lil’ Stamps of hearts by Inque Boutique (c)2007. Cards from a Tea Room Memories & More Card Pack were also used for the inside sentiment.

Other Supplies:

  • Scotch Foam Tape
  • Tombow Mono Aqua Liquid Glue
  • Colorbok Glitter Craft Papers
  • Recollections Detail Embossing Powder – Snow
  • Hampton Arts pigment inks of red and silver

Thank You for Your Service

IMG_4933

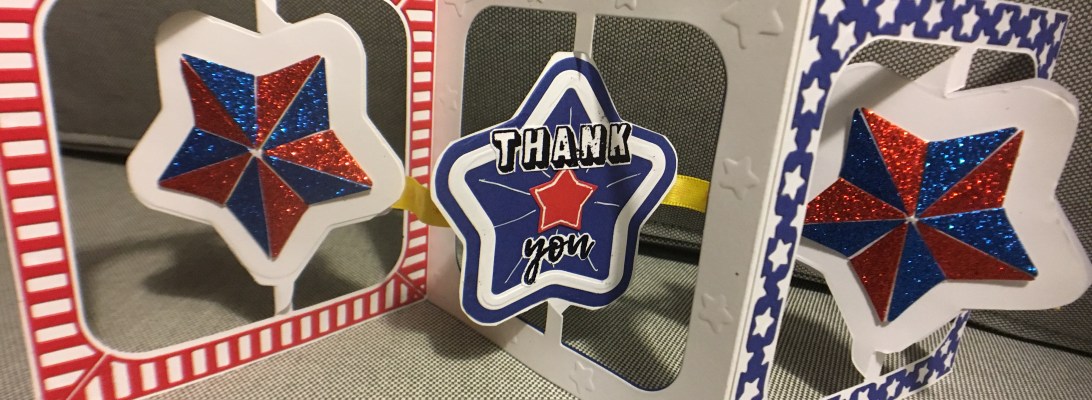
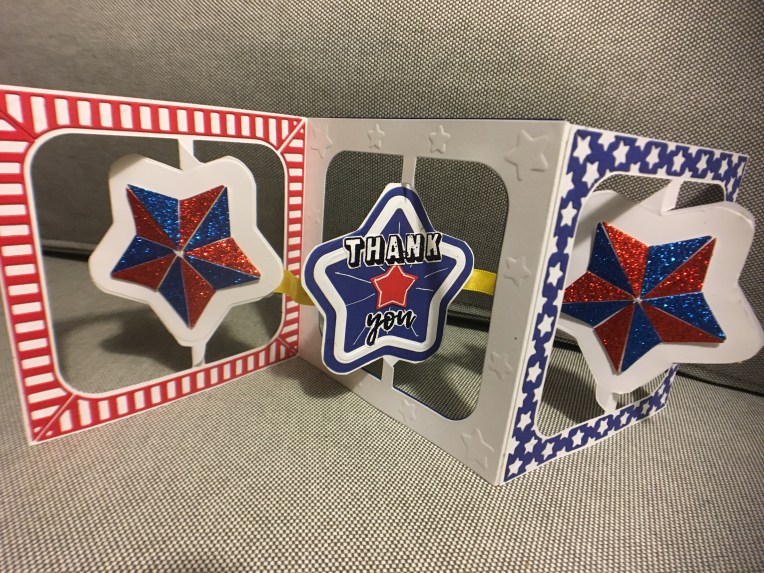
Thanking our military for their service is the theme of this card using a Karen Burniston’s pop-up die set from Elizabeth Craft Designs. The glitter stars are 3D by folding on the score lines and placing a double thickness of foam tape under the center of the star.

IMG_4930

Because this was the first time I had assembled the star accordion card, I accidentally placed the center section with the start being upside-down and the connecting tab on the wrong side. My solution was to cut off all the stars’ tabs and connect them using a yellow ribbon.  My heat embossed “Thank you” was a bit messy so I fussy cut it out and used a white gel pen for emphasis. A red and white checked gingham paper was used to back the stars and cover up the ribbon.

Supplies:


Just For You


IMG_4128

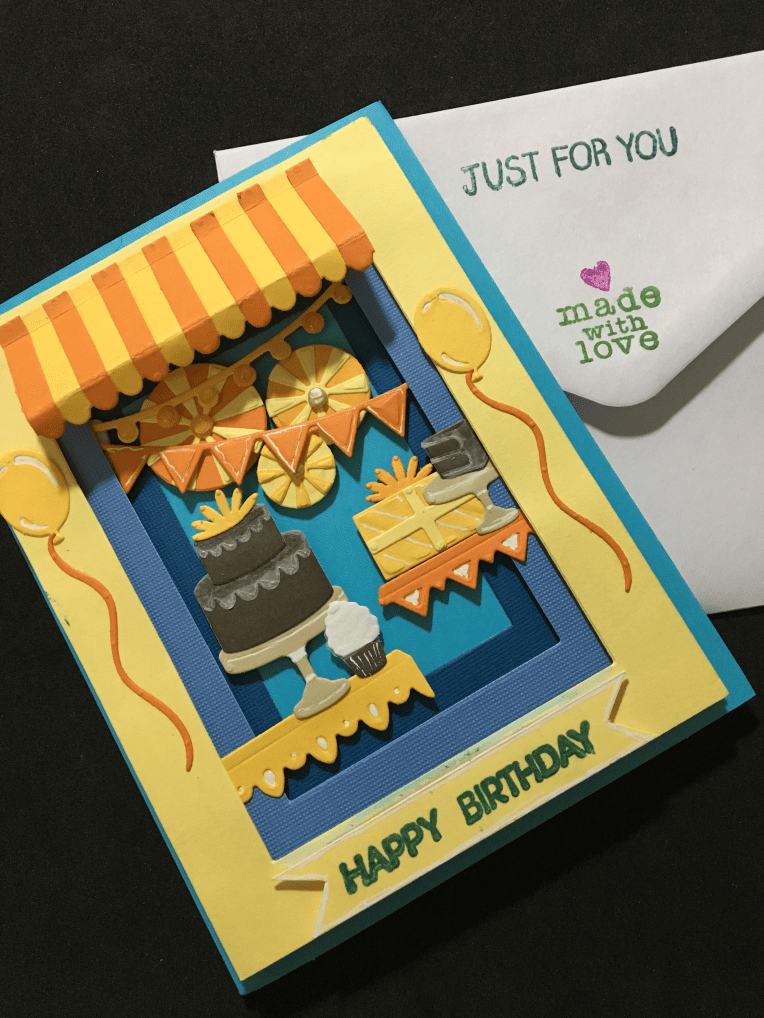
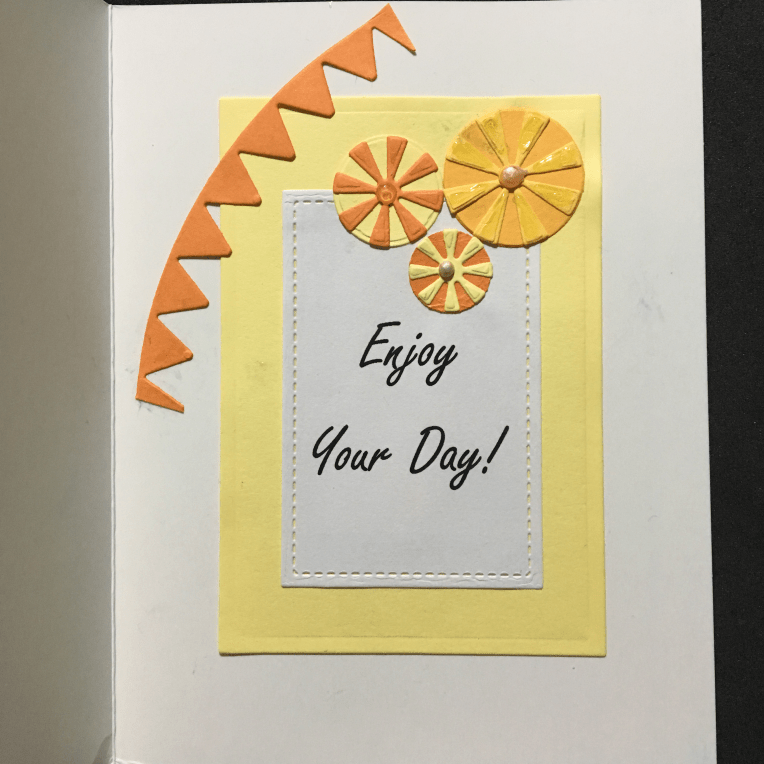
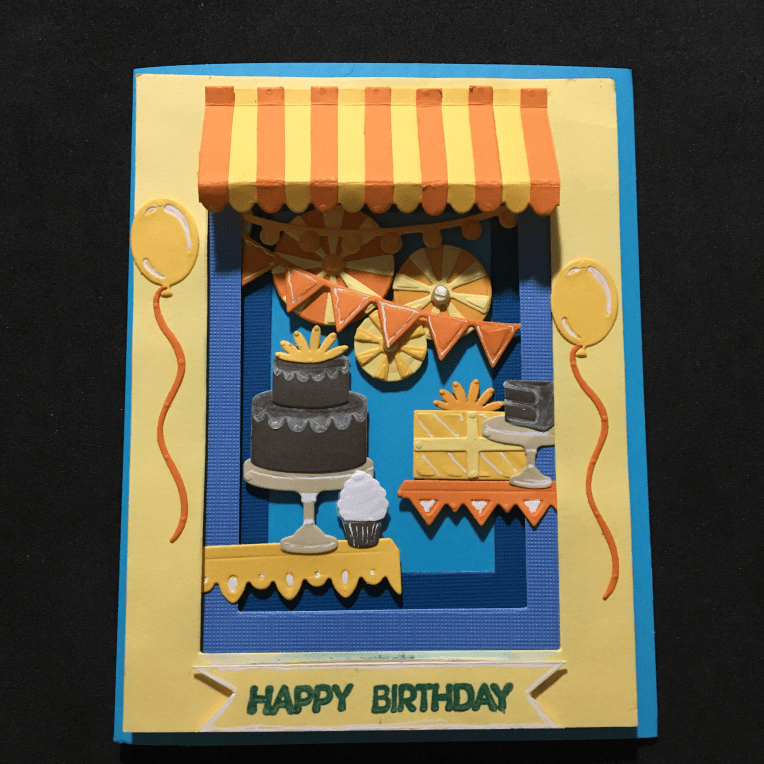
Here is a birthday party in an envelope. The recently released Sizzix Birthday Shadow Box by Courtney Chilson is a great deal of fun to create. Because I love chocolate cake with a thin glaze of icing, I used wax paper for the icing. White gel pen and Nuvo Drops help create the 3D look on the card. Foam tape between the window frames and under the decorations, cake, gift and shelves create the shadow box.

IMG_4126

The inside carries on the window theme with additional part decorations. I used the yellow window cut-out from the card front as the bottom mat for the computer-generated greeting.

IMG_4127

Materials:


Flutterflies for Birthdays

Butterfly time flies card outside

This was my first attempt at using the Uchi’s Design Animation Card DC101.  The animation comes from the opening of the card that pulls the black bars of the grid strip plastic sheet across the dragonfly stamps to make them flutter. I recommend watching the videos on the Uchi’s website before trying to assemble the card.

Items Used:

  • Uchi’s Design Animation Card DC101  – Butterfly die, window die and mechanism
  • Motion Crafts by Uchi’s Design distributed by American Crafts – Dragonfly stamps
  • Layered flowers – “Card Making Magic” by Christina Griffiths from Die-cutting Essentials Issue 37
  • BirthdayDie-cutting Essentials Issue 36
  • happy – Reflections Cutting templates
  • Ebony Black Gloss Nuvo Crystal Drops
  • Blue Babe Gloss Nuvo Crystal Drops
  • Tombow Mono Aqua Liquid Glue
  • Scrap paper and cardstock

Easter Flowers

IMG_4049

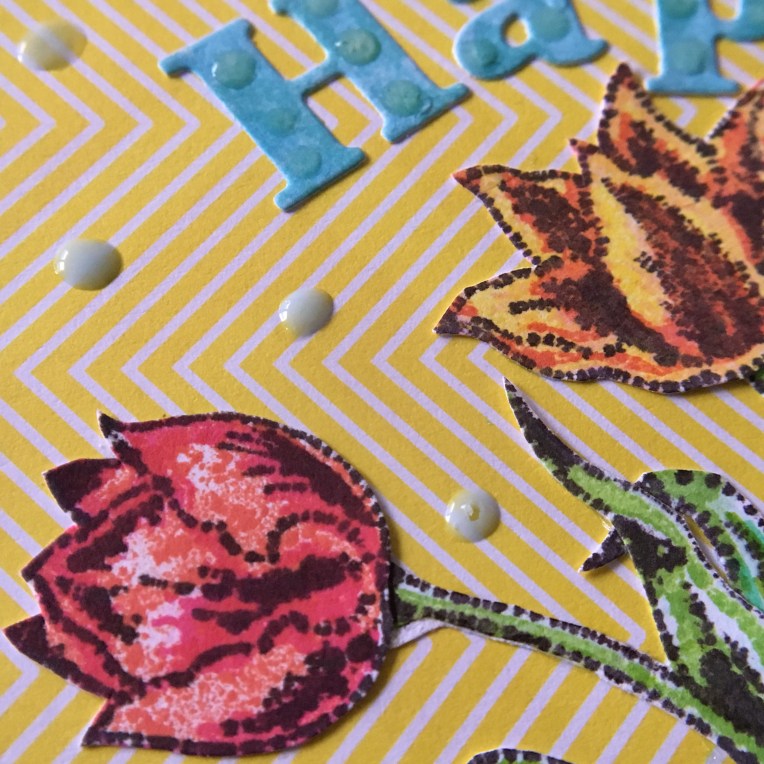
I love playing with the shaded tulip Stamp & Layer set by Susan Bates for Papercraft Inspirations magazine, issue 182. I stamp a full page of white cardstock with flower heads and then another page with just leaves and stems. I keep them in a small plastic bag with the stamp set so when the mood strikes I can create. I pulled papers and ribbon from my stash. The uppercase letters were die cut using Recollections cutting templates. Limoncello colored Nuvo Jewel Drops were dotted on the letters while Blue Babe Gloss Nuvo Crystal Drops were used for the dots in the background.

IMG_4053