Gone Fishing – A Pop-Up Birthday Card

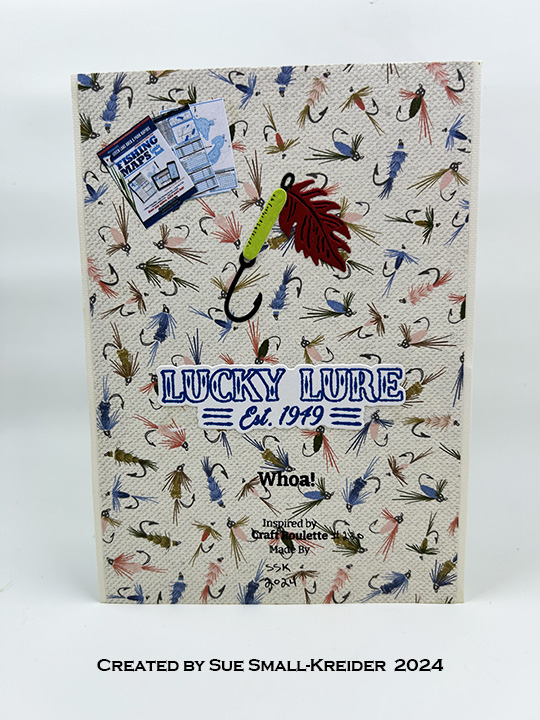
This card was made for Craft Roulette #220 whose parameters included for a card for a dude, dragon colors, basket(s) and chart(s).

I chose to make a fishing lure pop-up birthday card using stamp and dies by Stampin’ Up, HoneyBee Stamps, Karen Burniston and Waffle Flower.

Cardbase: I started with an A6 (4 1/2 x 6 1/4-inches) sized purchased cardbase with matching envelope.

Pop-up Mechanism: Watch the assembly video and tips video located towards the bottom of the linked page for Karen Burniston’s Photo Collage Pop-Up. These will help you understand where catchpoints can happen with this mechanism.

___________________________________

Thank you for reading this blog post.

I hope this inspires you and makes you smile.

Please like and leave comments 😊

___________________________________

Materials Used:

Dies & Embossing Folders

Stamps

  • Craft Roulette – Clear Stamps – The Basics
  • HoneyBee Stamps – Clear Stamps &Dies – Lucky Lures
  • Stampin’ Up – Photopolymer Stamps & Dies – Gone Fishing
  • Waffle Flower – Clear Stamps – Sweet Sentiments

Papers

  • Stampin’ Up – 12×12 inch Double-Sided Papers – Let’s Go Fishing
  • Silver Matte Paper Envelope
  • Clear Plastic Packaging
  • Colored and White Cardstock
  • Park Lane Paperie – A6 Cardbase and Envelope – Ivory

Ink

  • Ranger – Tim Holtz – Distress Ink- Frayed Burlap
  • Stampin’ Up – Classic Ink Pad – Crushed Curry, Pacific Point, Pear Pizzazz, Real Red & Soft Suede
  • StazOn – Solvent Ink – Jet Black
  • Pigma – Mircon 01 Fine Tip Pen – Black
  • Nuvo – Aqua Shimmer – Glitter Gloss

Adhesives

Tools

  • Die Cutting Machine
  • Stamping Platform
  • LDRS – Stampendable Stamping Tool
  • Stamping Blocks
  • Scissors
  • We R Memories – QuickStick
  • Metal Ruler
  • Craft Knife
  • Craft Mat
  • Sponge Dauber
  • Paper Masking Tape

Happy Birthday Baseball Pop-Up Card

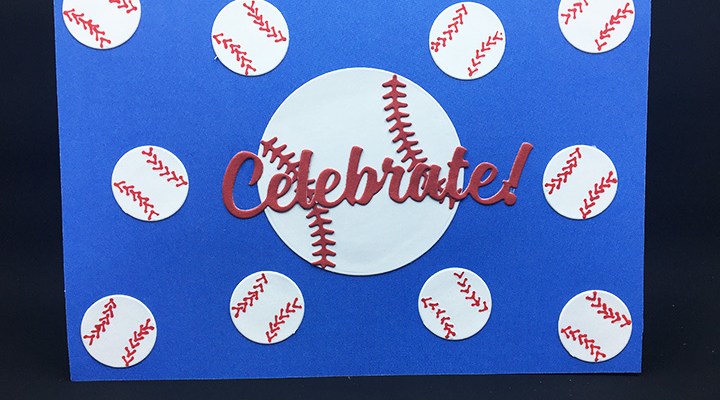
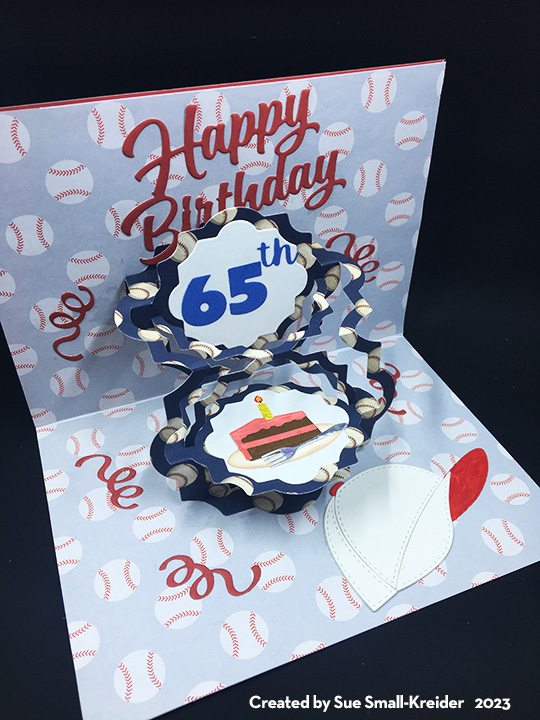
This is a 65th birthday card for a baseball pitching coach using Karen Burniston’s Paper Frames Pop-Up, Sports Charms, Big Birthday Charms, Numbers and “Celebrate!” and “Happy Birthday” sentiment dies.

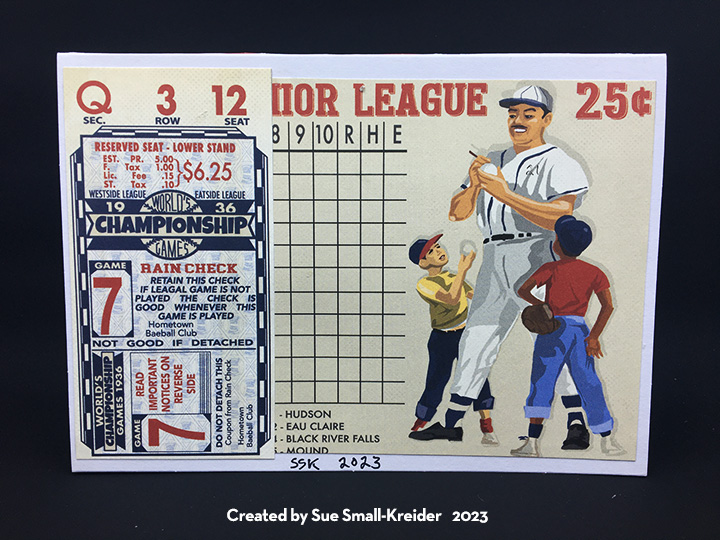
Watch the assembly video for the Paper Frames Pop-Up before starting. I used a purchased A7 (5×7 inches) card base and envelope for this card and covered the inside panels with decorative paper (4 7/8x 7-inches) and the outside panels with colored cardstock and journaling cards.

The Paper Frames Pop-Up is designed to be opened horizontally, but having seen a card made by Nicky Foden that used the frames opening vertically, I decided to try the vertical top fold cardbase with vertical frames. (Installation is the same as the assembly video, but I found that the weight of the frames didn’t allow for a full pop-up of the frames, so I added strips of the navy-blue patterned cardstock behind the four arms near the top and bottom tabs that are glued to the cardbase.)

The decorative panels on the pop-up frames use the Numbers die set which has the “th” in it, and the cake slice is from the Big Birthday Charms set. The red streamers around the pop-up frames are also from the Big Birthday Charms. “Happy Birthday” was die cut in red. The white baseball cap is a die cut by Waffle Flower and serves as a place to write a personal message.

From the Sports Charms set, I die-cut and stenciled 11 of the baseball charms and snipped off their charm loops. Along with the larger baseball die cut using a Waffle Flower die set, ten of the baseball charms were glued to the card front. “Celebrate!” was die cut from some of the solid color red cardstock that is part of the Echo Park Baseball paper collection.

The last baseball charm is on the envelope flap.

Thank you for reading this blog post. I hope this inspires you and makes you smile. Please like and leave comments 😊

Materials Used:

Dies

Papers

  • Echo Park –- 12 x 12 Double-Sided Cardstock – Baseball Collection by Steven Duncan
  • American Crafts – 12 x 12 Single-Sided Paper – #341325 Baseballs
  • Brown, White and Silver Cardstock Scraps
  • Park Lane Paperie – A7 Cardbase and Envelope – White

Pens/Inks

  • Pigma – Mircon 01 – Black
  • Sharpie – Permanent Marker – Ultra Fine Point – Red
  • Sharpie – Permanent Marker – Fine Point – Yellow
  • Staples – Liquid Stix Highlighter – Orange
  • Ranger – Tim Holtz Distress Oxide – Tea Dye and Barn Door

Adhesives

Miscellaneous

  • Pokey Tool
  • Die Cutting Machine
  • Scrapbook.com – Magic Mat
  • Scissors

Happy Retirement

Linda, Thank You For A Job Well Done

A new year is coming and for those who are retire this year, 2021 will be a start of a new kind of life.

I needed to make a retirement card for a co-worker who announced her retirement two weeks before December 31, 2020.

Having a large collection of Hunkydory sentiment dies I was able to find all the words I needed except for the word “Done” which I pieced together from other words and placed on a piece of low tack tape to act as a transfer sheet while I added glue to the back and then adhered to the card.

Wishing You A Happy Retirement

I used paper and a color scheme I had recently used on another slimline card with a doubled-sided First Edition paper that had lines and dots on it that I could line up the words one. The inside sentiment was glued to a piece of vellum laid over the grid pattern on my craft mat to align the words. I personalized the front of the card by adding the individual’s name using some gold mirror card and a tiny Spellbinder’s alphabet die set.

A light blue organza ribbon was tied around the card and a bow tied on. A shiny flat back button was glued to the center of the bow.

The back flap of the envelop was also heat embossed with the gold to say thanks and to hint at the card inside. 

Thank you for reading this blog post. Please like and leave comments 😊

Materials Used:

Dies/Stamps

Inks/Embossing Powders

Papers

Miscellaneous

Soda Shaker

Soda Shaker - Front Close up

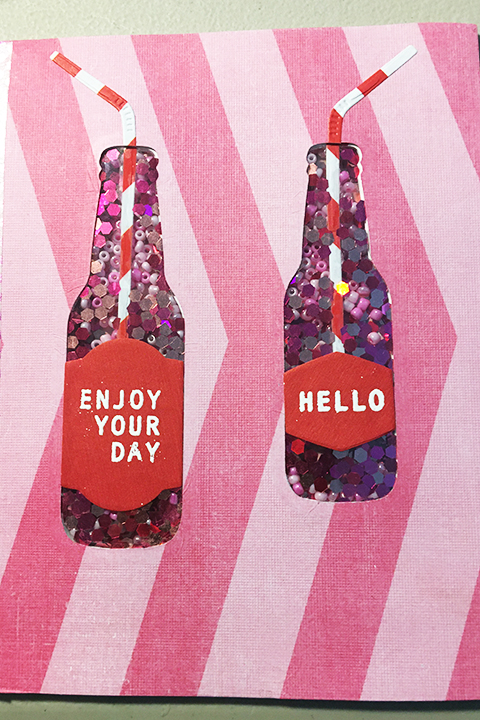
Who hasn’t watched the bubbles in a carbonated drink rise to the top of a bottle? I was inspired to create this soda shaker by some pink seed beads that I found in my stash.

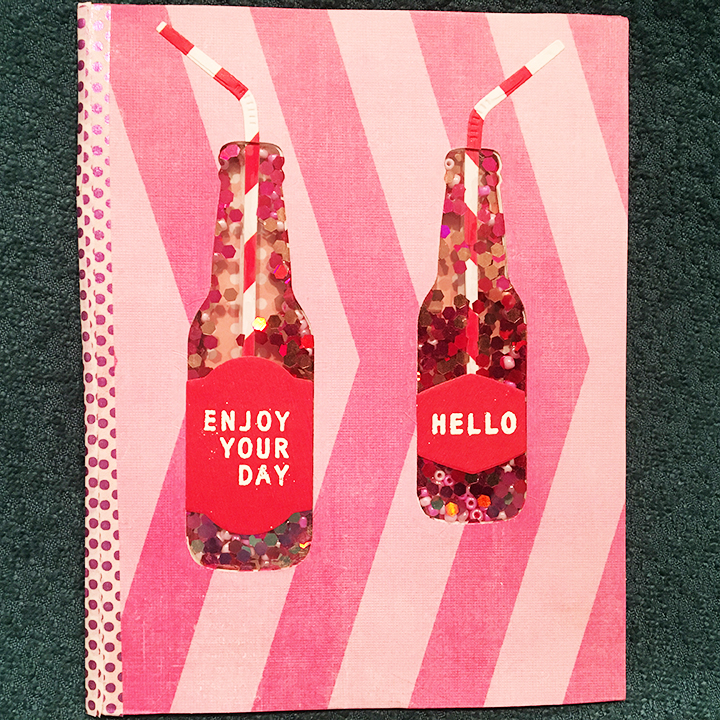
I picked a chevron striped pink card base and some printed cherry paper. First, I cut the card base in half separating the front from the back. I next cut the cherry print to match the inside dimensions of the front of the card. Then, using removable tape, I secured the front of the card to the cherry print making sure the edges all met up. Using the Bottles and Bubbles Framelits dies from Stampin’ Up, I cut the bottles out of both the card front and cherry print.

Soda Shaker - inside

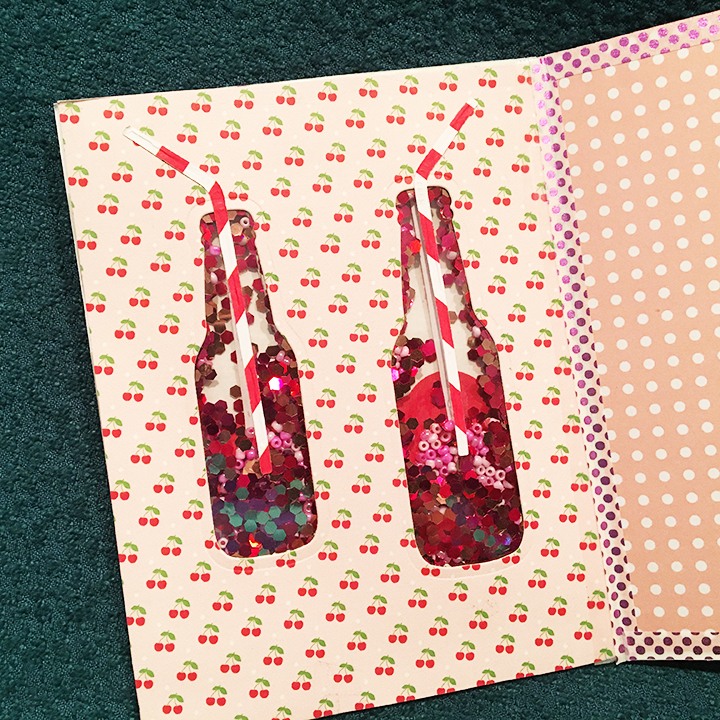
After separating the card front and cherry print, I cut two pieces of clear acetate smaller than the dimensions of the card front, but large enough to cover the bottle cut-outs. Using double-sided tape I adhered the acetate to the back side of the card front and cherry print.

I cut two of each straws from red and white chevron striped paper and snipped each straw below the bend. I glued the straight straw pieces to the back side of the acetate and the bend straw parts to the front of the card front and cherry print to make the straws look like they were inside the bottles.

soda shaker-front CU

Normally I would have used craft foam to cut out the negative of the shaker, but I didn’t have any on hand. So, I cut out eight of each of the bottles from white cardstock, rough cut a ¼ inch frame around each piece and glued them together. Next, I aligned the frames to the acetate covered back of the card front and glued in place. Using foam tape, I filled in the space between the edge of the card front and the bottle frames. Let the glue dry for a few hours so the glitter and beads won’t stick to the edges of the bottle.

Soda Shaker -spine

Before fill the bottles, I used an anti-static pad to wipe down the acetate inside the bottles  Using my fingers and tweezers to fill the bottles with pinches of glitter and the three colors of seed beads, I was careful not to fill them too full. Next, I peeled back the foam tape backing papers, applied tiny bits of glue to the bottle frames and matched the cherry print card up to the bottle frames. A shaker card was born.

Soda Shaker - outside spine

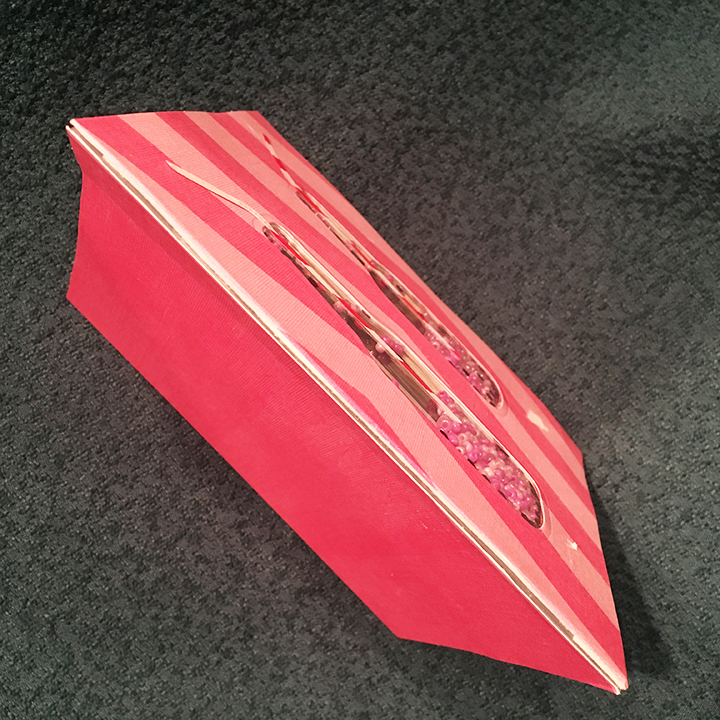
I had cut the card base apart because the thickness of the shaker front would not have allowed the card to close properly. I used clear tape on the inside to tape the shaker front to the card back. Next, I cut a polka-dotted print paper to cover the inside card back and add sturdiness to it.  It was adhered with double-sided tape. Polka-dotted washi tape was used both on the outside spine of the card and on the inside of the card to frame the inside back and to cover unsightly edges. The finished card has the feel of a school composition book.

soda shaker-front CU

Using scrapes of red paper from an old Christmas envelop, I first stamped the bottle label sentiments with Versa Mark ink and the white heat embossed them. Next using the label dies in the Bottles and Bubbles die set, the labels were cut out. Glue was used to adhere the labels.

Soda Shaker - inside CU

With plenty of space inside the card to write a personal message this card is ready to be Happy Mail.

Supplies used:

Dies

Stamps

Papers

Inks and Embossing Powders

Miscellaneous