This card was inspired by a 3D embossing folder that features poinsettias and candy canes by Spellbinders. It also uses some new dies by Karen Burniston and paper by Graphic 45.

Watch the process video to see how I made this card.

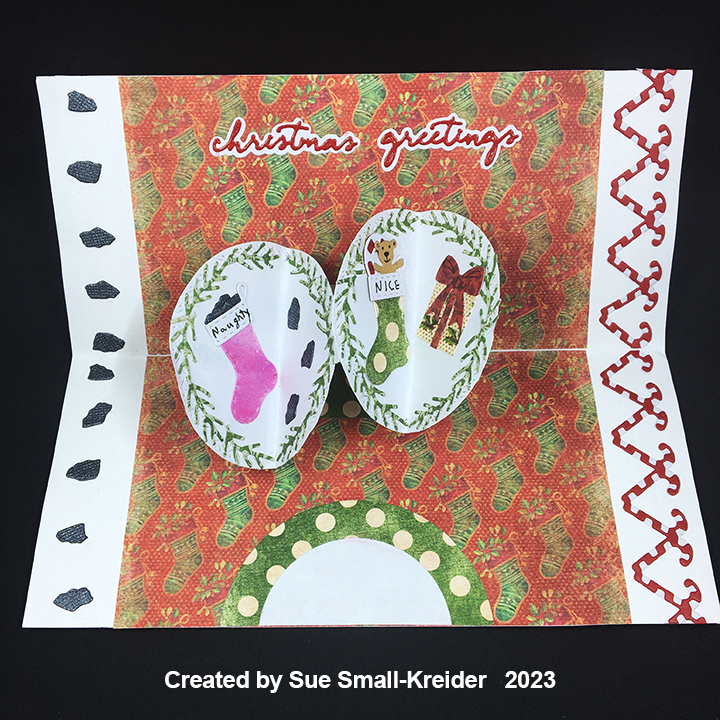
Cardbase: I used a purchased A7 (5×7-inch) side fold cardbase with matching envelope. (Color the fold both inside and out using markers that are close in color to the papers, so that the white fold line is less seen.) The cardbase was covered using decorative papers.

Embossed Front: The Spellbinders 3D embossing folder of the month for October 2024 embosses a 5 1/2×8 1/2-inch surface. I used gold foil cardstock to emboss and colored the image with fine tipped alcohol markers. (I found the smaller tipped makers got brighter coverage, but I went over most of the images two or three times to get my desired color.)
Poinsettia: Using the Karen Burniston Poinsettia die set, cut one large poinsettia petals from green and another from red cardstock. Cut two of the small petals from red. Cut one red center and a second center from yellow cardstock backed with double sided adhesive tape to make stickers. Assemble the flower as shown in video. Cut berry branches and fir branches from green and berries from red cardstock covered with clear packing tape. Use berry die as a stencil to add white gel pen highlights to berries.

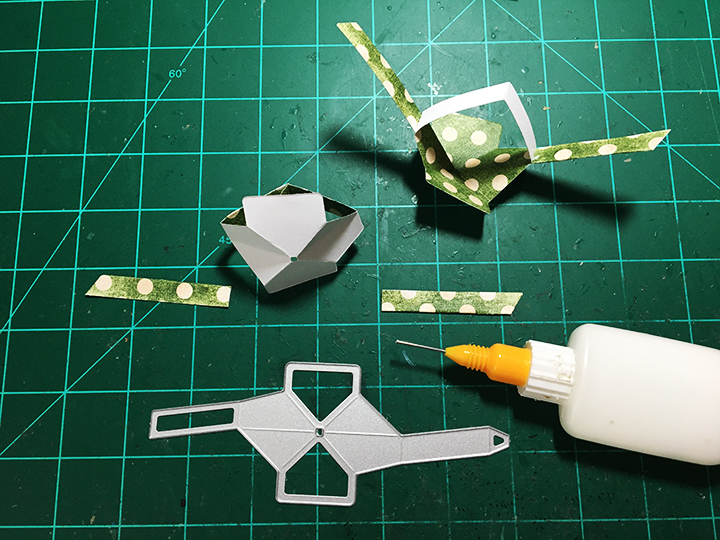
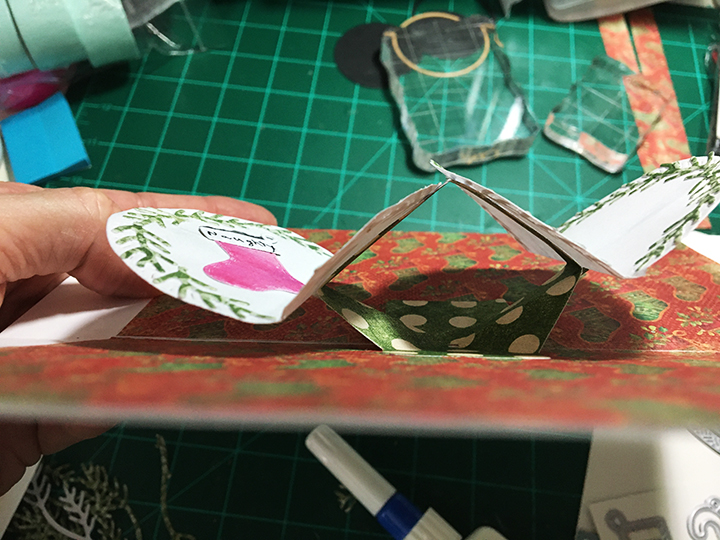
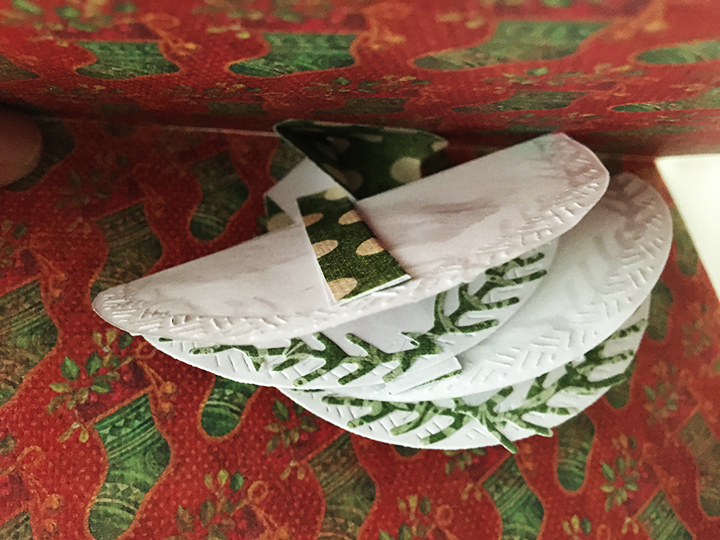
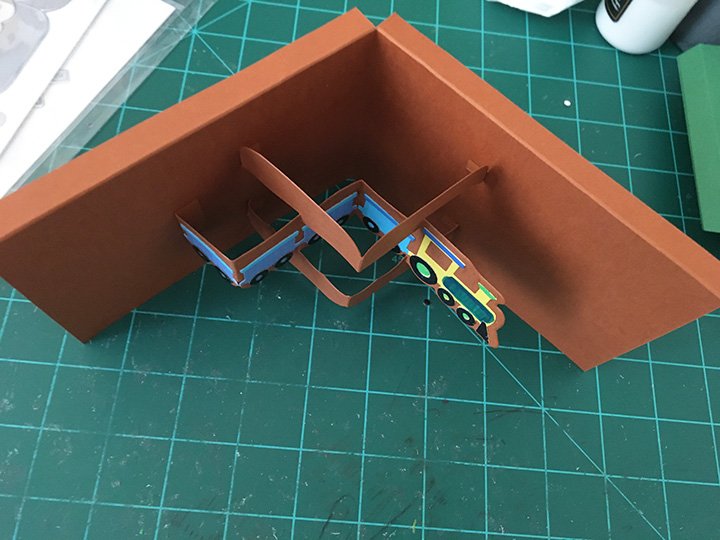
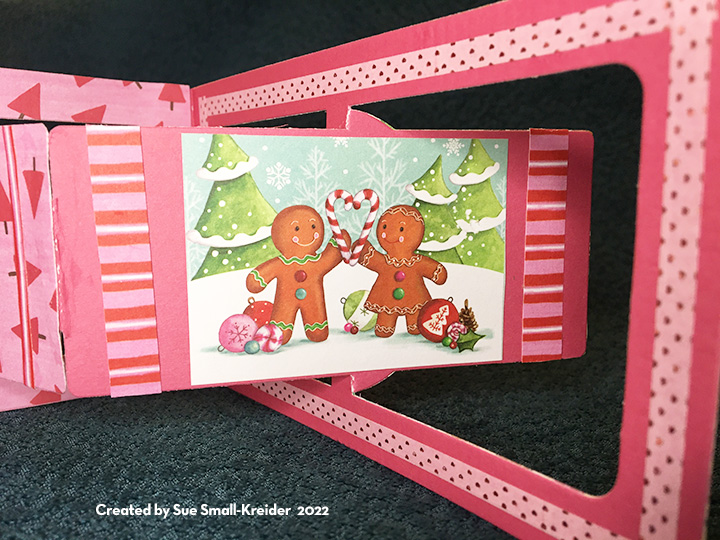
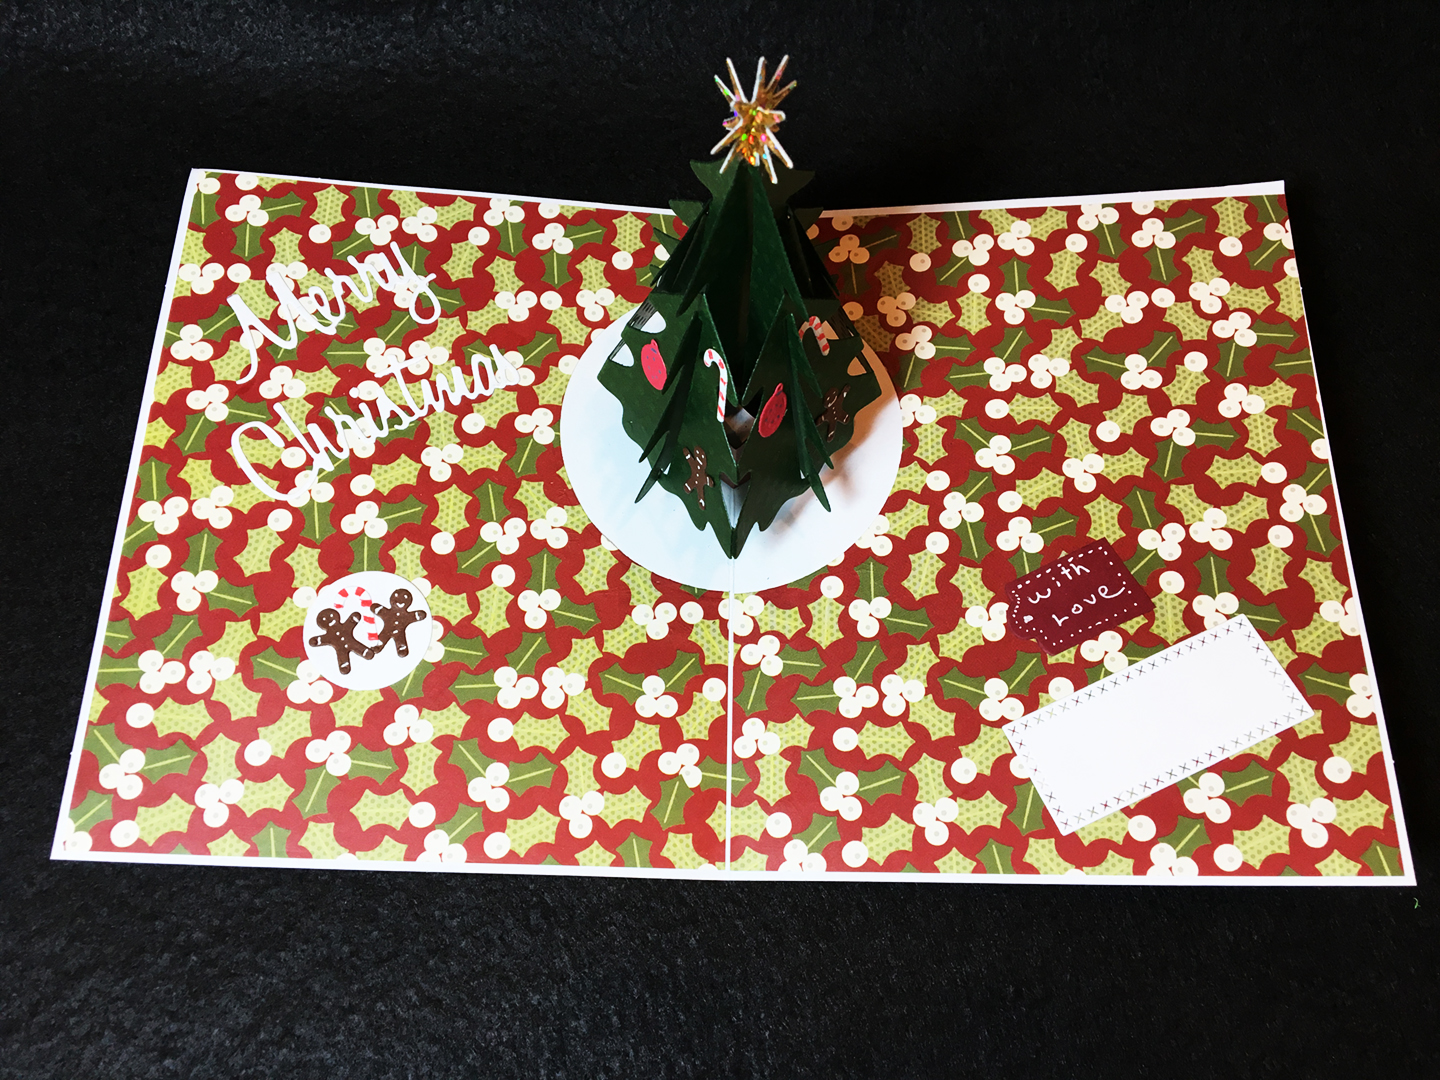
Fan Pop-Up: Using the Photo Fan die set, cut one of the fan mechanism piece from decorative paper matching the card inside paper. Cut off arms and save arms. Glue two arms together and attach to fan with arm edge butted into the center fold of the fan. Install fan into card as directed in the video.
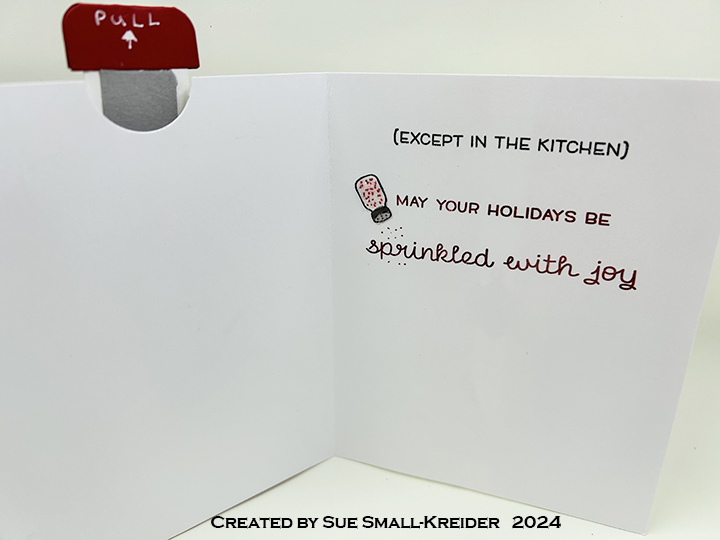
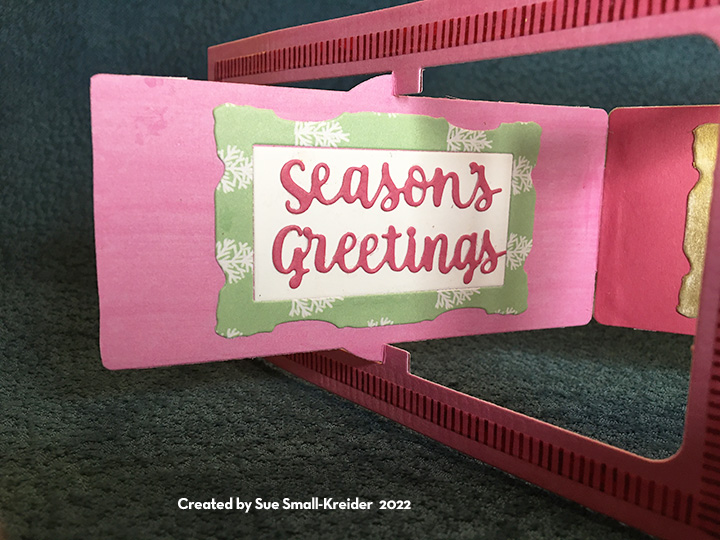
Sentiment: Cut one of the Merry Christmas Lorna Add-on large die from red cardstock and the words from gold foil cardstock.

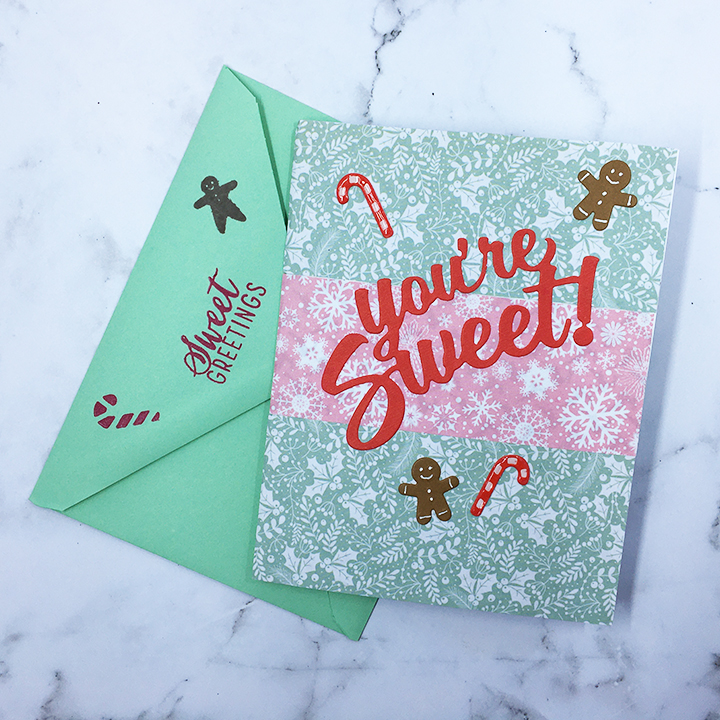
Envelope: The card fits into an A2 (4.25x 5.5-inches) size envelope. I decorated the back flap of the envelope with candy canes from the Christmas Borders 2 die set.
___________________________________
Thank you for experiencing this blog post.
I hope this inspires you and makes you smile.
Please like and leave comments 😊
___________________________________
Disclaimer: Karen Burniston products are provided free of charge by the manufacturer for review and use. All other items were personally purchased. Compensated affiliate links used where or when possible, meaning I will receive a small percentage commission from these manufacturers at no cost to you. This will allow me to add more content to my YouTube channel and help out a lot. Thank you.
Materials Used:
Dies
- Karen Burniston in cahoots with Riley and Company – Photo Fan Pop-Up – 1292
- Karen Burniston in cahoots with Riley and Company – Merry Christmas Lorna Add-Ons – 1288
- Karen Burniston in cahoots with Riley and Company – Poinsettia – 1286
- Karen Burniston in cahoots with Riley and Company – Lorna Label Pop-Up – 1266
- Karen Burniston in cahoots with Riley and Company – Christmas Borders 2 – 1246
Embossing Folders
- Spellbinders – 3D Emboss Folder – Joyful Candy Canes -3EOM-Oct24
Papers
- Graphic 45 – 8×8-inch Double-Sided Paper – Enchanted Forest
- Fun Stampers Journey – 8.5×11 Cardstock – Cranberry Bliss
- Gold Foil Cardstock
- Green and Yellow Cardstock
- Park Lane Paperie – A7 Cardbase and Envelope – White
Ink
- Crafter’s Square – Metallic Marker – Gold
- Pigma – Mircon 01 Fine Tip Pen – Black
- Sakura – Gelly Roll Pen – Medium – White
- Sharpie – Permanent Marker – Fine Tip – Black, Red and Yellow
- Sharpie – Permanent Marker – Ultra Fine Tip – Green and Red
Adhesives
- Neutral PH Adhesive by LINECO
- Fine-Tip Glue Bottle
- Double-Sided Tape – 1/4-inch wide
- Clear Packing Tape
Tools
- Die Cutting Machine
- Paper Trimmer
- Bone Folder
- Stamping Blocks used as paperweights
- Scissors
- Craft Mat
- Sponge Daubers
- Paper Masking Tape
- Tweezers
- We R Memories – QuickStick