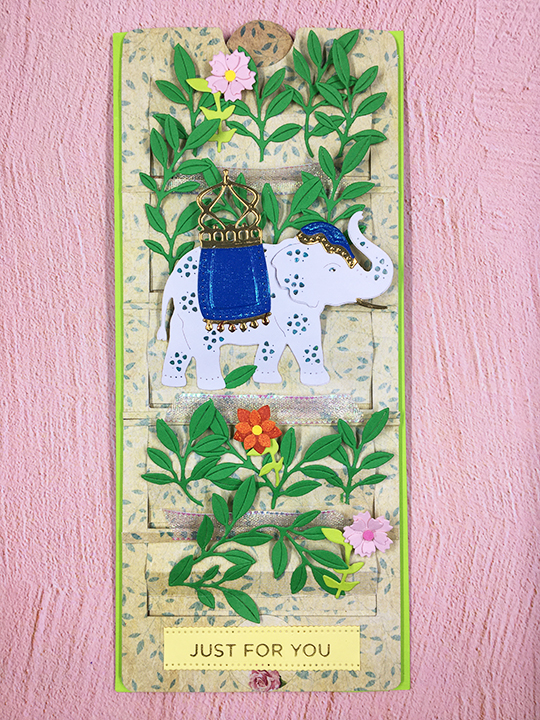
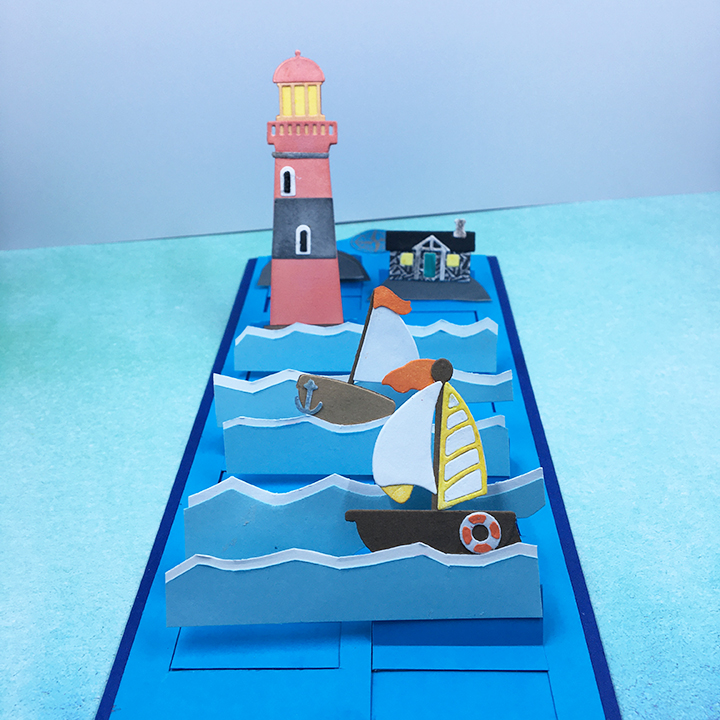
A lovely summer day in a Tennessee valley and the zoo animals are on a train outing to celebrate someone’s birthday.
This card uses Rubbernecker’s Animal Train slimline paper pad, some foam dots and a piece of clear packaging to create a cute interactive birthday card.

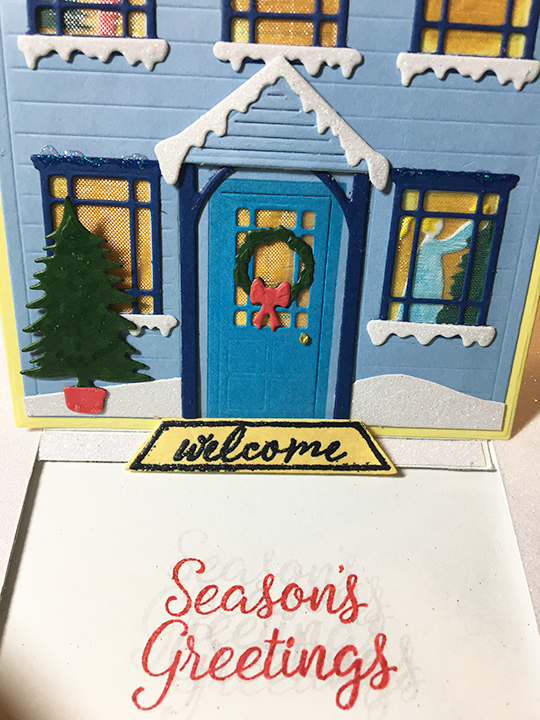
Cardbase: Cutting a 7 1/2 by 8 3/4-inch rectangle of white cardstock score and fold at 3 3/4-inches to make a folded cardbase of 3 3/4 by 8 3/4-inch. Glue a scenery page to card back panel.


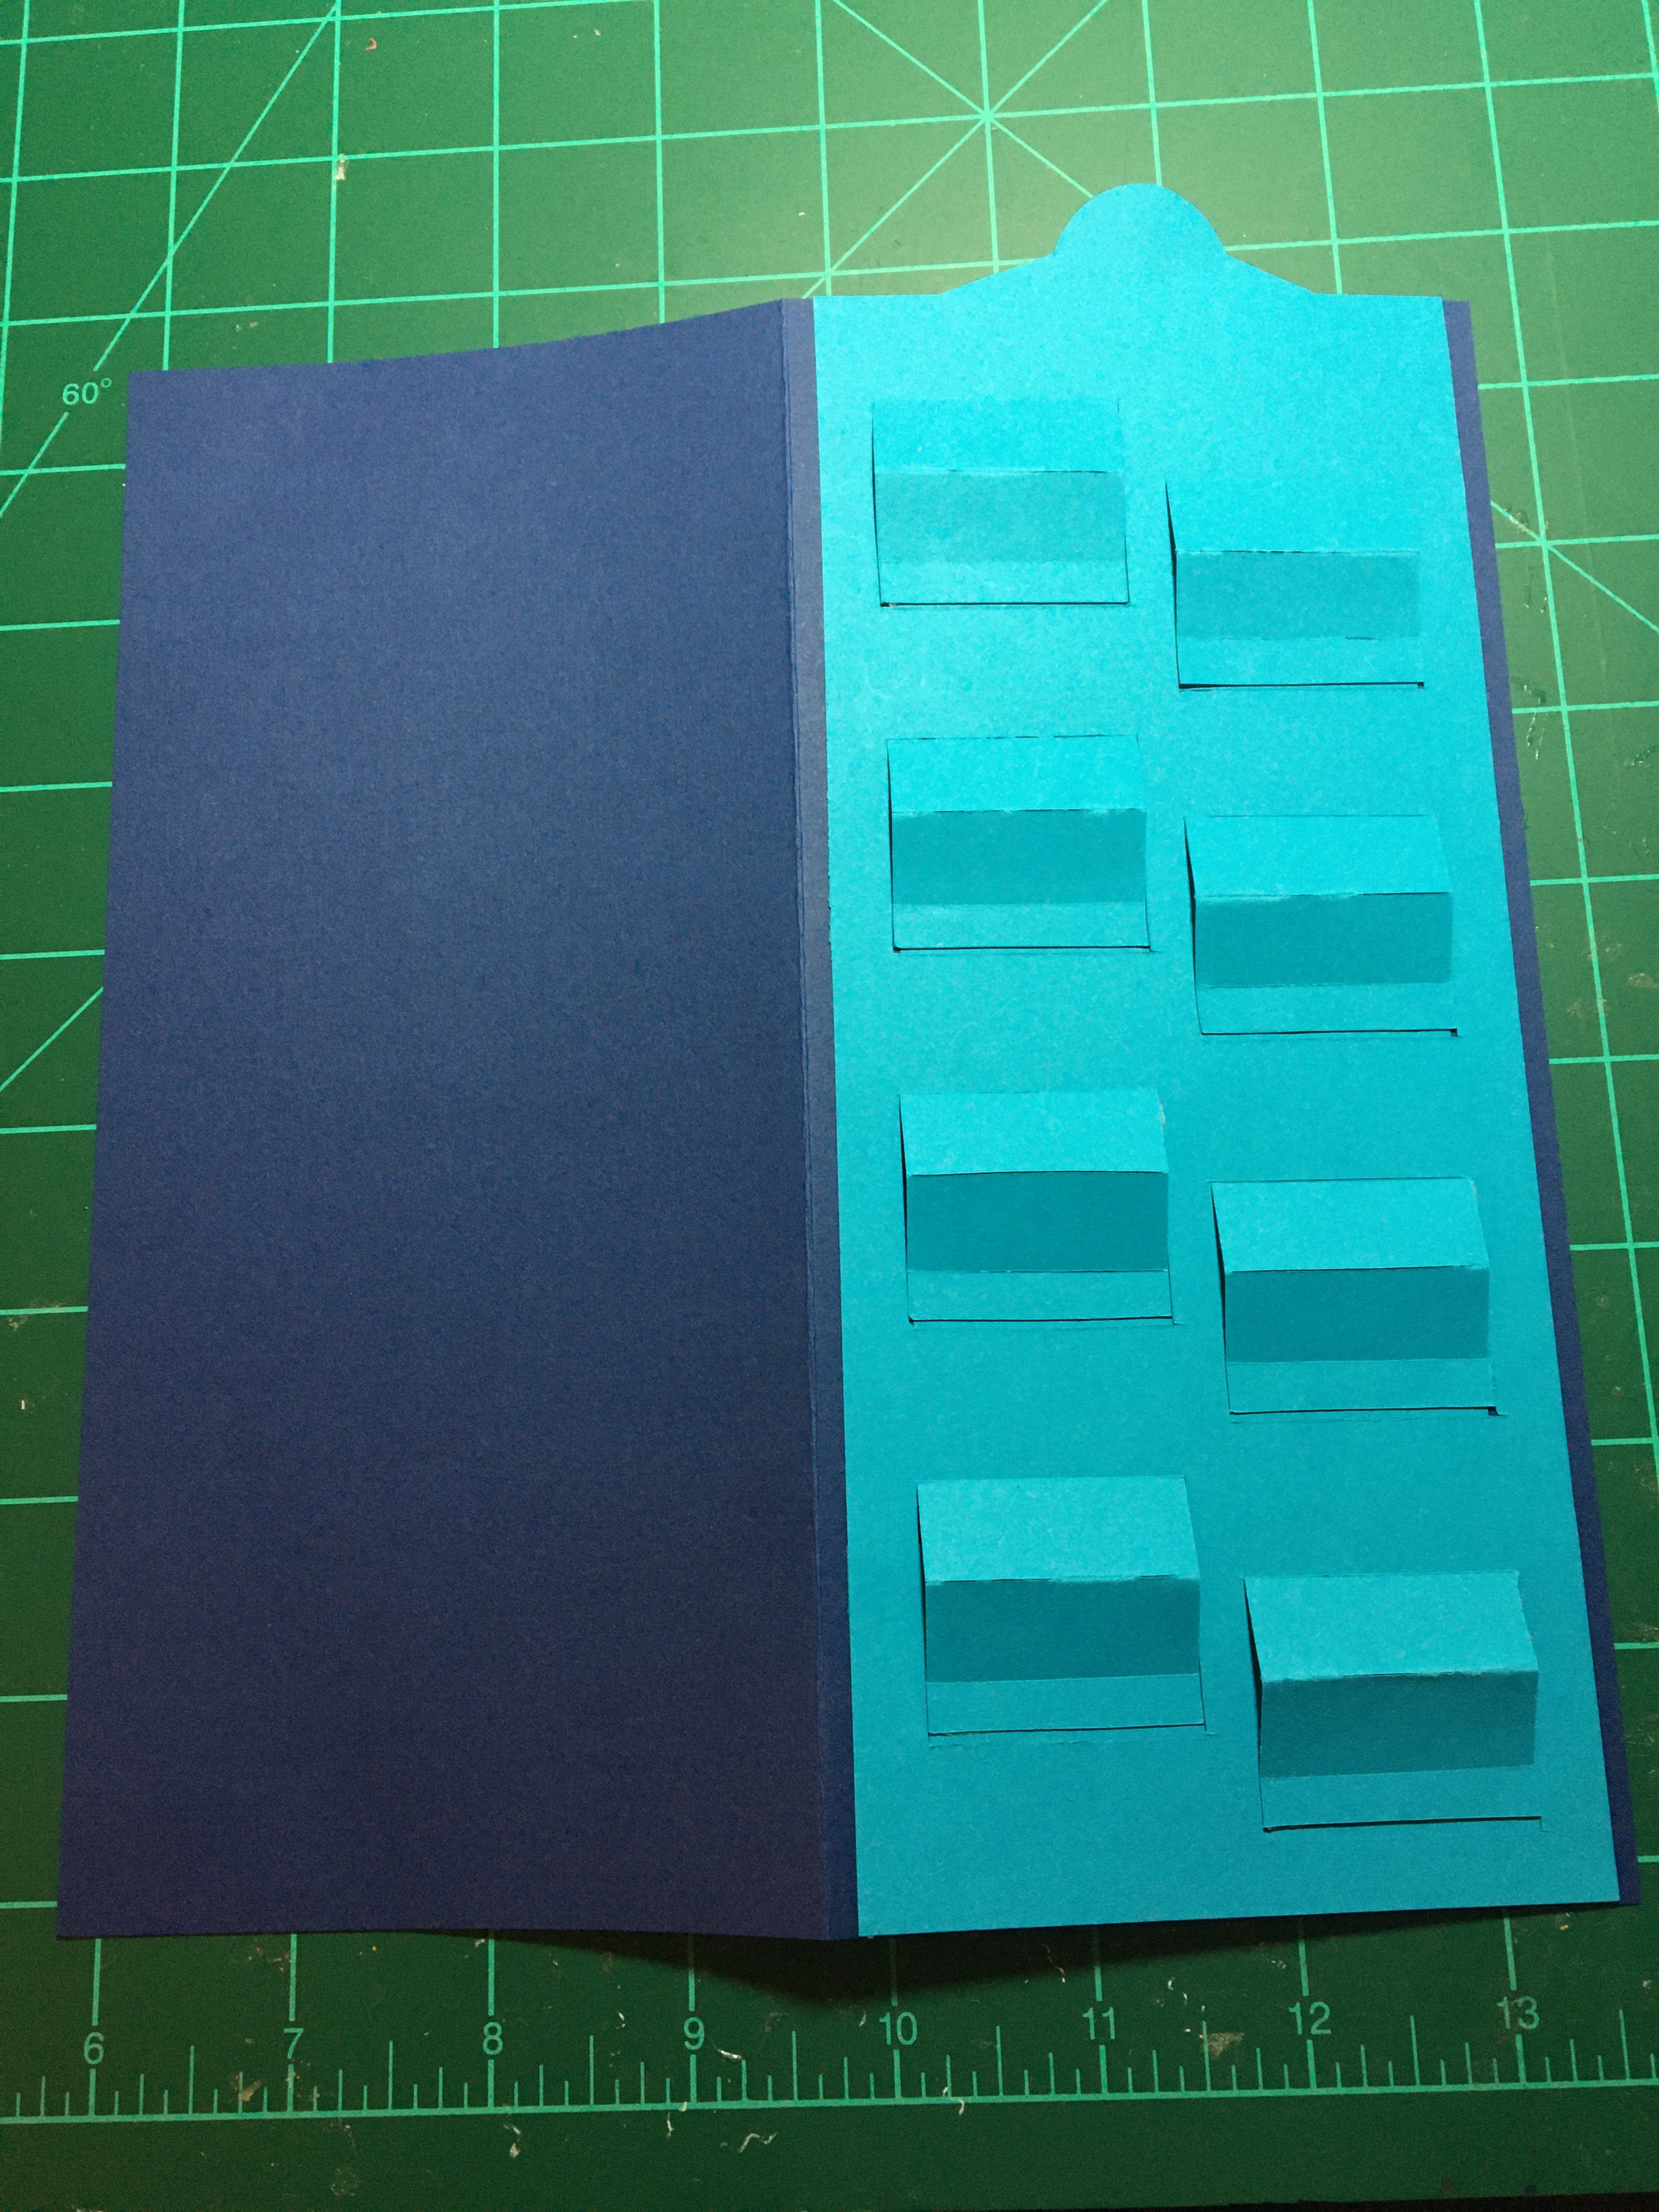
Slider Mechanism: Take a background scenery page from the paper pad. On the back side draw two lines in pencil at 7/8-inches from the bottom edge and the second at 2 5/8-inches from the top edge. (You may need to adjust the width of the slot to accommodate the height of your foam dots. My measurements are for 1/4-inch foam dots.) Measure 1-inch from the right side (backside right) and draw a line connected the previous two lines. On the left back side, measure 3/4-inch to connect the earlier lines. Use a craft knife and straight edge (metal ruler) to cut out slot. Save cut-out piece.


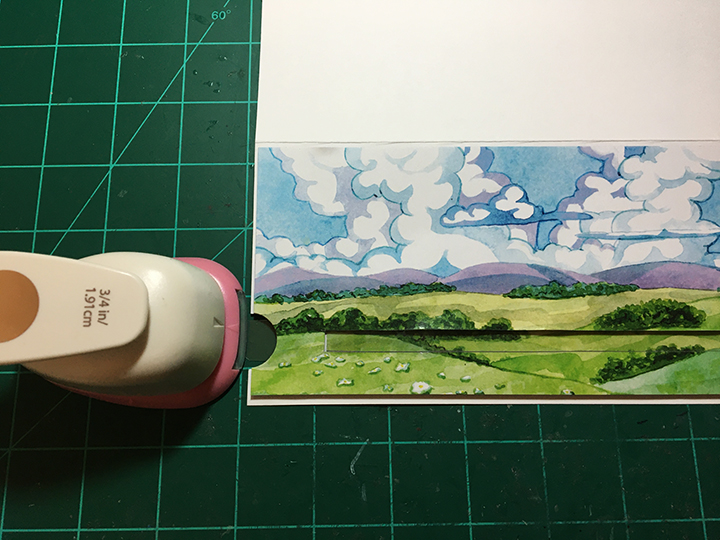
Center the scenery page over the front panel of cardbase. Mark the corners of the page on cardbase and trace the inside of the slot with a pencil. Using a circle punch cut a thumb hole (half circle) on the left edge centered off the penciled slot markings.


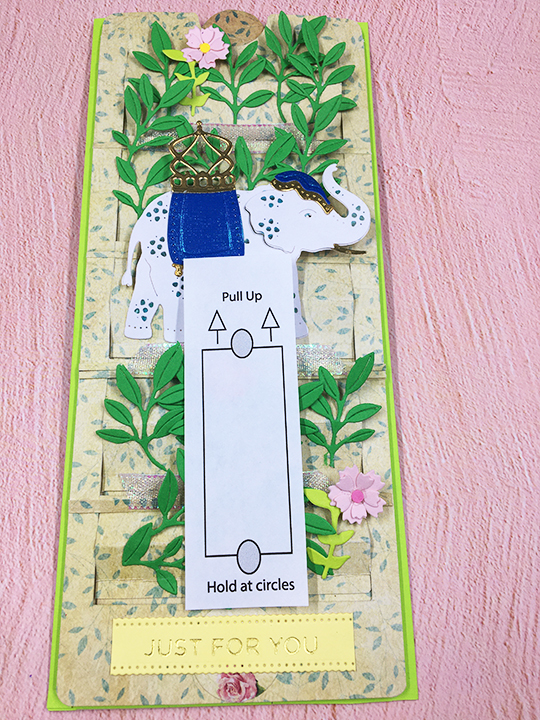
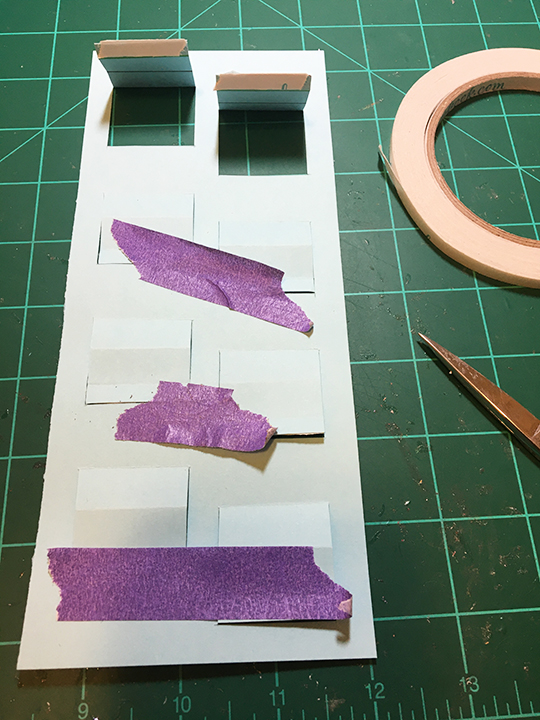
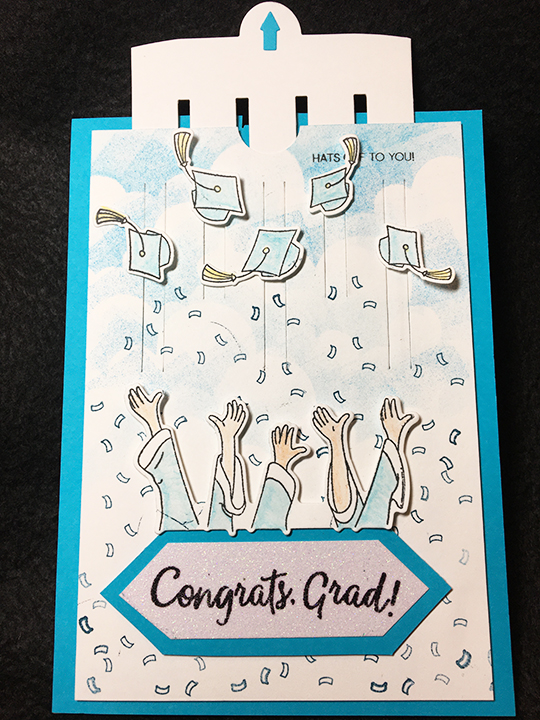
Glue the slot cut-out piece over the pencil markings on card front. Cut a piece of clear packaging that is 1/2-inch wide and at least 9-inches long. Lay the plastic piece over the slot cut-out. Add foam tape around the plastic leaving the thumb hole side open. (Make sure tape does not extend beyond the corner pencil marks as it will show when the scenery page is adhered on top the foam tape.) Once Scenery page is attached, remove plastic strip and use hole punch to cut thumb hole into scenery page. Insert plastic strip into slot and test for ease of movement. Assemble train and follow directions in Train section to attach it to slider plastic arm.

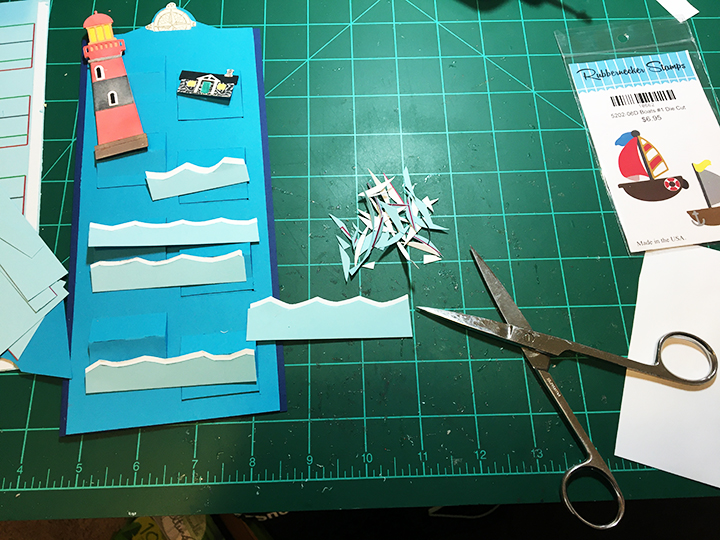
Train: Cut out train with sharp detail scissors. (There are coordinating dies that you can purchase from Rubbernecker if you do not like fussy cutting.) The trick to fussy cutting is to move the paper through the scissors and not the scissors through the paper. For the engine window, poke a hole and cut from hole to the corners and then cut out the window.

Glue the train together overlapping the hook-up bars. Cut out animals and flag. Glue flag to last car.

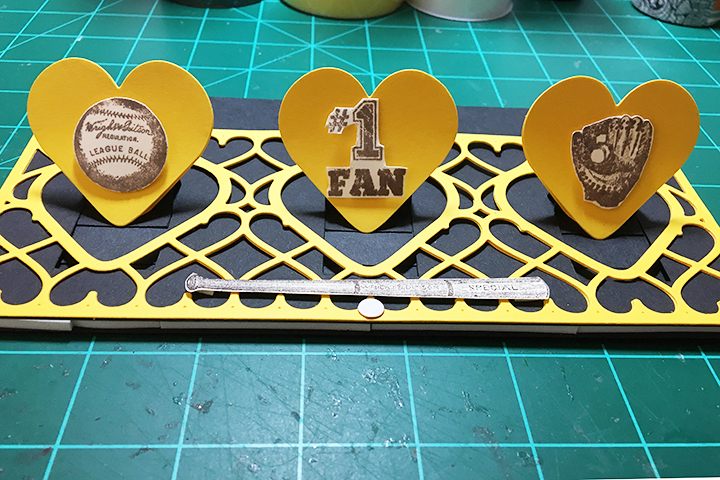
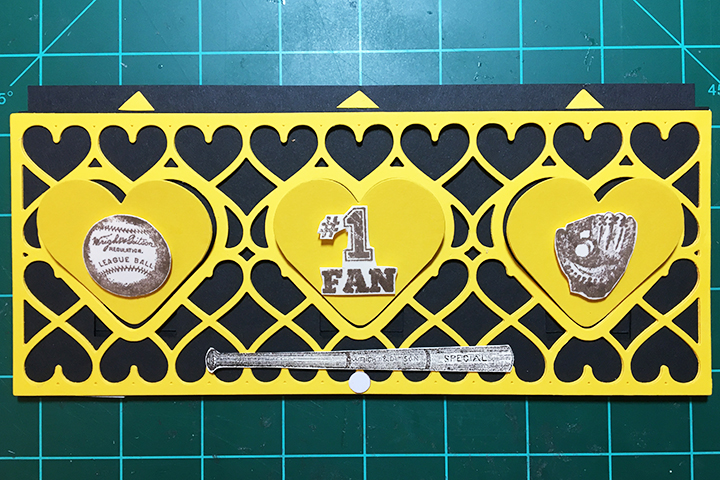
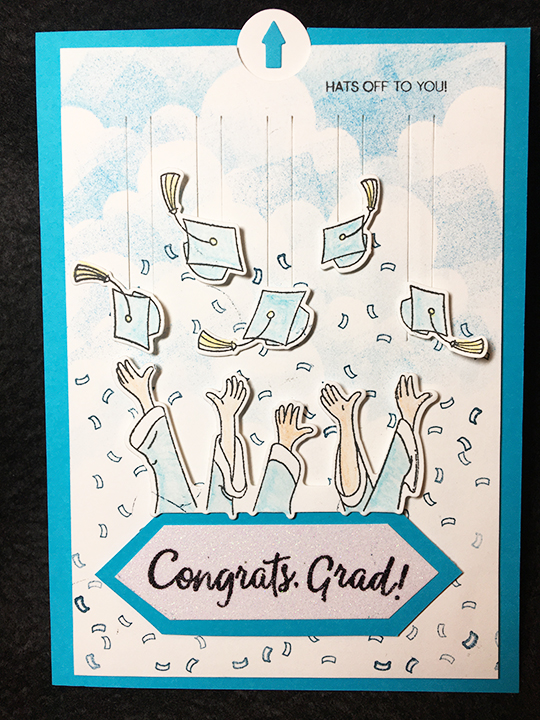
Position train above the slot with the flag just peeking over the card edge. Make sure plastic strip is pushed to the back stop of the slot. Add foam dots to plastic inside slot positioned two to the center of each train car and engine.

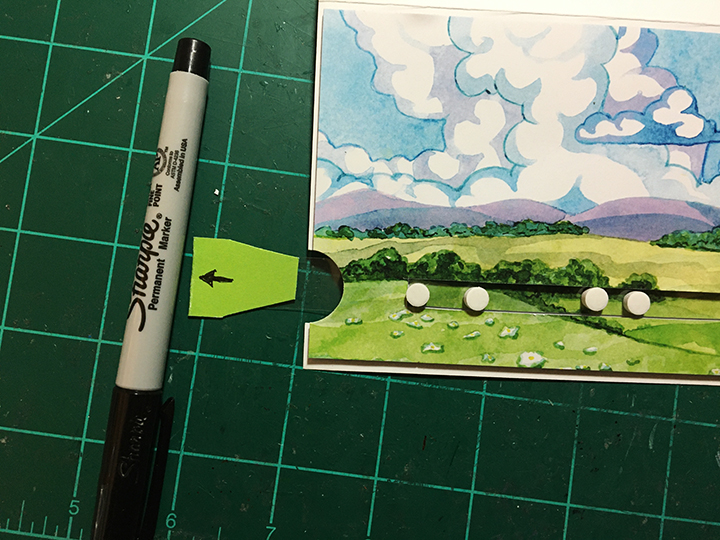
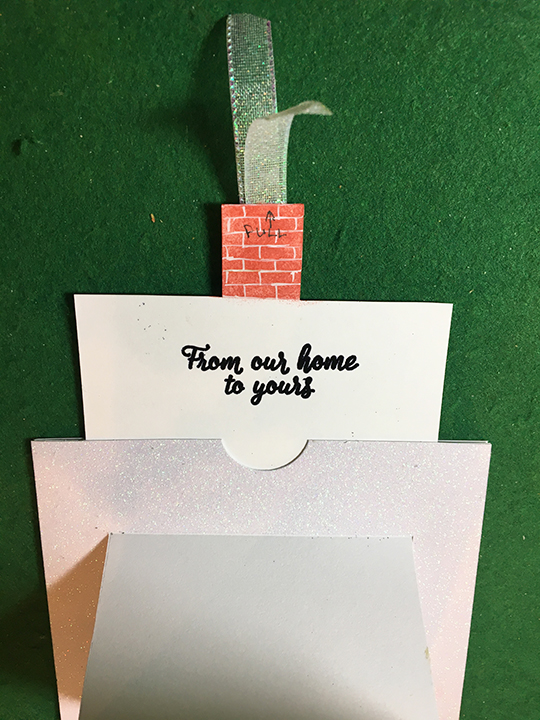
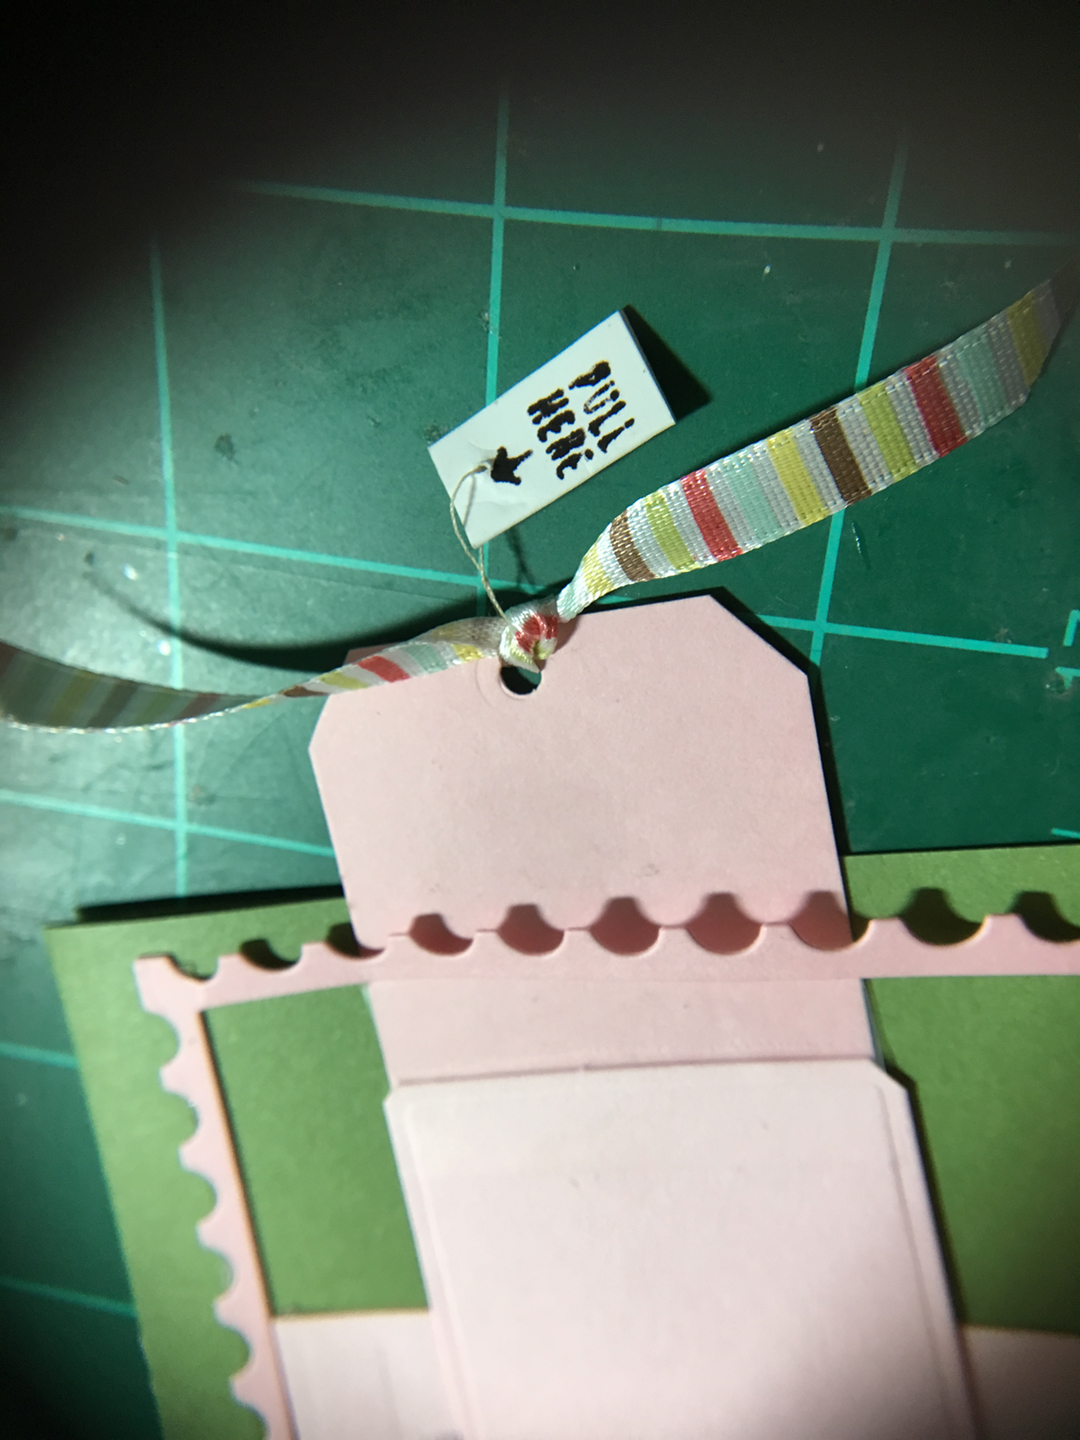
With plastic strip still pushed to back stop, trim plastic strip to left card edge. Cut a piece of coordinating green from paper pad to a 3/4-inch wide by 3-inch strip. Fold strip in half and attach to plastic strip with double-sided tape. (You may have to trim and taper the ends of the green strip to fit into the slot track depending on where your foam tape is.) With a black permanent marker, draw an arrow on the green tab to indicate the direction to pull.

Add a plastic strip to the train chimney and attach with a glue dot a fussy cut cloud of smoke. Glue animals onto the train. Peel off the foam dots’ backing paper and attach the train to the slider arm.

Sentiments: Stamp “Happy Birthday” on to a piece of white cardstock and fussy cut a cloud shape around it. Position the cloud on foam dots so that the smoke cloud on the train does not become a catchpoint with the birthday cloud when the slider is pulled open. Decorate the sky with remaining images of smoke clouds, bird and butterfly, using foam squares and glue dots. The inside sentiment is a computer generated one which can be downloaded below.
Envelope: The back flap has an additional animal fussy cut and glued to it.

Thank you for reading this blog post. I hope this inspires you and makes you smile. Please like and leave comments 😊
Materials Used:
Stamps
- Rubbernecker Stamps – Clear Stamps – Sea Set -3207
Papers
- Rubbernecker – 3.5×8.5 Paper Pad – Slimline – Animal Train
- White Cardstock
- Clear Plastic Packaging
- #10 Business Envelope – White
Ink
- Catherine Pooler – Premium Dye Ink – Party Collection – All That Jazz
- Sharpie – Permanent Marker – Ultra Fine Tip – Black
Adhesives
- Neutral PH Adhesive by LINECO
- Fine-Tip Glue Bottle
- The Paperire Shoppe – Foam Adhesive Dots – 6mm
- Double-Sided Tape -1/4-inch wide
- Foam Squares
- Glue Dots
- Clear Tape
- Permanent Tape Runner
Tools
- Die Cutting Machine
- We R Memories – Scoring Board and Trimmer
- Stamping Block
- Craft Knife
- Detail Scissors
- Circle Punch – 3/4-inch
- Metal Ruler
- Pencil