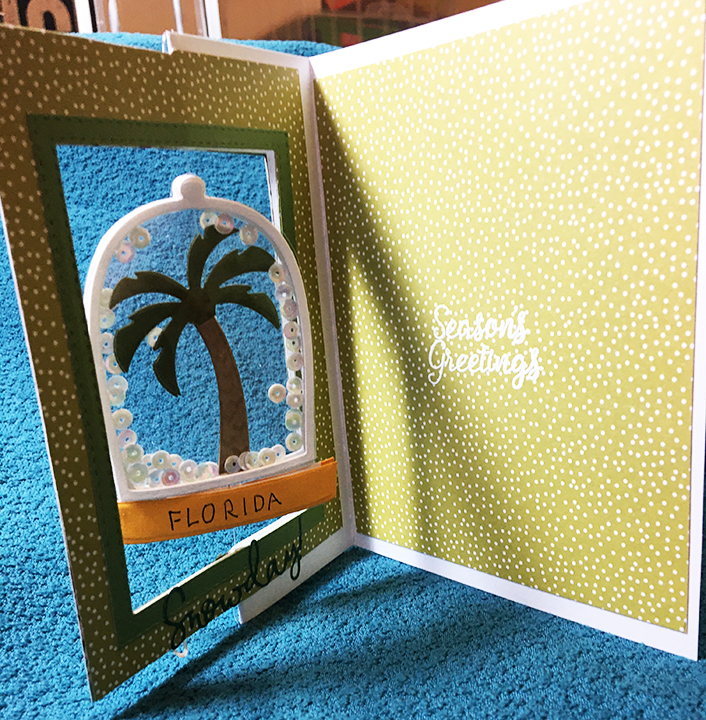
This card was made for Craft Roulette #305 whose parameters were: joyfold card, cartoon colors, “starts with an i” element and include a scrap(s). I used new Karen Burniston dies and stamps for this large 7×6.6-inch joyfold card with a pop-up island on the inside.
Watch the process video to see how I made this card.
Joyfold Cardbase: (Watch the video above for assembly instructions.) Cut from light blue cardstock one 5×7-inch rectangle, one 5×7.5-inch rectangle scored at 7-inches, and one 5×3.75-inches rectangle scored at 1.5-inches. Cut two 6.5×7-inch rectangles from tel blue cardstock. Using patterned paper of a water color, cut two 5×7 rectangles. Using the Curved Edges die set, cut each patterned paper rectangle to form wave of water in a circular pattern as shown in video. Assemble cardbase following the video above.
Pop-Up Stage Base: (Watch the video above for assembly instructions.) from light blue cardstock, cut two base pieces from the Stage Pop-Up die set and from the Sea Stage Add-Ons, cut two side strips and six of the decorator wave strips. From sand colored decorator papers cut two of the stage top decorator pieces. From water patterned paper, cut six of the rectangle decorator die in the Stage Pop-Up set.
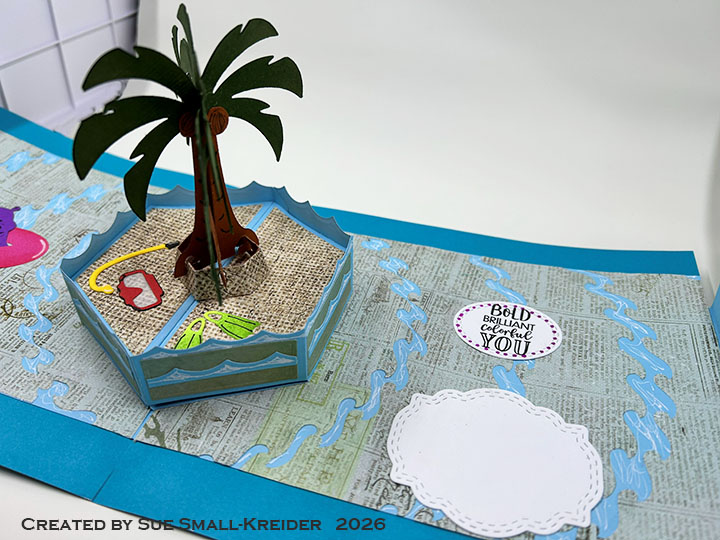
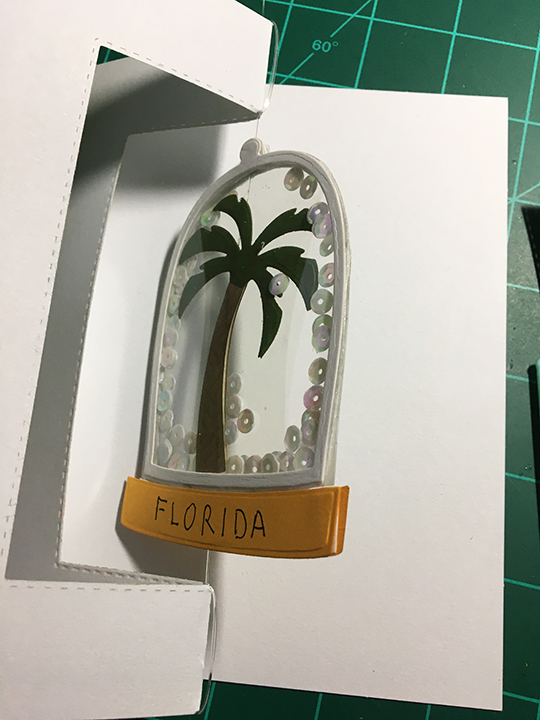
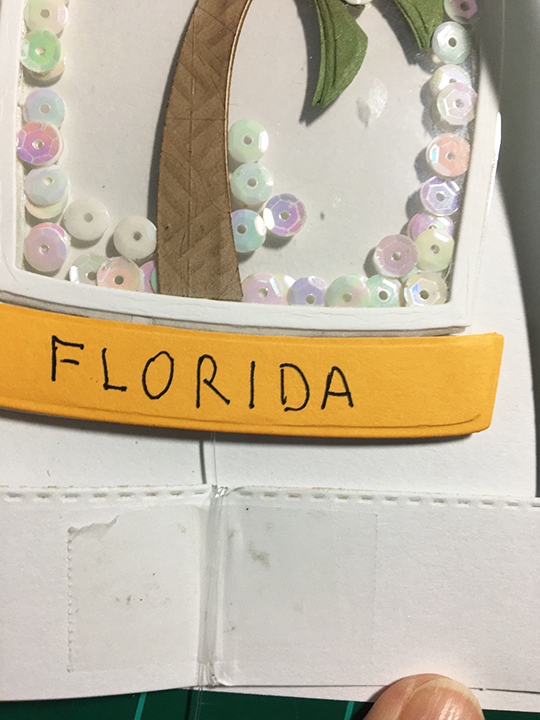
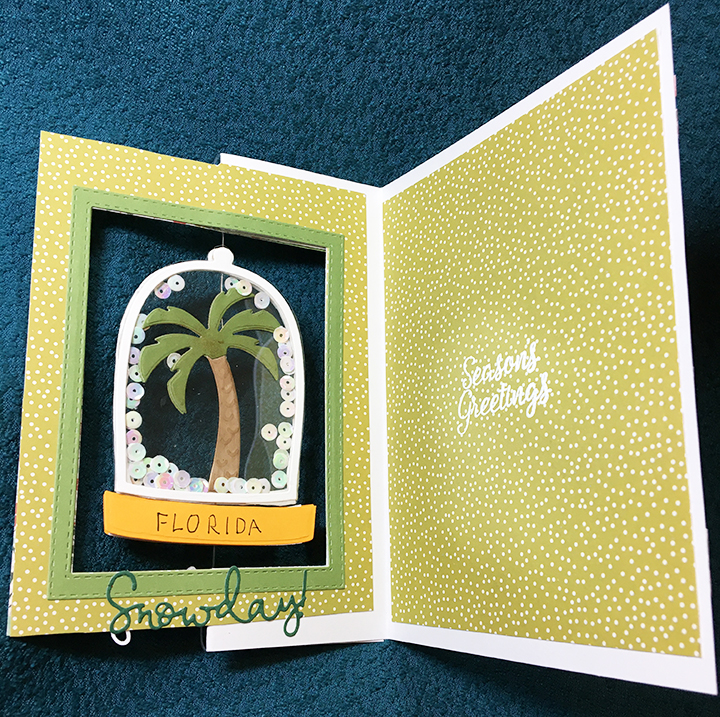
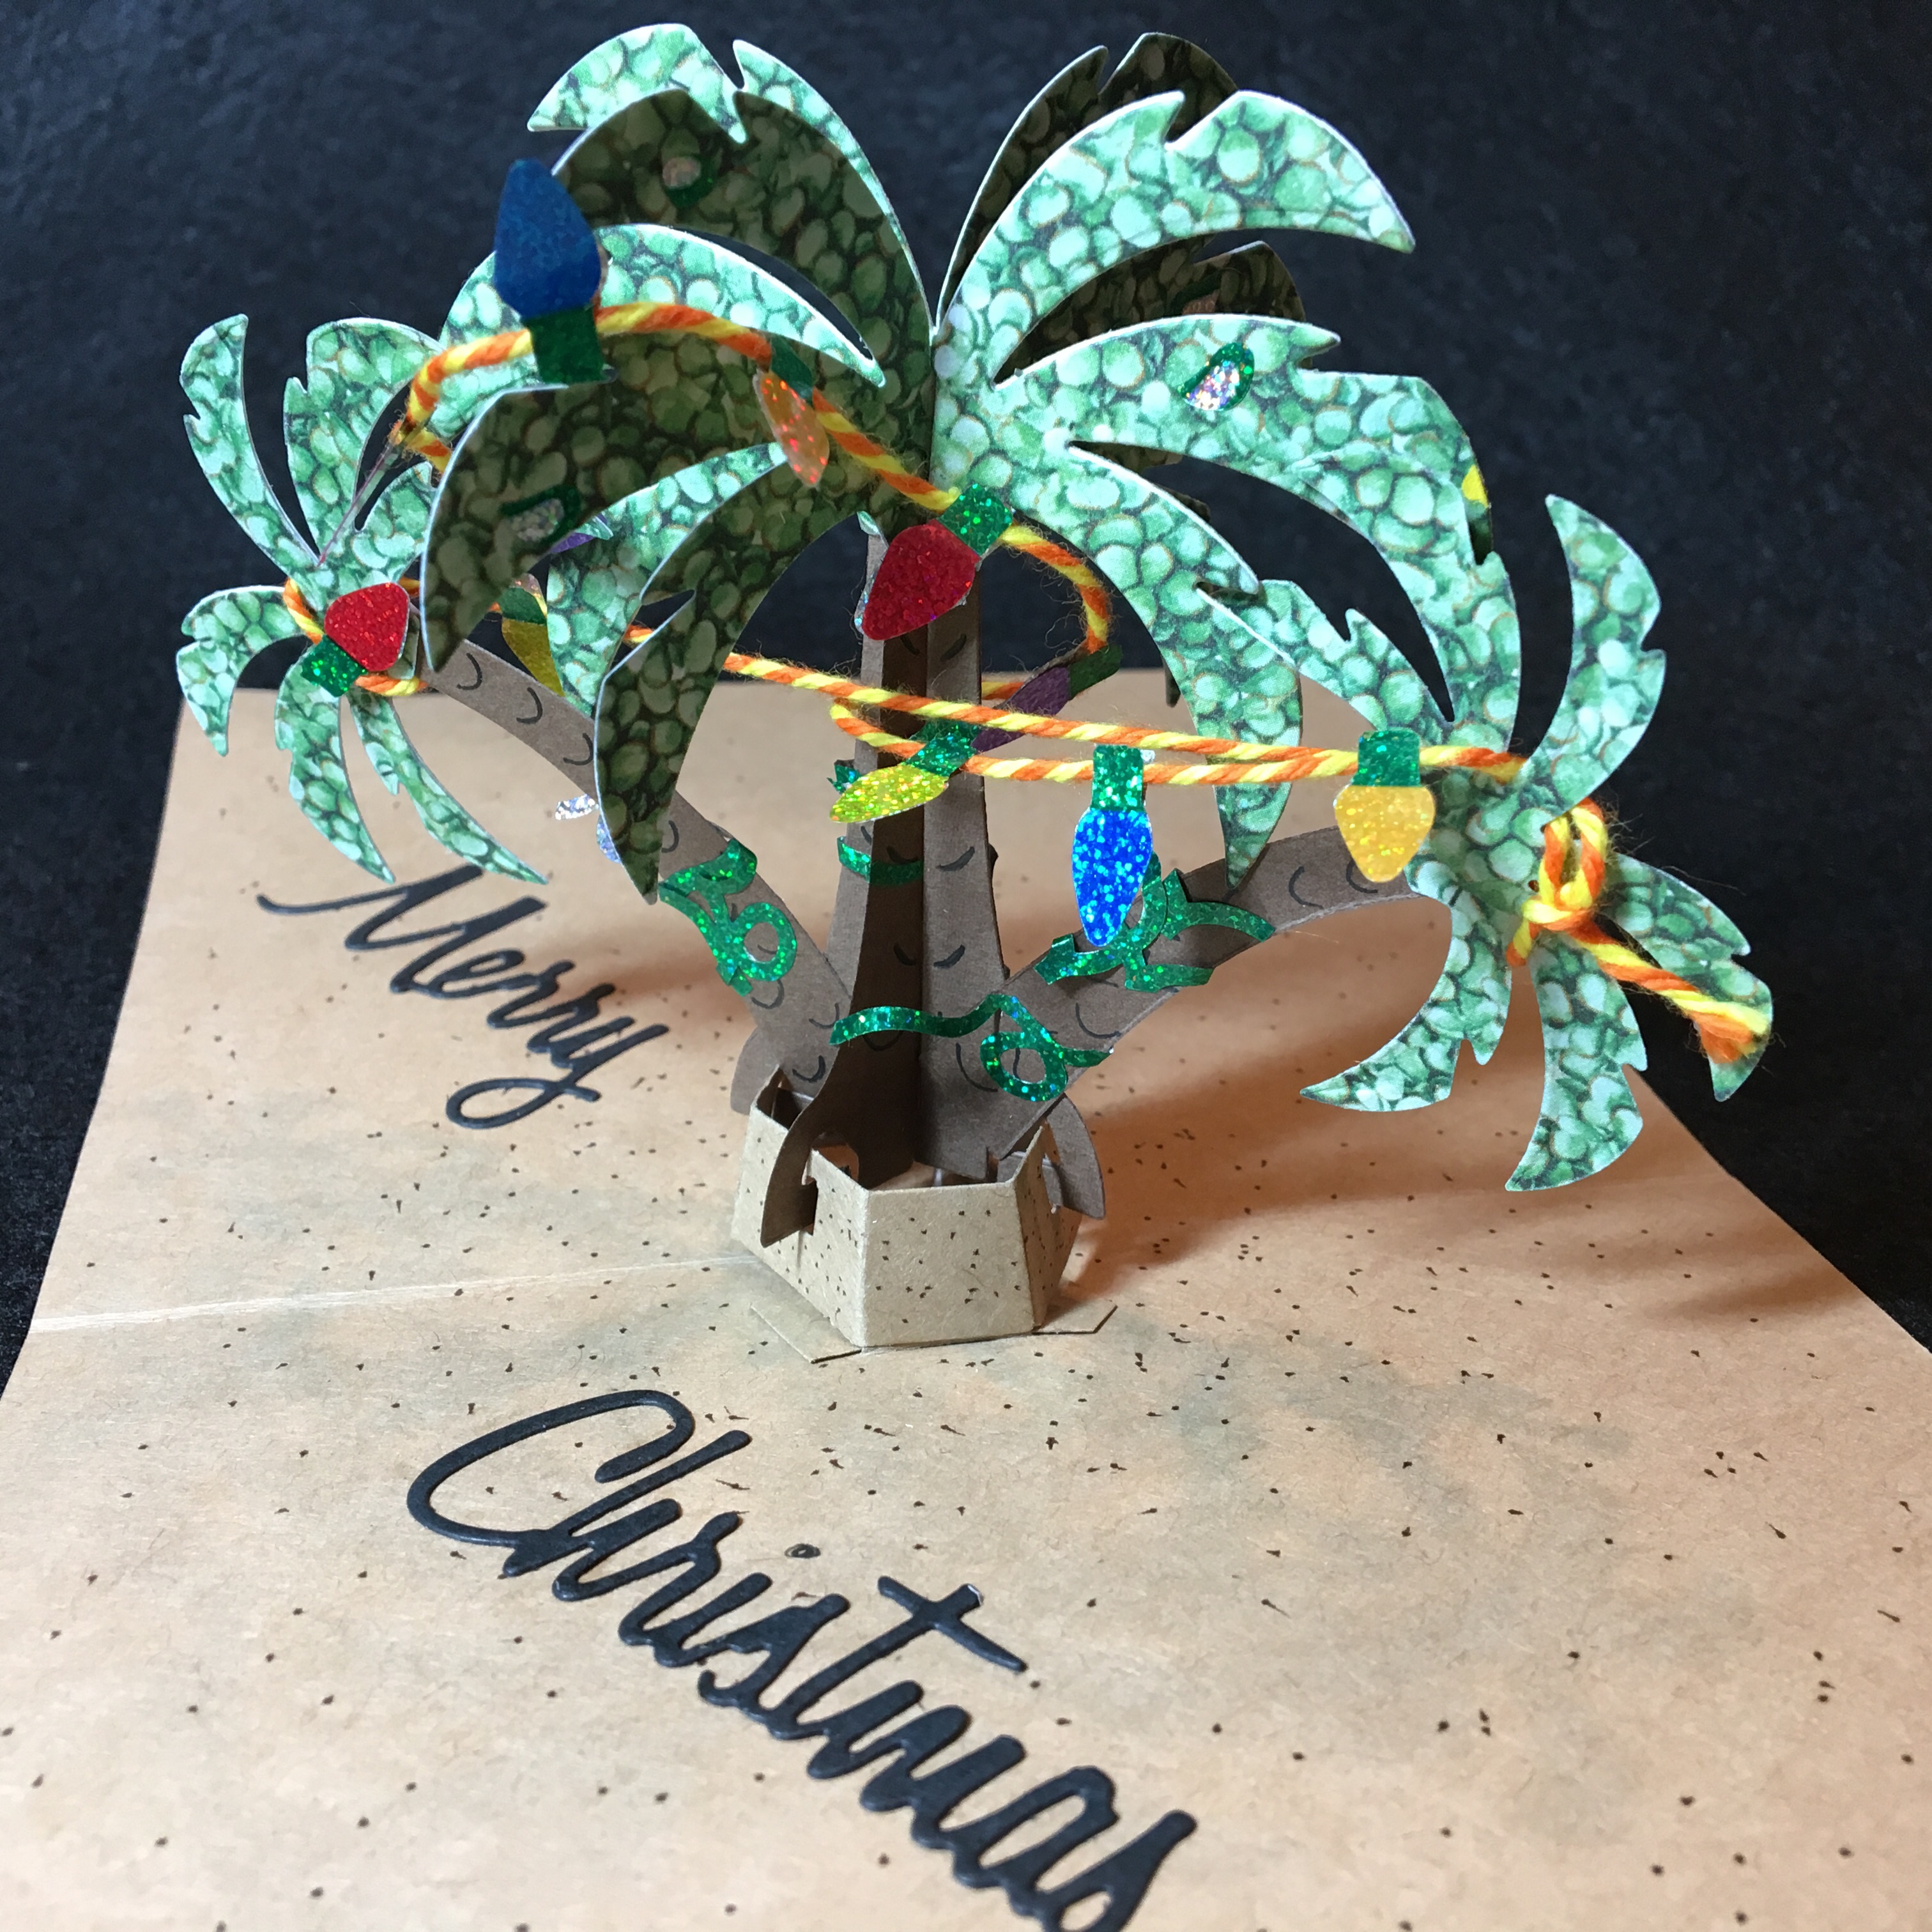
Palm Trees Pop-Up: (Watch the assembly video at the bottom of the linked page for this die set.) Using the Palm Tree Pop-Up die set, cut one set of large tree trunks, two of smaller tree trunks and 12 coconuts from brown. Use the stencil feature on the dies to add texture to the tree trunks. Cut four small palm fronds and two of each of the large palm fronds from green. Cut one tree base strip from a heavy card stock and cover with sand paper.Assemble as directed in the videos.
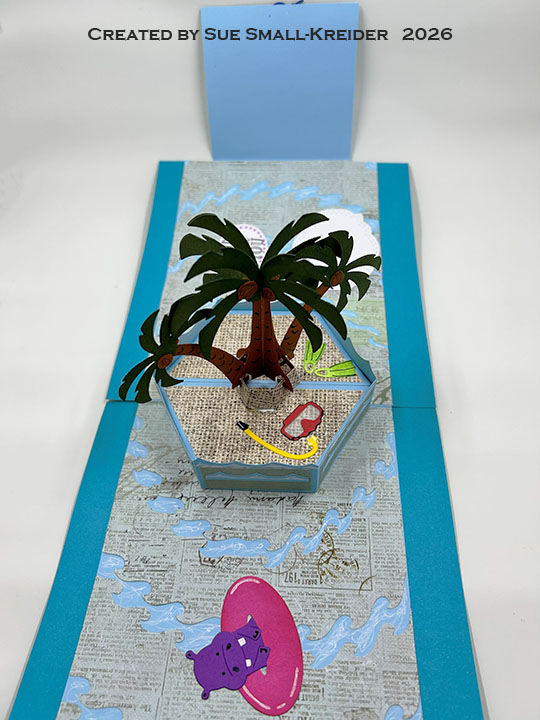
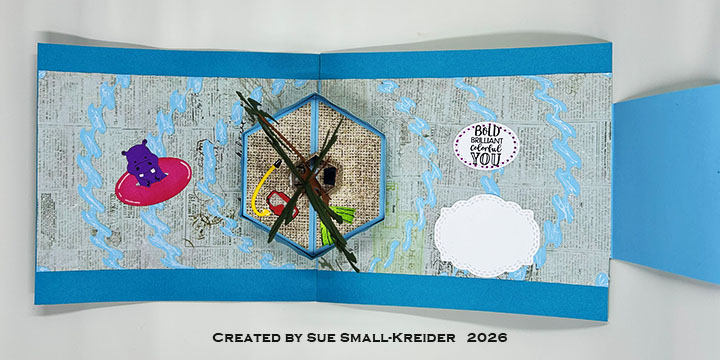
Hippo and Scuba Gear: (Watch the assembly videos at the bottom of the linked pages for these die sets.) Using the Safari Animals and Tiny Accessories 4 die set, cut out and color the hippo and scuba gear.
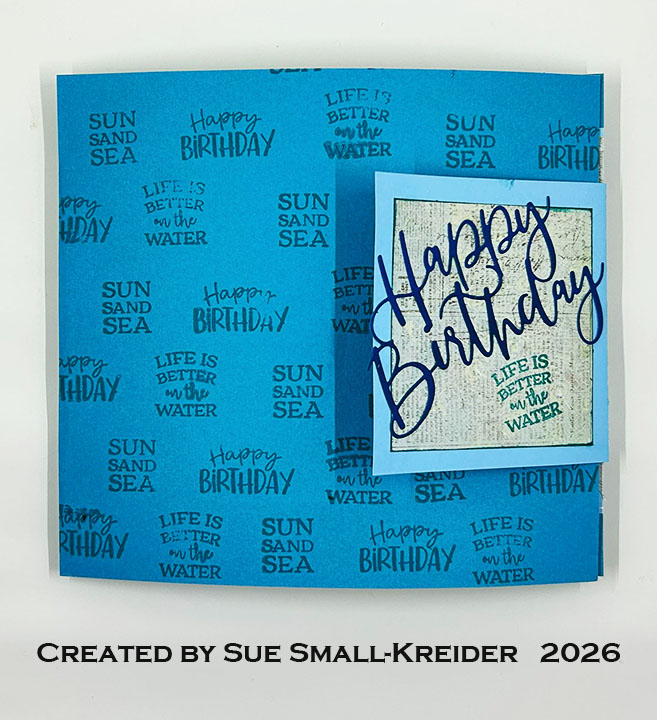

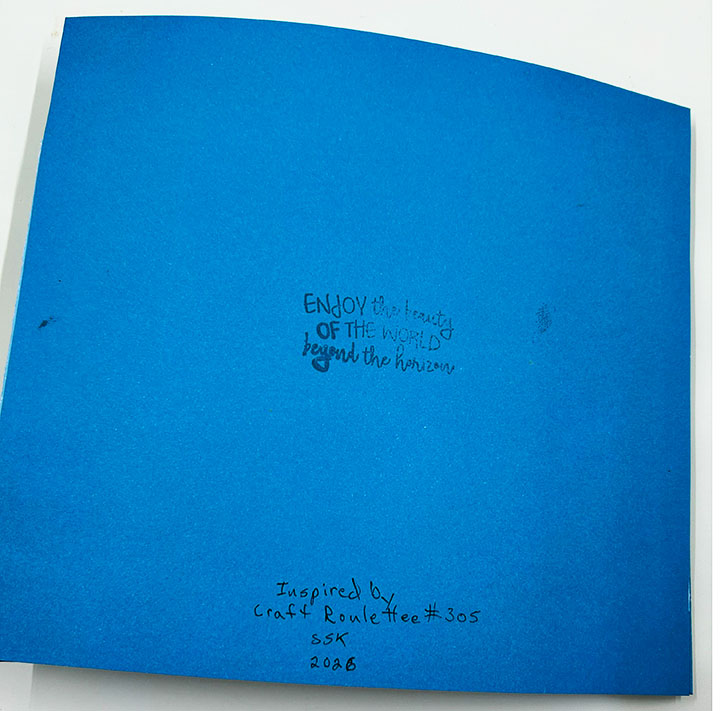
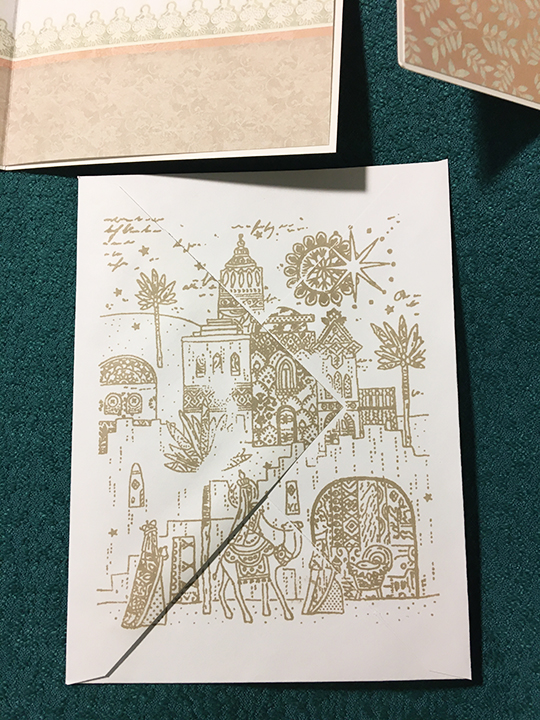
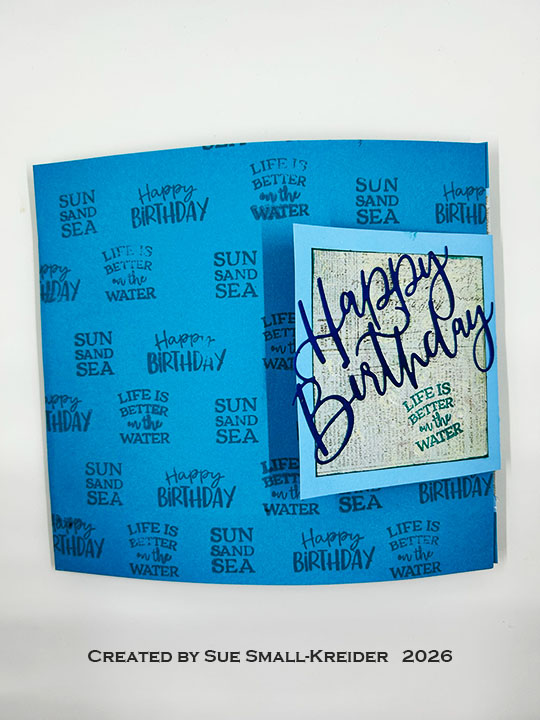
Sentiments: The card front is stamped with three sentiments – “Sun, Sand, Sea” and “Life is better on the water” from Cruise Greetings and “Happy Birthday” from Rainbow Greetings. The die cut “Happy Birthday” is from Chloe’s Creative Cards. Inside is the “Bold Briant Colorful You” from the stamp set Strut Your Stuff. The inside labels were cut from white cardstock using Greeting Labels die set. “Enjoy the beauty of the world beyond the horizon” is stamped on the card back from Cruise Greetings.(I used one ink pad to stamp the sentiments as tone on tone and to add depth to the die-cut words by covering the cardstock with swipes of ink before cutting into it.)
___________________________________
Thank you for experiencing this blog post.
I hope this inspires you and makes you smile.
Please subscribe, like and leave comments 😊
Follow my YouTube channel, Instagram and Pinterest as well.
___________________________________
Disclaimer: Karen Burniston products are provided free of charge by the manufacturer for review and use. All other items were personally purchased. Compensated affiliate links used where or when possible, meaning I will receive a small percentage commission from these manufacturers at no cost to you. This will allow me to add more content to my YouTube channel and help out a lot. Thank you.
Materials Used:
Dies
- Karen Burniston in cahoots with Riley and Company – Sea Stage Add-Ons – 1334
- Karen Burniston in cahoots with Riley and Company – Stage Pop-Up – 1332
- Karen Burniston in cahoots with Riley and Company – Greeting Labels – 1312
- Karen Burniston in cahoots with Riley and Company – Curved Edges – 1307
- Karen Burniston in cahoots with Riley and Company – Tiny Accessories 4 – 1259
- Karen Burniston in cahoots with Riley and Company – Safari Animals – 1127
- Karen Burniston in cahoots with Riley and Company – Palm Tree Pop-Up – 1039
Stamps
- Karen Burniston in cahoots with Riley and Company – Clear Stamps – Cruise Greetings
- Karen Burniston in cahoots with Riley and Company – Clear Stamps – Rainbow Greetings
- Karen Burniston in cahoots with Riley and Company – Clear Stamps – Strut Your Stuff
Papers
- Bazzill – 8.5×11-inch Basic Papers Textured Cardstock – Rain Forest
- Park Lane Paperie – 8.5×11-inch White Core Smooth 65lb Cardstock – Blue/Teal
- Prima Marketing – 12×12 Single-Sided Paper – Botanical Collection – My Darling
- Stampin’ Up – 8.5×11 80 lb. Cardstock – Copper Clay
- The Paper Studio – 8.5×11 Clear Vellum
- The Paper Studio – 8.5×11 Single-Sided Paper – Light Burlap
- Neon Green, Pink, Purple, Red and Yellow Cardstock
Ink
- Catherine Pooler – Premium Dye Ink – Party Collection – All That Jazz
- Memento – Fade-Resistant Dye Ink – Tuxedo Black
- Pigma – Mircon 005 Fine Tip Pen – Black
- Ranger – Tim Holtz – Distress Ink- Abandoned Coral, Rustic Wilderness
- Sakura – Gelly Roll Pen – Medium – White
- Sharpie – Permanent Marker – Chisel Tip – Black
- Sharpie – Permanent Marker – Fine Tip – Pink
Adhesives
Tools
- Die Cutting Machine
- Scrapbook.com – Magic Mat
- Stamping Block
- Paperweight
- Scissors
- Scrapbook.com – Mint Tape
- Tweezers
- We R Memories – QuickStick
- Crafting Clips