

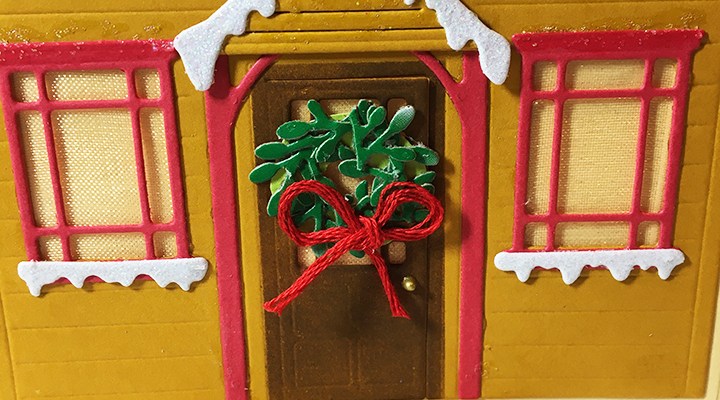
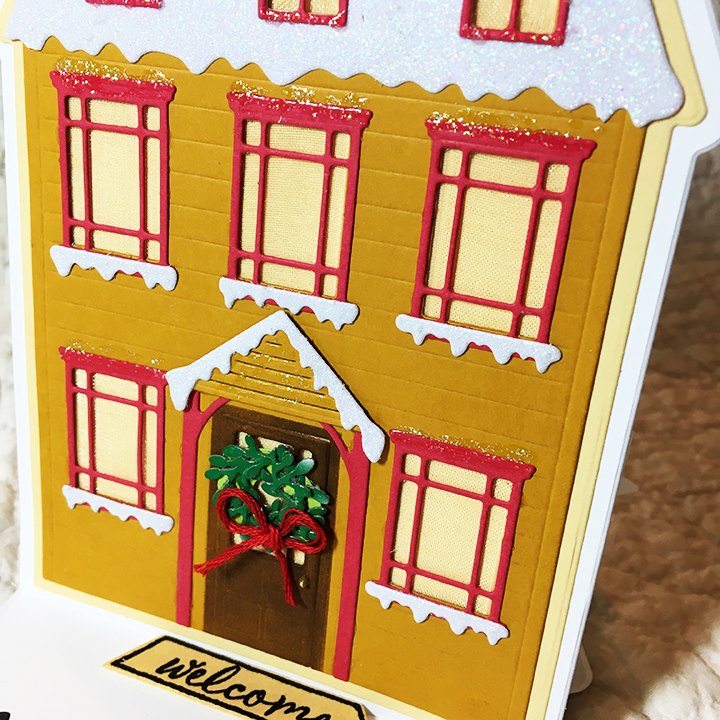
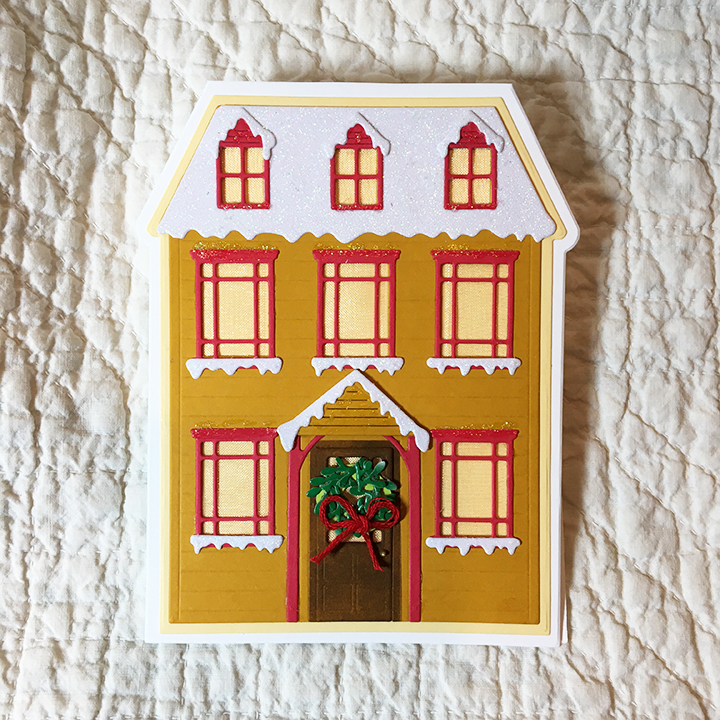
Can you smell the fresh baked gingerbread straight from the oven? This card is made for a child’s Christmas and depicts a gingerbread house complete with white sugar icing, cinnamon drops, peppermint drops and candy canes.

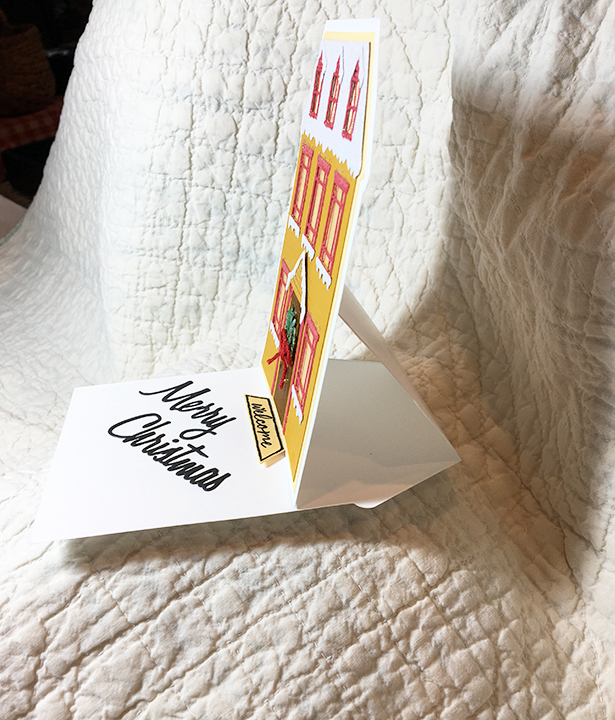
This was my first attempt making Karen Burniston’s Tiny House Pop-Up and I made some mistakes that created a catch point on a roof corner. (I highly recommend watching the assembly video to avoid some of my mistakes such as making the front door of the house on the end with the bottom attachment flaps and gluing the roof unevenly on top of the house.)

Overall, the Gingerbread Tiny House Add-ons set is easy to use with the Tiny House set. The cane canes and peppermint drops are tiny and may require tweezers to assemble. (I added Glossy Accents to the tops of the candy canes and peppermint drops to give them a shiny coating.) There are other decorative die pieces for gum drops and tiny dots in the set, but I opted to use some Nellie’s Effect Snow media for dimensional icing and Nuvo Drops for red cinnamon drops. (The Effect Snow made the roof curl up some creating more of a catchpoint on the roof corner.)
The card base is an A2 size card (5 ½ x 4 ¼ inches) made of heavy white cardstock and covered with patterned papers for smooth surfaces for the house to slide over. The sweets decorations are placed so that they don’t hinder the house mechanism opening.
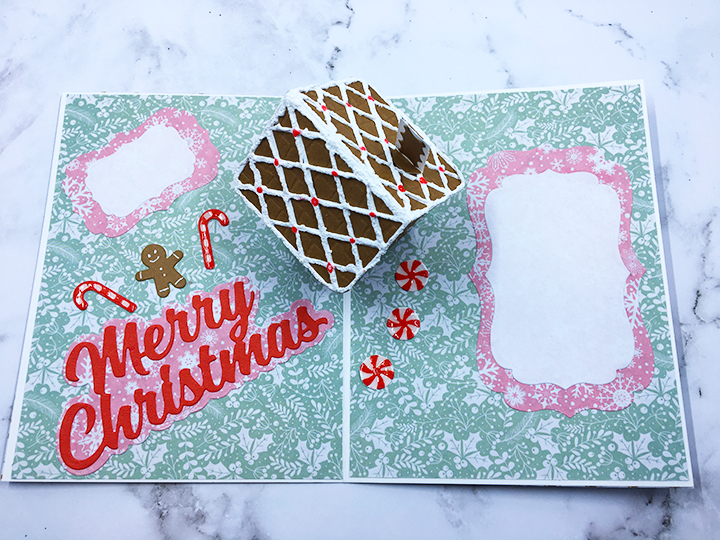
Merry Christmas has a shadow die cut background of patterned paper and all the sentiments are cut from red paper so there are less chances of creating catchpoints. (I used some fancy nested label dies to create areas for a personal message.)
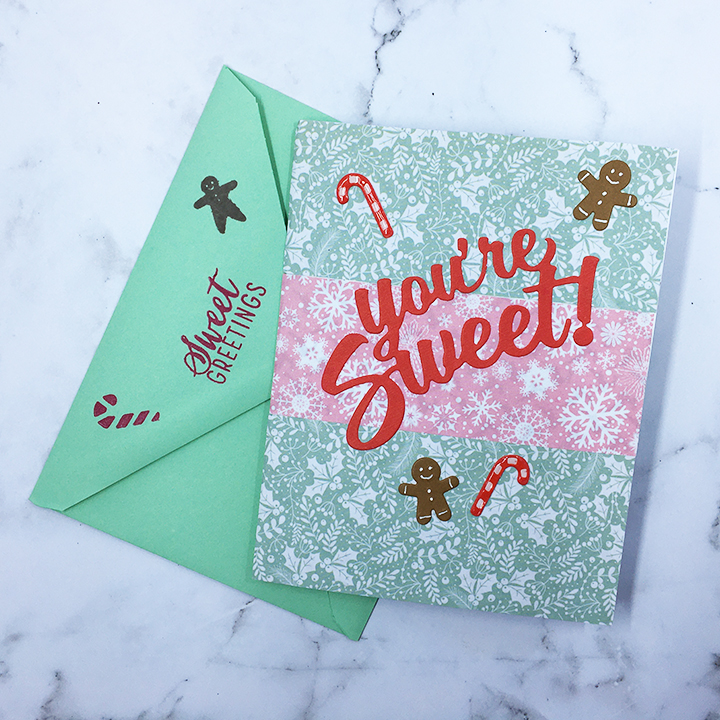
As is my style, I stamped the back of the envelope with hints of what’s inside using two colors of ink and a gingerbread house stamp set from Hero Arts.
Thank you for reading. If you enjoyed this blog post, please like it and follow the blog. 😊
Other cards that use the Tiny House Pop-up die Set
Dies:
- Karen Burniston – Dies – Merry Christmas Shadow – 1177
- Karen Burniston – Dies – Merry Christmas- 1065
- Karen Burniston – Dies – Tiny House Pop-Up– 1157
- Karen Burniston – Dies – Gingerbread Tiny House Add-Ons – 1173
- Karen Burniston – Dies – You’re Sweet – 1087
- Momenta – Firefly – Label Dies
Stamps & Ink
- Memento -Fade-resistant Dye Ink – Rich Cocoa
- Stampin’ Up Classic Stampin’ Pad – Melon Mambo
- Hero Arts – Clear Stamp Set – Color Layering Gingerbread House -CM462
Papers
- Heavy white card stock
- Brown cardstock
- Patterned papers from Carnation Crafts – Merry & Bright
- Colored papers from my stash
- A2 green envelope
Additional Supplies Used:
- CosmicShimmer – Specialist Acrylic Glue – 125ml
- Sizzix – Big Shot PLUS die cutting Machine
- Tim Holtz Stamping Platform
- Fineline 20 Gauge Applicator & Bottle
- Nelliie’s Effect Snow
- Nuvo Crystal Drops – Berry Red
- Ranger – Glossy Accents

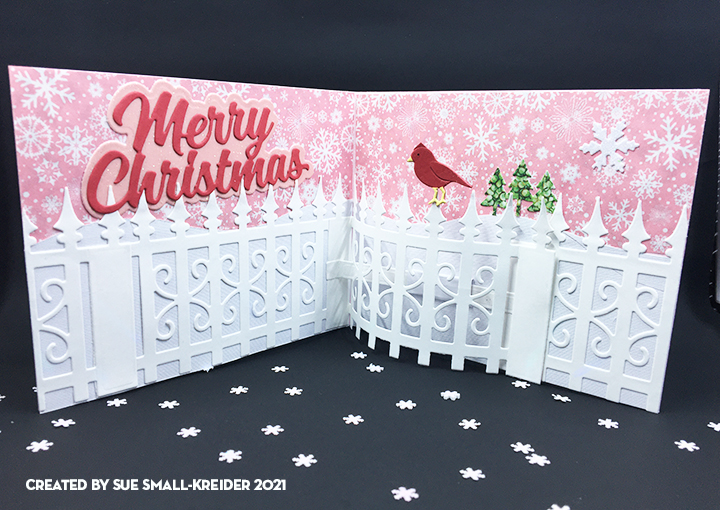
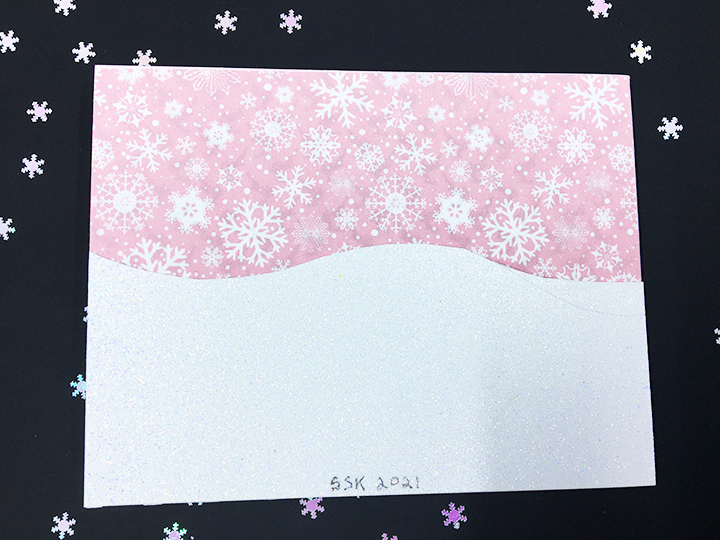




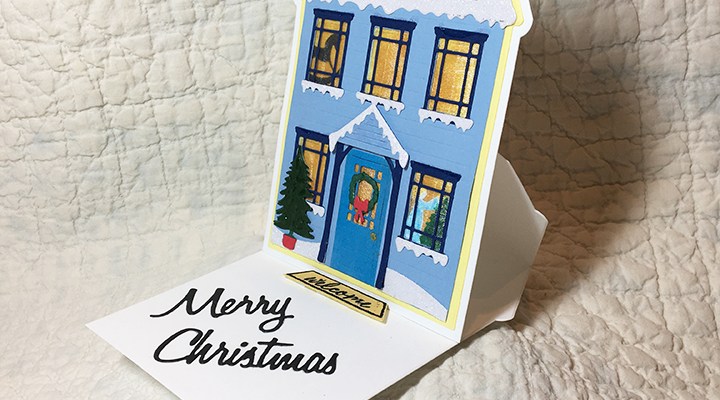

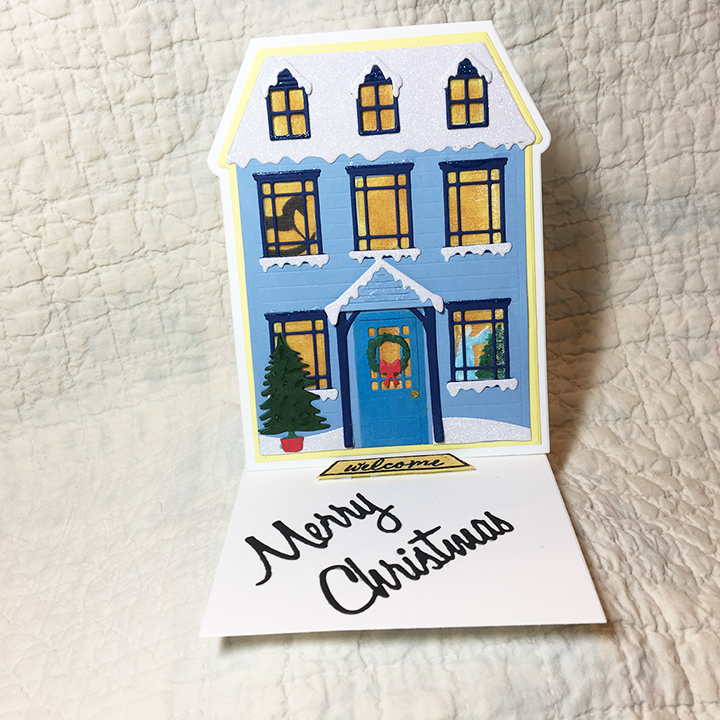




 Shadow box cards can be as simple or as complicated as you want to make them. Let It Snow is of medium difficultly. This die set, along with strong double-sided tape, makes it quick to cut and assemble a four-panel shadow box with depth and character. You can choose to color or not.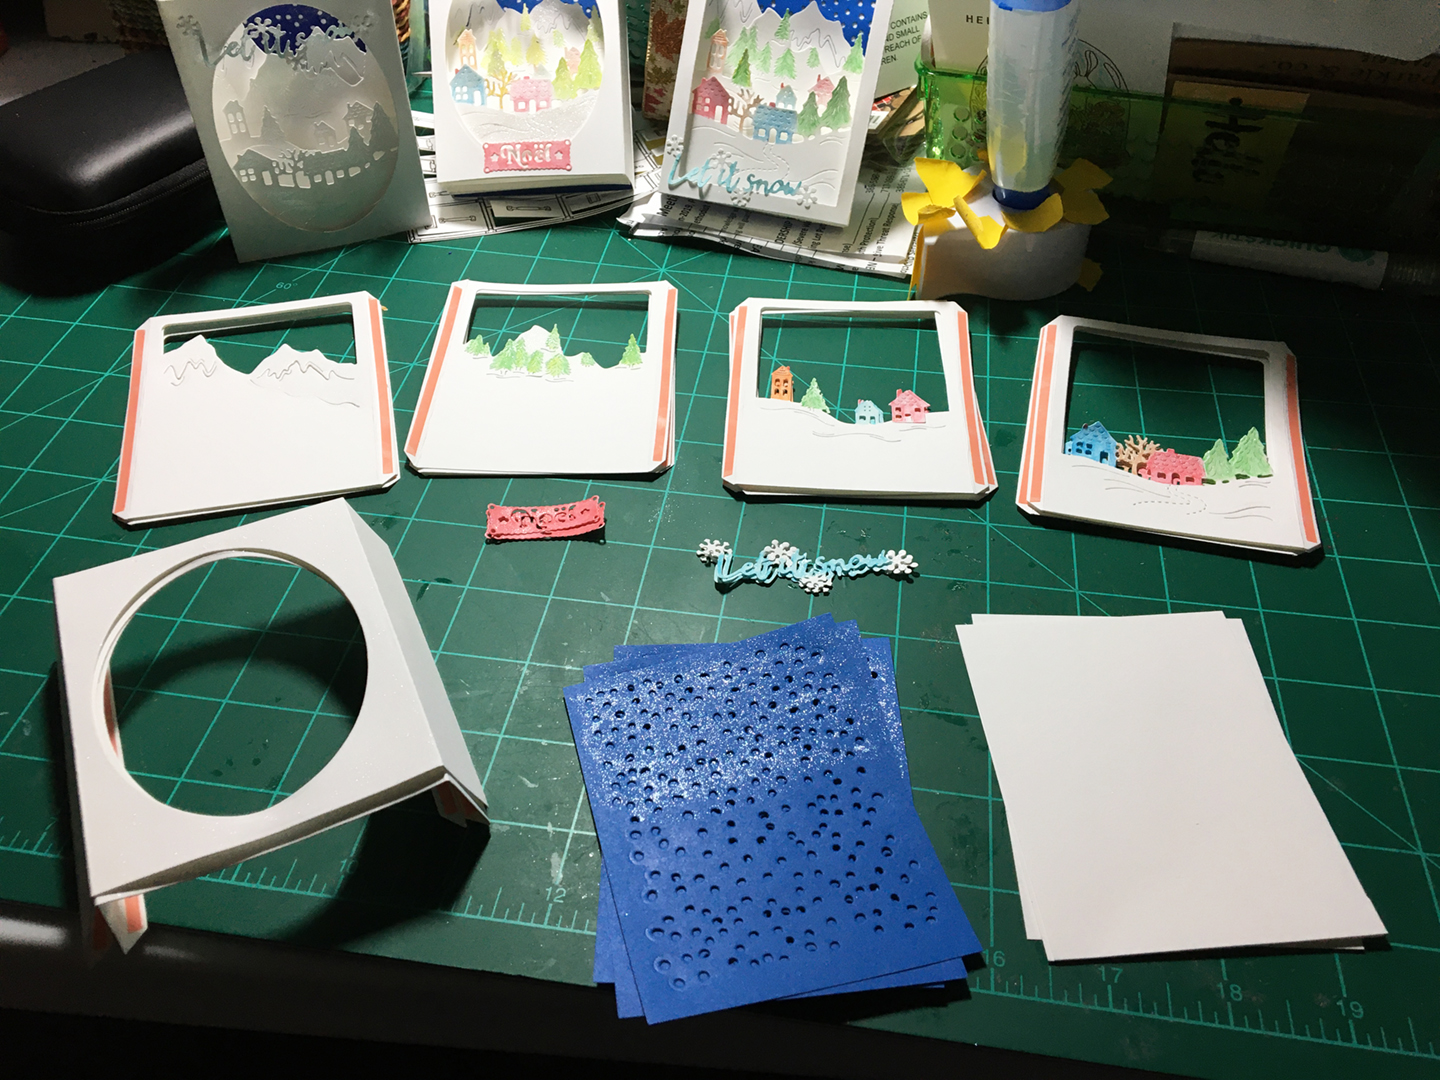
 Step 7: Assembly – start with blue background and peel off backing of one shadow box tab tape on inside of box. Line up long side of blue paper to folded edge of tab.
 Step 8: Peel off tape on back panel same side as blue panel and line up with fold of shadowbox tab.
 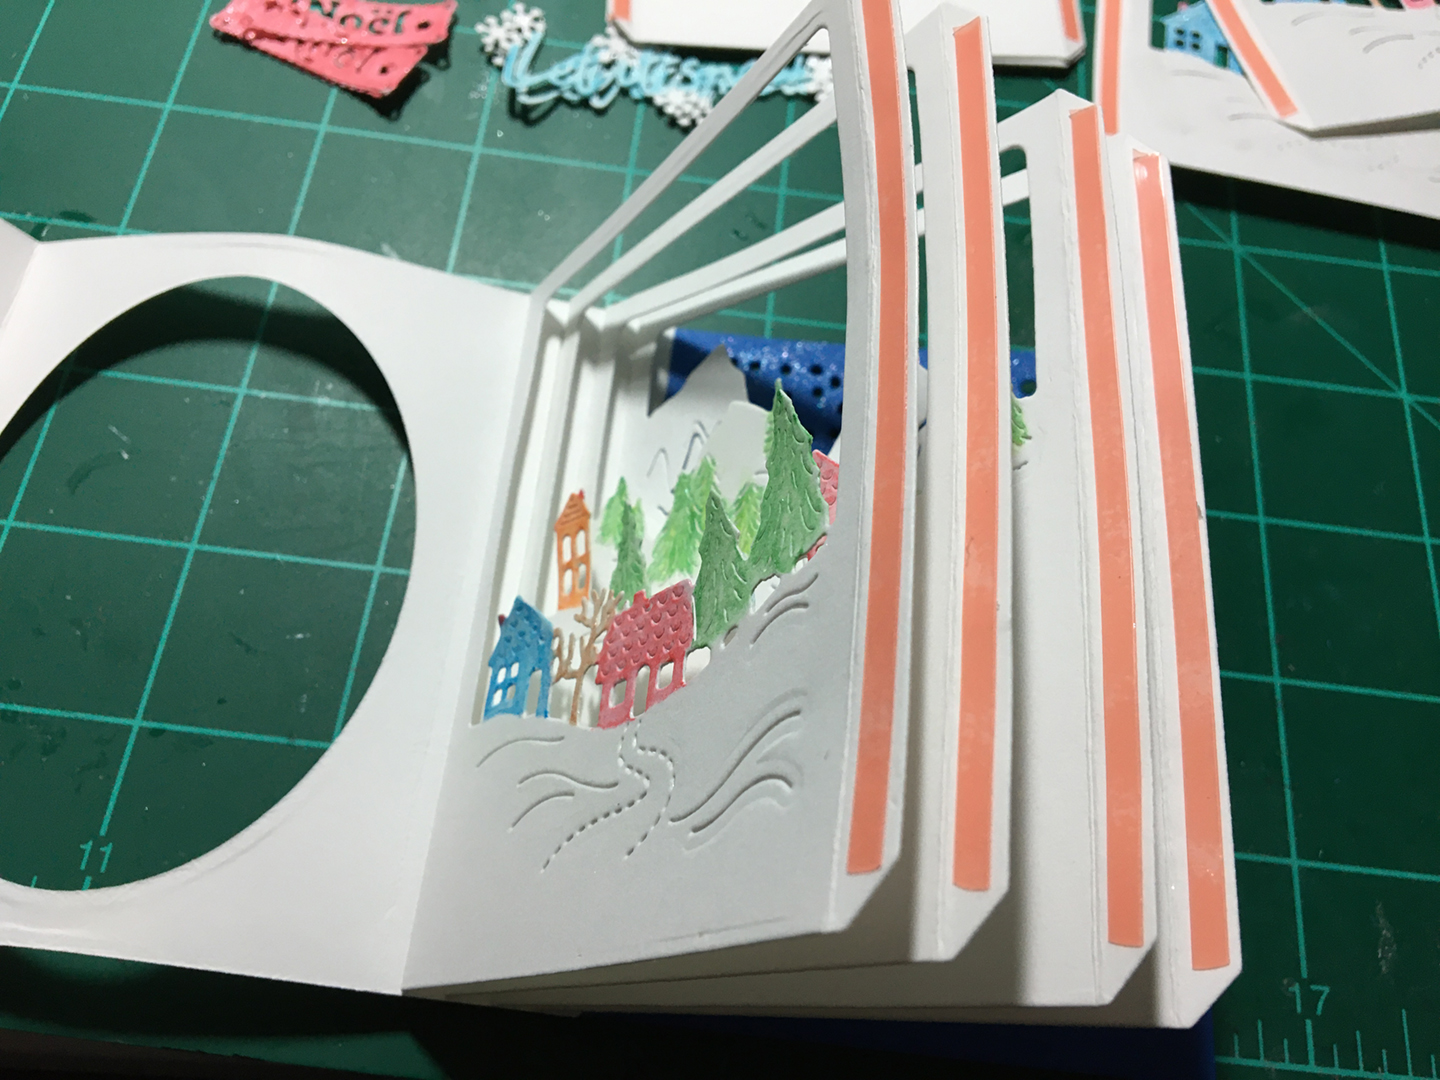 Repeat with other three panels butting the edge of new panel up to folded edge of previous panel until all panels are adhered to inside of shadow box.
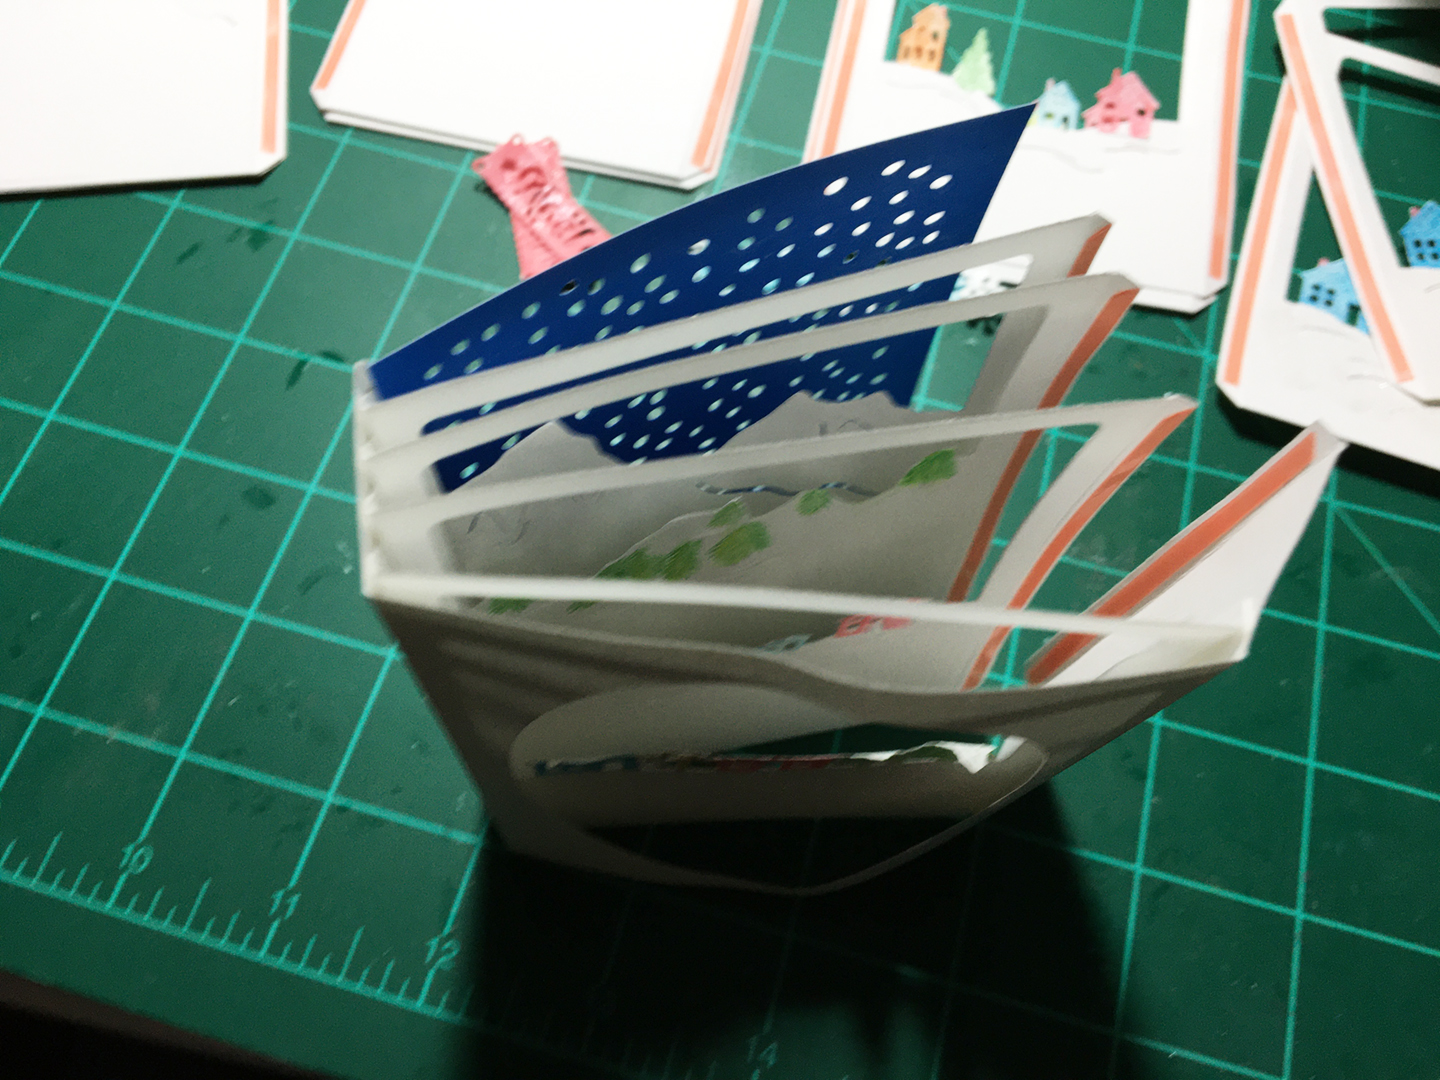 Step 9: Peel off tape on Front panel and line it up on opposite side of shadow box to be equal distance from front opening as other side of panel.
  Repeat with remaining three panels.
 Step 10: Peel off tape on inside of shadow box tab and adhere blue panel.
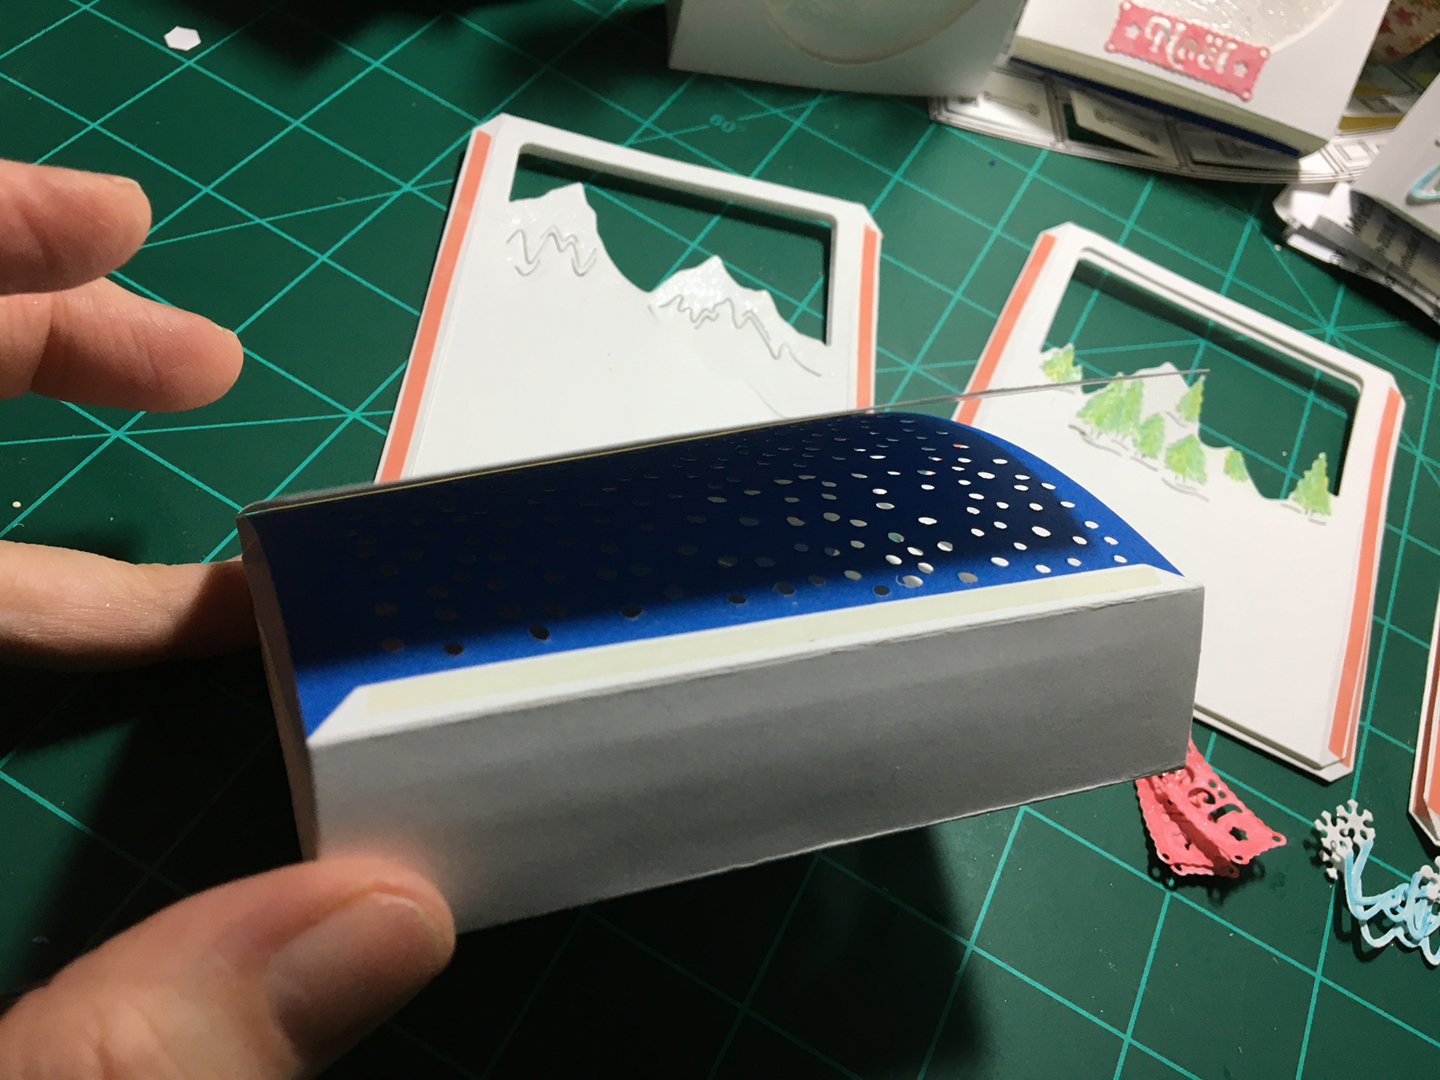 Step 11: Peel off tape on outside of shadow box tabs and adhere white card panel.
