Hi, I’m Sue SK of Ully Cat’s World and a new member of the Dies R Us Design Team.

My mother told me that you can never say thank you enough, so this card is to say thank you to Dies R Us for inviting me to be part of their team.

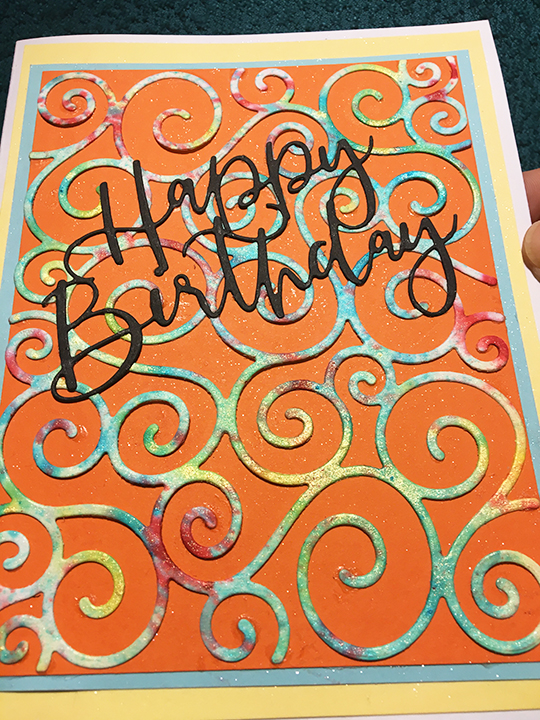
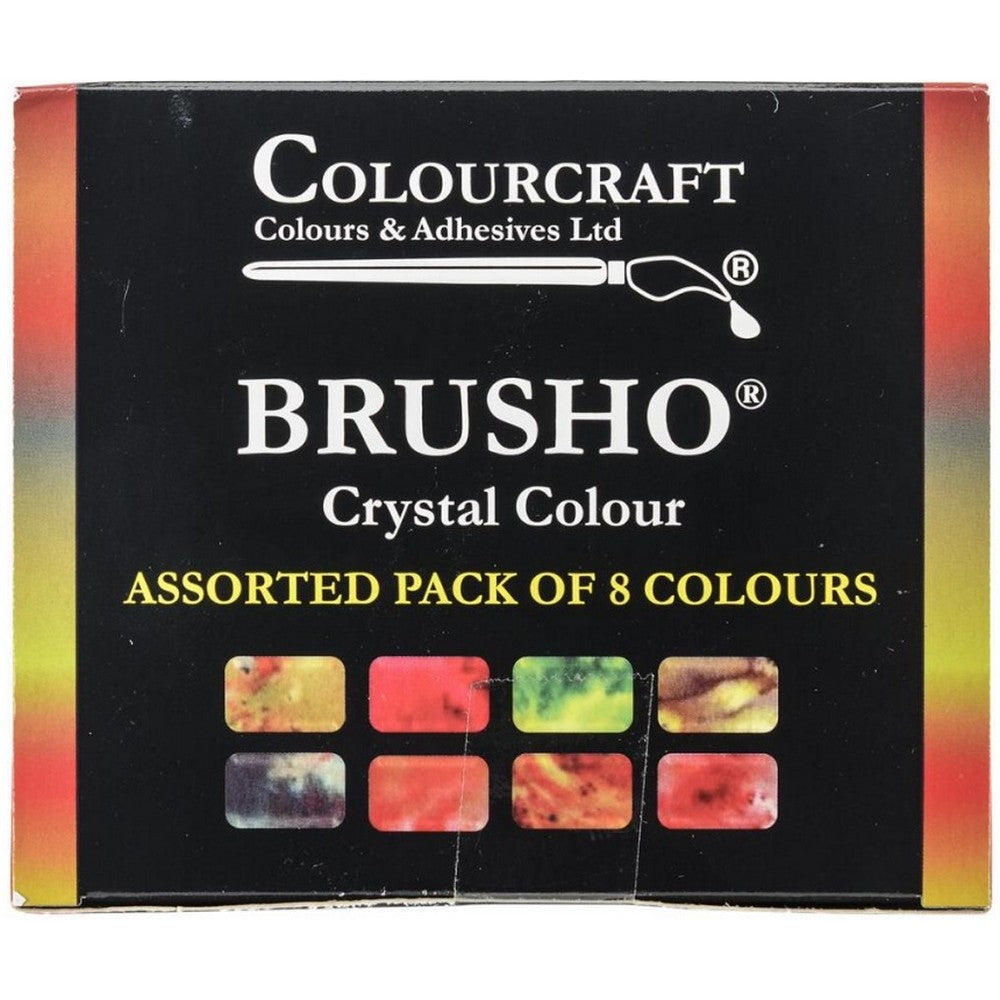
I really like using this Karen Burniston Swirls pattern plate die with background papers that I made with color pigments like Brusho Inks or Cosmic Shimmer – Pixie Powders.

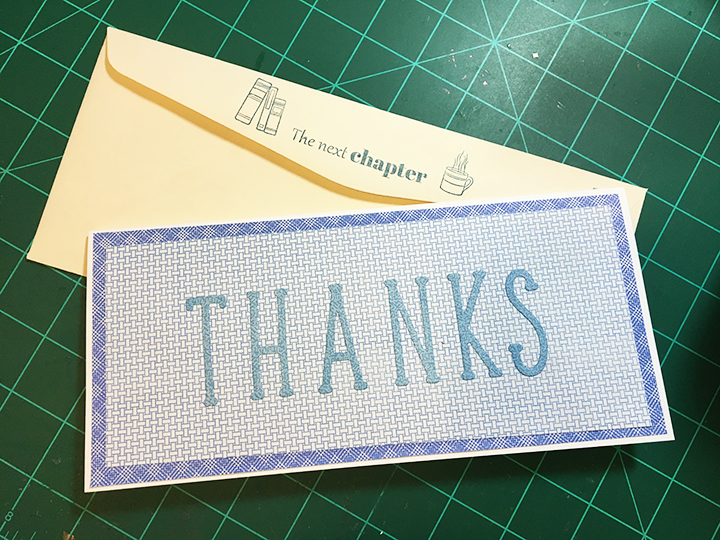
Picking a dark background makes the swirls stand out. The swirls die-cut is 4 ¼ inches x 5 ½ inches, so I cut a black piece of card 4 ½ inches x 5 ¾ inches to glue the swirls onto using CosmicShimmer Specialist Acrylic Glue.

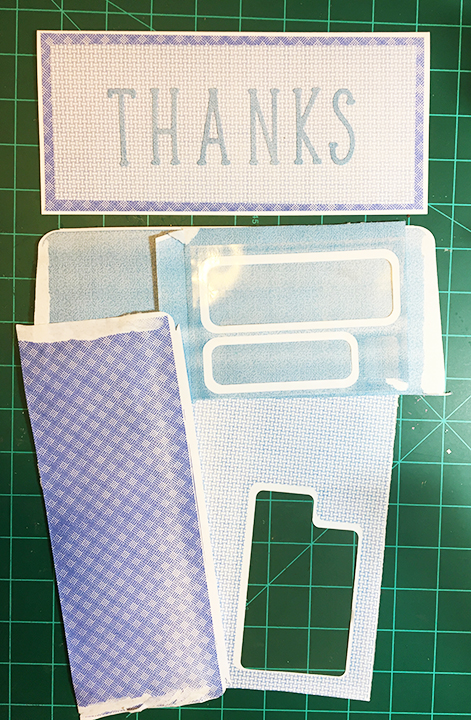
Next, I cut the Karen Burniston “Thank You” three times – one in white, one from a blue and white background paper and one from the orange background paper. I off-set the words and glued them together to create a sentiment with depth and shadow. (An alternative Thank You die to the one I use is Altenew – Dies – Simply Thank You.)
After adhering the sentiment on top of the swirls, I used foam squares to adhere the panel to a 4 ¾ inches x 6 ½ inches black panel glued to the white card base.
Hope this provides some inspiration for your crafting.
SUPPLIES Used from Dies R Us:

KarenBurniston – Die – Pattern Plate – Swirls – 1124

Altenew – Dies – Simply Thank You

Cosmic Shimmer – Pixie Powders

CosmicShimmer – Specialist Acrylic Glue – 125ml
Sizzix – Big Shot PLUS die cutting Machine
Don’t forget to come join in the fun at the Dies R Us Challenge Blog. There’s a new challenge theme offered on the 1st and 15th of each month and one lucky randomly drawn winner will receive a gift voucher prize to the Dies R Us Store.

For your convenience, all the important Dies R Us links are provided below.
click below for: